I was once an accomplished jewellery crafter and made a necklace using the 'standard' handcrafted formula for pricing, which made it £15.00 (wholesale - hourly rates were a lot less back then). A good friend of mine wanted to buy it so I told her I'd sell it to her for £15.00. She scoffed and recoiled and told me straight "I'm not paying that!"
It was a wonderful, multi coloured piece made from stone beads from around the world, including Preseli Dolerite aka Bluestone, both rare and beautiful.
Like an idiot, I sold it to her for £6.50, less than the cost of the materials and never made one like that again. In fact, I stopped crating jewellery after that, even though I'd already sold hundreds of other pieces, because if my friends thought I was 'ripping them off', then how could I sell anything?
So how exactly can you or how do you justify artisan prices?
Well, you shouldn't have to
"How much!?"
"I love your cakes, but they're too expensive."
"I love your cakes, but they're too expensive."
"Sorry, but that's a rip off."
"I can make it myself for less."
"I can make it myself for less."
"I can get it for so much less at the supermarket."
"You're not Mary Berry or Nigella Lawson!"
"You're not Mary Berry or Nigella Lawson!"
Yes, we've heard it all, and more. As any other artisan or hobbyist will tell you - these are the comments you never forget! It matters not how many raving excellent reviews you have, they're always there - niggling at your deep inside!
Even now, after baking cakes for many, many years, when I am constantly assured by my recipients that their cake was 'worth every penny', comments like those above just fester and make you doubt yourself, question your prices and can be hurtful after all the work you've put in.
However, as an artisan or hobbyist, you shouldn't need to justify your prices if you've priced correctly and are not outlandish or extortionate.
Yes, you can even bake it for less yourself, after all, your won't need to take into account time and utilities etc.
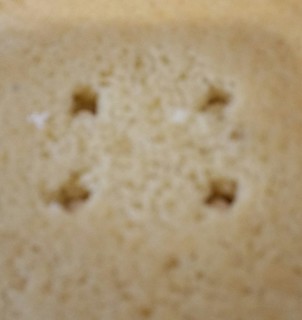
If you bake at home you'll already know the base / cake ingredients aren't cheap. Then you have to add the fondant, flavourings, buttercream, the drum (cake board), decorations and, of course, a box. When you start looking at a two tier cake there's an additional cake card, the dowels, plus extra fondant and buttercream.
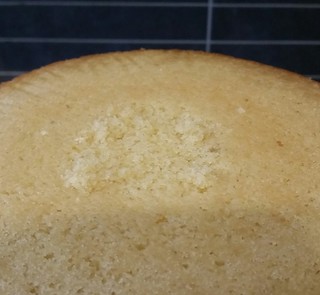
Don't get me started when you have to sculpt a cake - If a cake takes, for example, three mixes and needs sculpting, a chunk of that cake is going to be cut away. Ask yourself ... "Who should pay for that?"
Yes, you can even bake it for less yourself, after all, your won't need to take into account time and utilities etc.
If you bake at home you'll already know the base / cake ingredients aren't cheap. Then you have to add the fondant, flavourings, buttercream, the drum (cake board), decorations and, of course, a box. When you start looking at a two tier cake there's an additional cake card, the dowels, plus extra fondant and buttercream.
Don't get me started when you have to sculpt a cake - If a cake takes, for example, three mixes and needs sculpting, a chunk of that cake is going to be cut away. Ask yourself ... "Who should pay for that?"
I've come across many formulae for pricing up your work, as you'll know, more often than not, especially with time intensive crafts, you are not going to make a living out of this - mostly.
Now, lets be realistic here, sure, you can go to the supermarket and get a cake for much less, after all, they bake hundreds per hour compared to your one per day or a number of days. Supermarkets don't care that this cake is for your little one's special birthday, to them it's just another cake in a thousand they made today.
- If you price too low, you won't make enough money to stay in business.
- If you price in the middle, you won't make enough money to grow and you'll end up in the constant cycle of creating to sell and selling to create
- If you price too high, you'll end up scaring your customers off
Sellers on Etsy, craft fayres etc will know, when it comes to jewellery etc, you have a great formula:
Materials plus time equals your item cost.
Item cost multiplied by mark-up equals wholesale price
Wholesale price multiplied by mark-up equals retail price
Your mark-up is important, this is where your profit comes in. Don't confuse this with money you pay yourself. It has many essential uses. Some examples would be:
- Buying new tools
- Buying new equipment
- Training
- Hiring help
- Paying for apps and software
- Replacing or upgrading equipment
As long as your market can handle it, the 'suggested' mark-up for your artisan product is between 2 and 2.5. But know your market, get to know your market and get to know your customer individually.
Now, most of this information I have found is for crafters not bakers. I haven't encountered much pricing help online for the artisan cake maker like myself.
So, here is my strategy:
Materials plus utilities plus hourly rate plus mark-up
Mark-up isn't always possible in my case. So my usual strategy is mainly as simple as materials plus utilities plus hourly rate, I make no profit. If I need new tools, I use what should be the hourly rate, which must be at least the minimum wage if your use this formula. Yes, I am in the creating to sell and selling to create category, but this is not my full time job, I subsidise much of my work from my 'other' job.
This is not good business sense, but it works for me. I am certainly not advising you to follow my lead. If you want to make a business of it, this is not the way. I reclaim the out of pocket expenses and that about all. Sometimes I'm left just covering the expenses, sometimes I manage to buy a small or replace a small bit of equipment to make things easier for me.
You see, the supermarket that will make your little one's cake and place it on the shelf with all the other special little one's cakes and don't have to worry about putting love into it, as long as they sell it, that's fine. If they don't sell it, it'll probably be in landfill when the use by date expires.
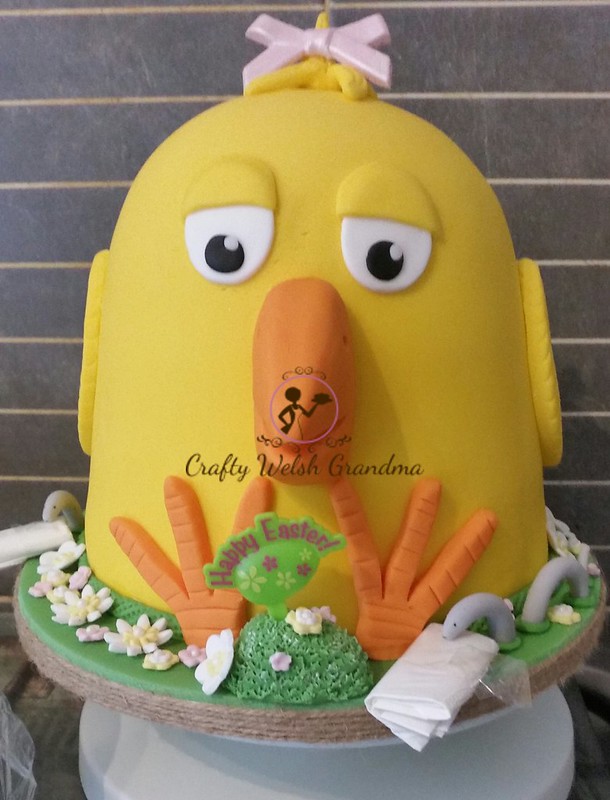
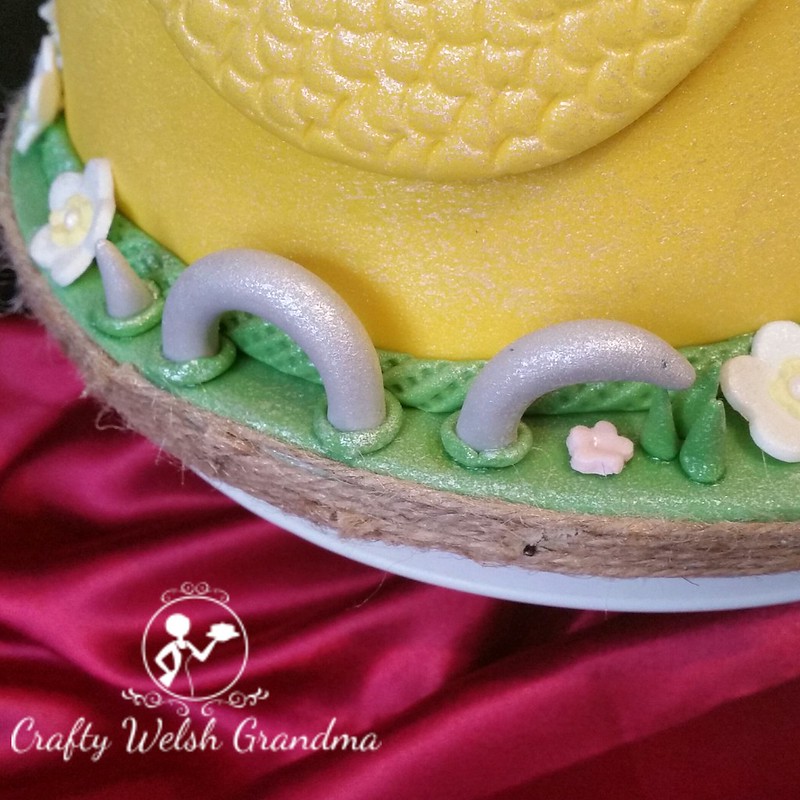
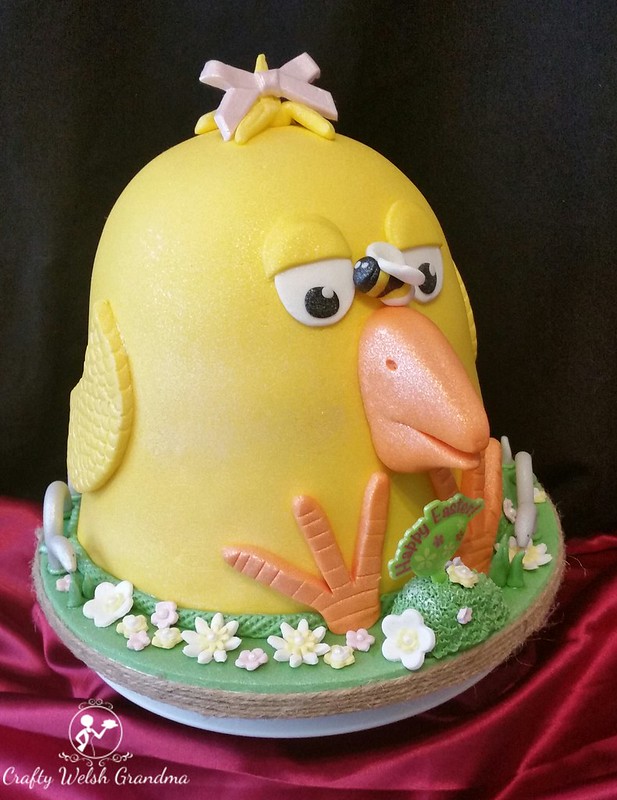
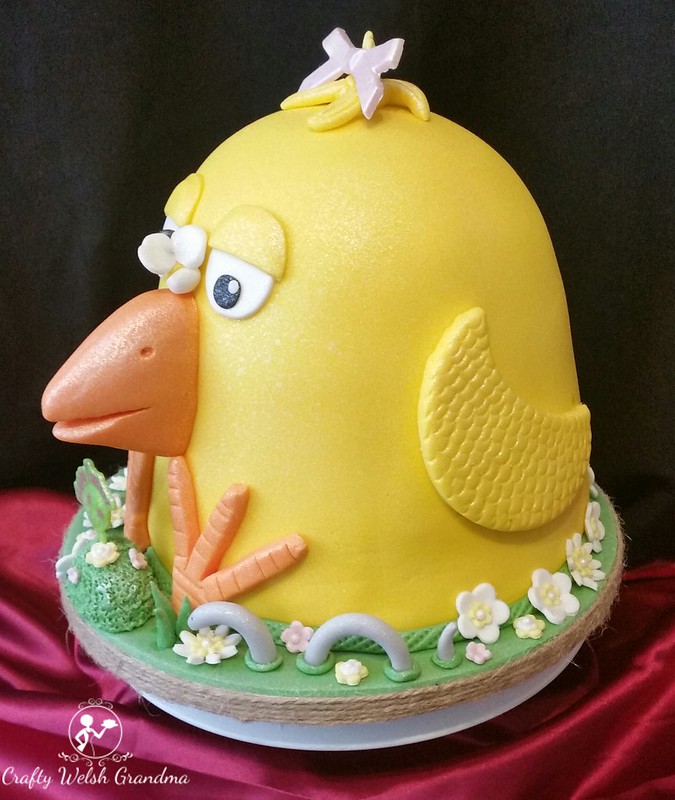
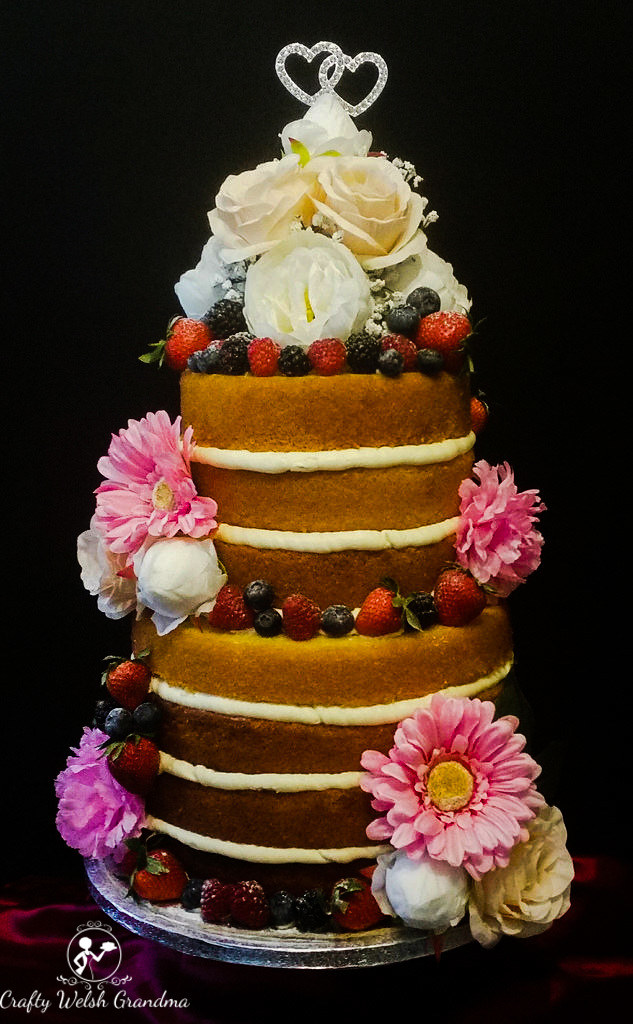
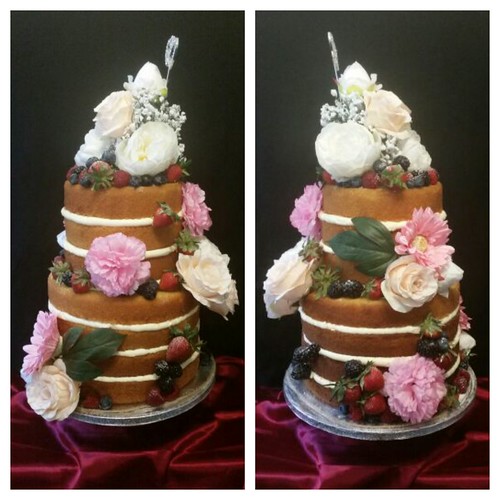
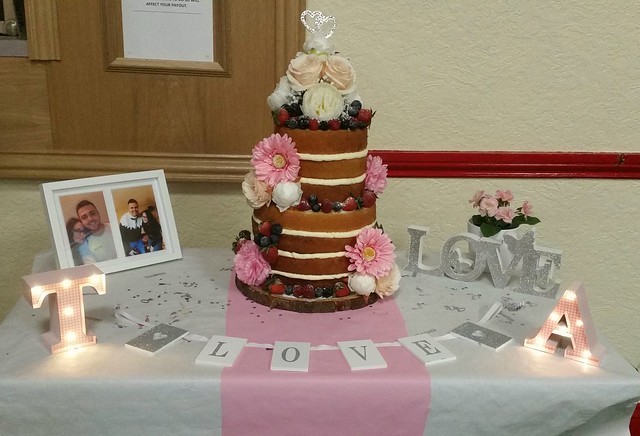
As for me, I can't make hundreds of cakes per day in order to keep the costs down, my cakes involve love, care, knowing the person the cake is for. I bake it in my own small oven, built for domestic use and use my own kitchen, I buy my stuff from a local business - I firmly believe in supporting local (and it somehow costs less than the supermarket). I won't buy a 'no frills' product and nor will I buy eggs from caged hens. I don't use artificial preservatives, so your cake will only last about three days because it only contains good, wholesome ingredients.
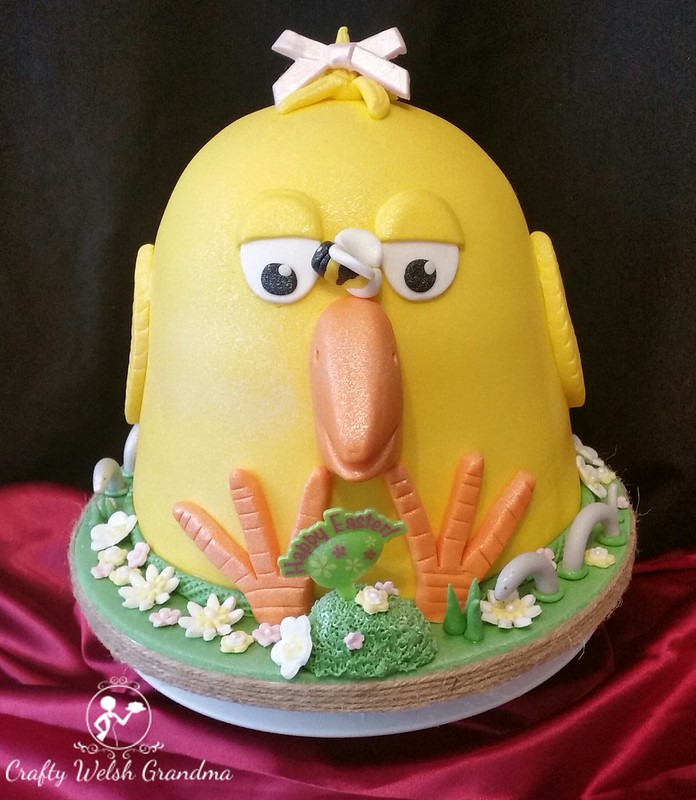
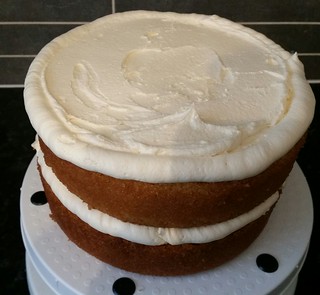
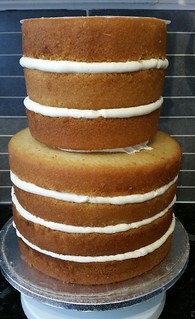
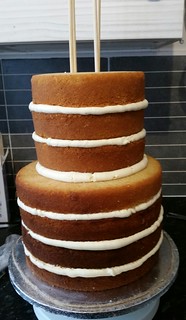
A simple, non-sculpted, flat two layer, one tier cake starts and ends something like this:
A simple, non-sculpted, flat two layer, one tier cake starts and ends something like this:
- Preparing a list of resources
- Shopping for the best price quality resources
- Driving to obtain resources
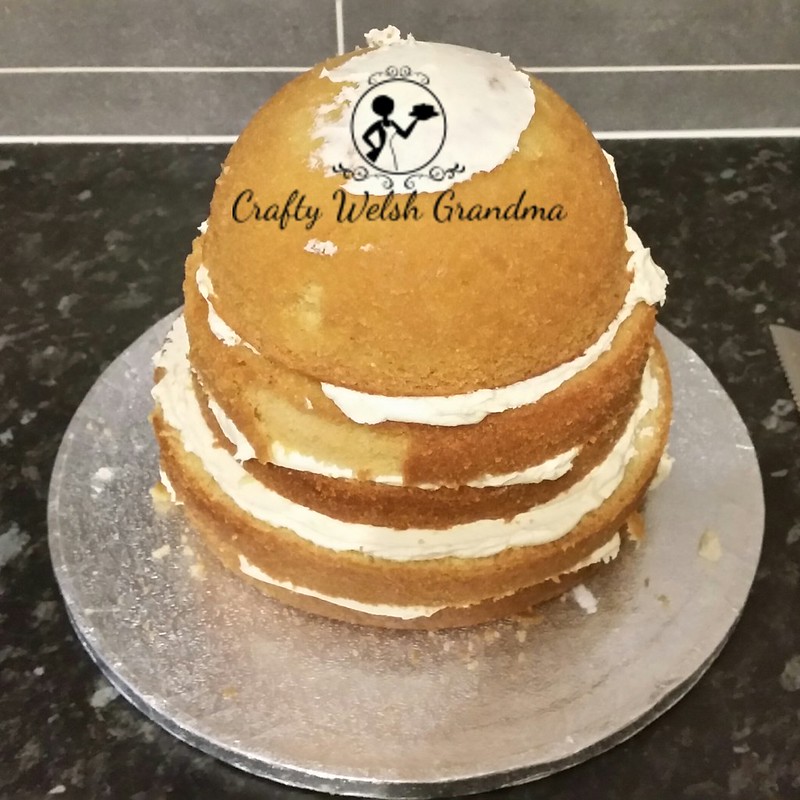
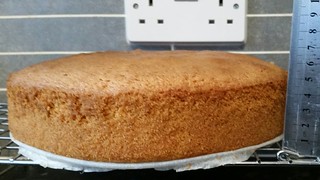
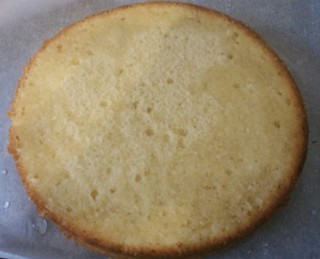
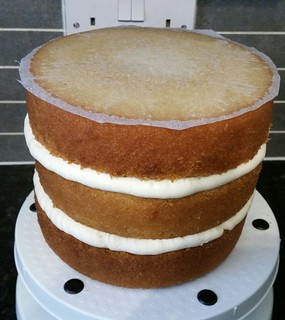
- Making the cake batter
- Baking one layer at a time
- Making the next layer etc
- Baking one layer at a time etc
- Chill sponge overnight
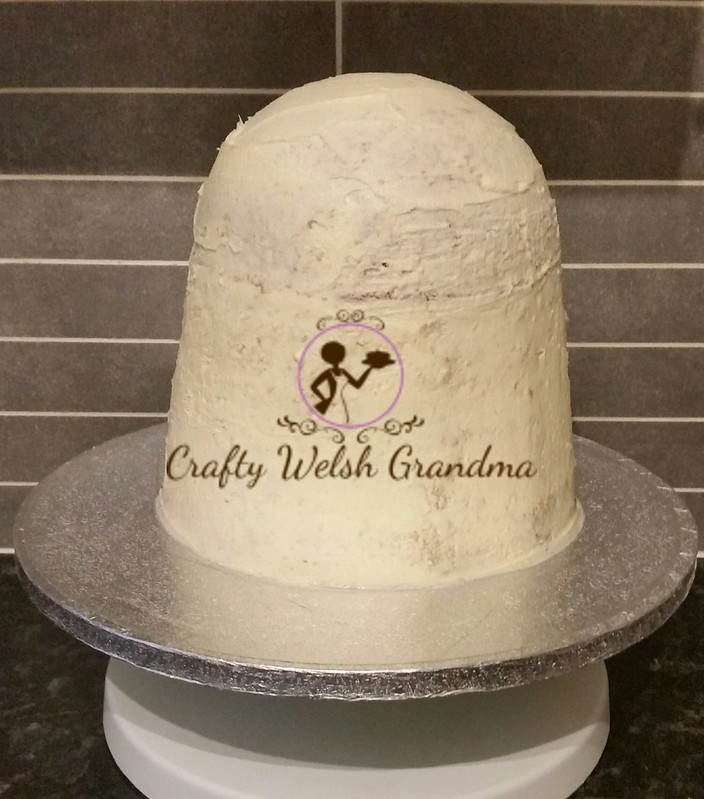
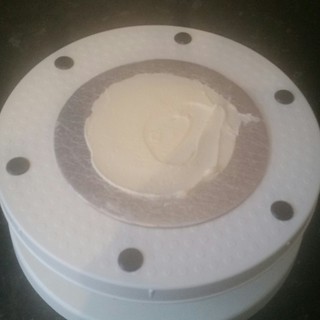
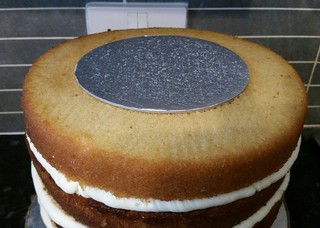
- Crumb coat and chill for some hours
- Coat in butter cream and re-chill for some hours
- Layer in fondant and allow to harden for some hours
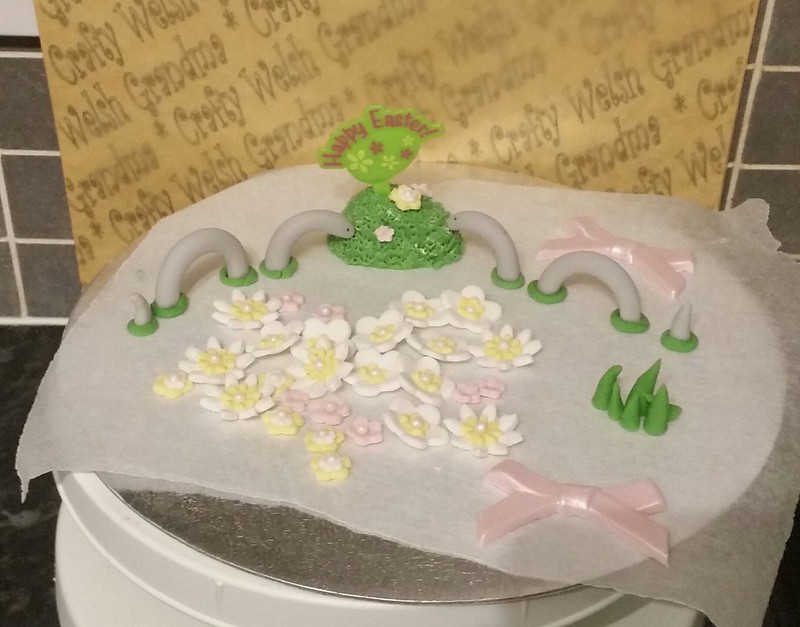
- Make individual decorations
- Allow to harden for a few hours
- Affix to and decorate the cake
- Allow to set for a few hours
- Box up and await customer collection or ...
- Drive to make delivery
Let's face it, you don't need me to bake you a unique cake at all. Whether you believe my cakes are worth that much to you has nothing to do with the cost or your budget or the importance of knowing someone made it just for you, it's all completely subjective.
When we became a society where we'd rather support multi-million £ corporations than support family, friends or other artisans is a whole other story!
So next time you ask an artisan to justify their prices, allow them to nip into where you work and tell your boss you're being paid too much or accept that ... when an artisan makes your cake for you, it's for you, no one else, just you. It's unique! It cannot be replicated, even if we try.
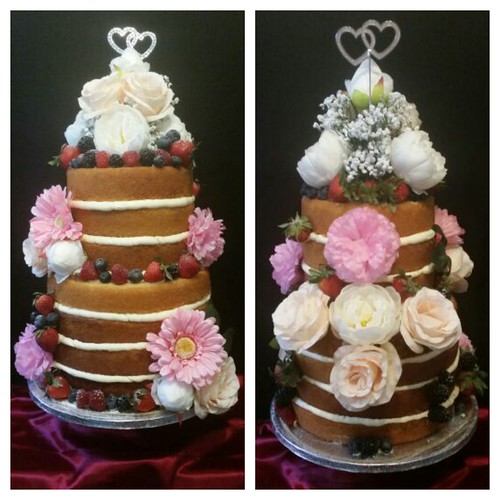
It's also nice when an artisan receives positive comments on their blog about your cake and other cakes they've made - Just saying :)
When we became a society where we'd rather support multi-million £ corporations than support family, friends or other artisans is a whole other story!
So next time you ask an artisan to justify their prices, allow them to nip into where you work and tell your boss you're being paid too much or accept that ... when an artisan makes your cake for you, it's for you, no one else, just you. It's unique! It cannot be replicated, even if we try.
It's also nice when an artisan receives positive comments on their blog about your cake and other cakes they've made - Just saying :)