Wednesday 29 November 2017

Star Lily 60th Birthday Cake


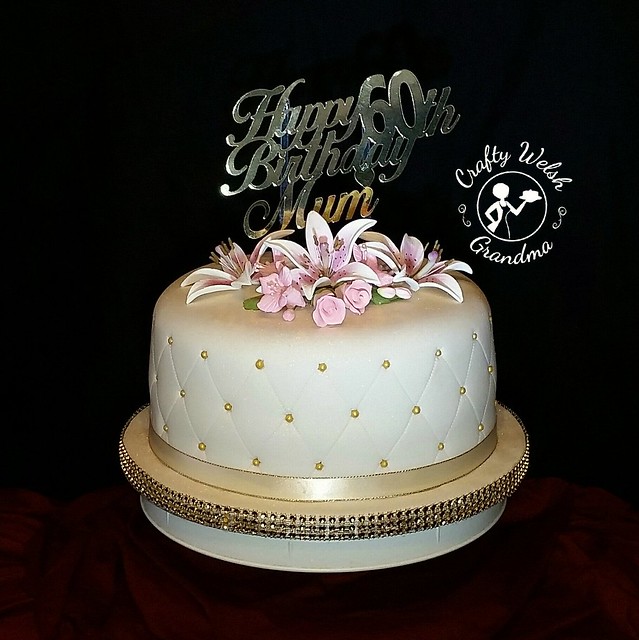
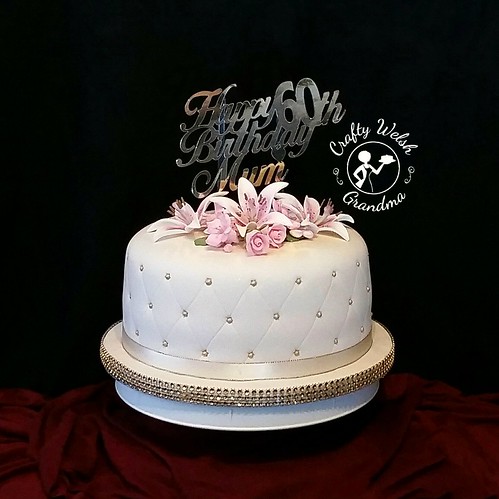
This simple, but elegant cake, was commission by my friend's son for her 60th birthday. The only thing I'm not happy about is the fact that the gold topper doesn't shine, in all it's glory, in the images I have taken.

For this cake I went to my old faithful recipe, because the recipient loves my sponge cake. She usually enjoys the cake scraps when I'm making other projets, so I even had to hide the fact that I was baking.

For the 8" cake, I used a total of three mixes of my faithful vanilla sponge recipe. The layers were then sandwiched together, crumbcoated and then covered in my basic vanilla buttercream.

Whilst simplicity was key here, I added a cushion design with gold candy balls along the side.  The board was trimmed with a gold diamante strip and the ivory ribbon for the cake has gold edging. This ribbon was to compliment the ivory fondant.
The star lilys were purchased from my local supplier and the gold "Happy 60th Birthday Mum" was commissioned from another supplier, who can be found on eBay.

I think this lucky mum will be pleased with her son's commission and, well, I know she's going to enjoy the delicious, moist cake.


It seems my photography let me down with this image. It was difficult for me to capture with mirror gold topper in all its glory. Try as I might, all I could manage was to capture the lustre dust and make it look like I'd o.d'd with it.

I think I'm going to have to research a makeshift cake studio for photography 

Tuesday 28 November 2017

Father Christmas Cake Topper


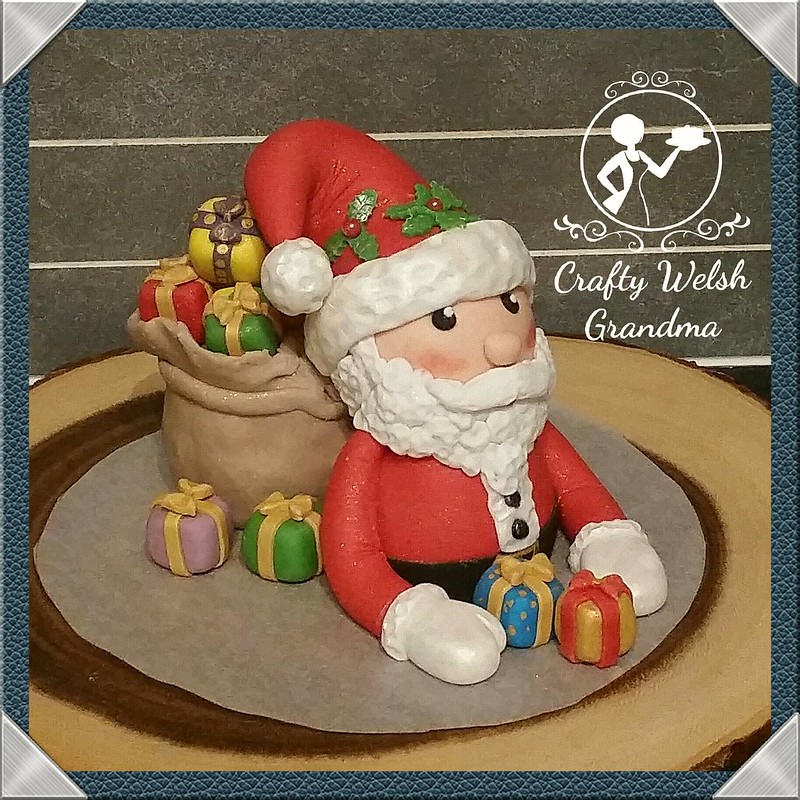
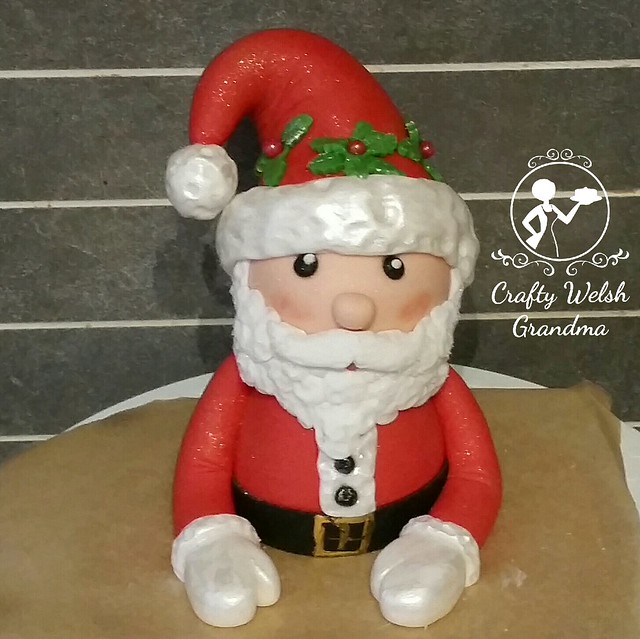
This rather handsome fellow is to adorn an upcoming festive cake and, if my calculations are correct, should just about fit from one edge to the other! At an amazing 12.5cm tall and about 1lb in weight, he is, by far, the biggest cutie I have ever made I think. At that weight, he can only adorn a super rich fruit cake.

I used:
  • Renshaw's fondant in
    • Red
    • White
    • Skin tone
    • Black
    • Various small amounts of other colours for 'gifts'
  • Renshaw's modeling paste in
    • Black
    • Green
  • Marshmallows
  • Rice Krispies
  • A plastic dowel
  • Candy red berries
  • Edible gold paint
  • Edible pearl shimmer paint
  • Edible gold luster dust
  • Edible glue / water

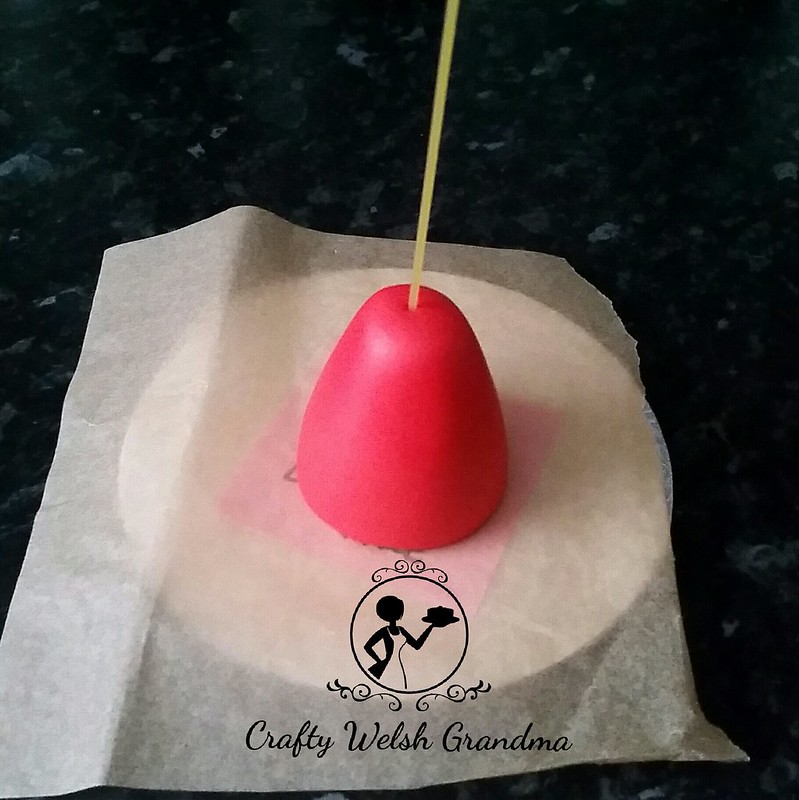
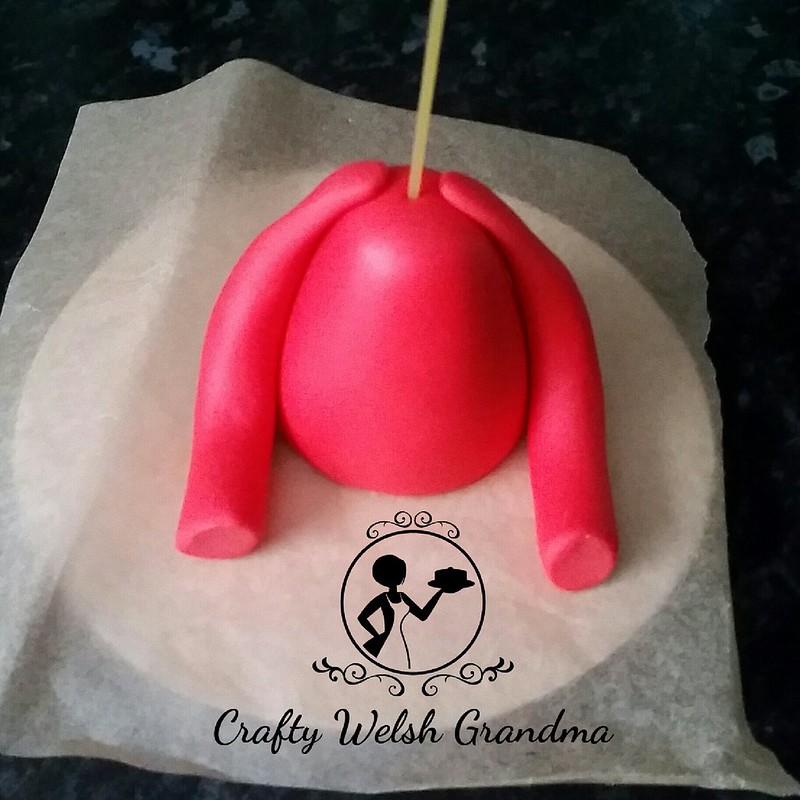
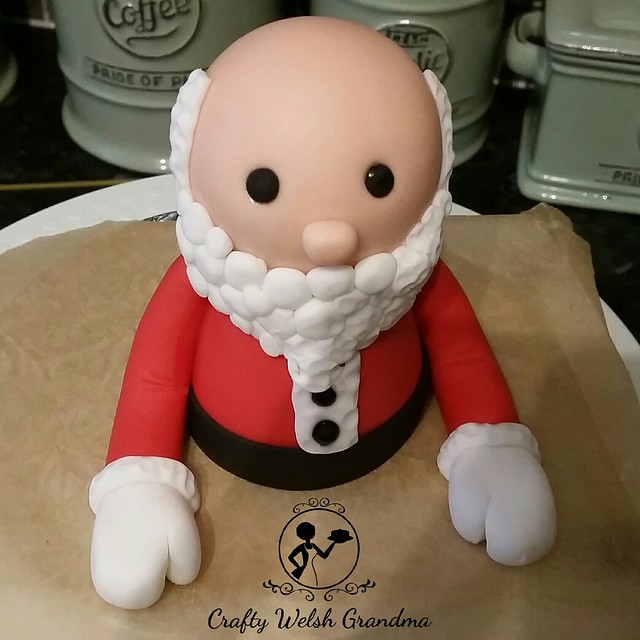
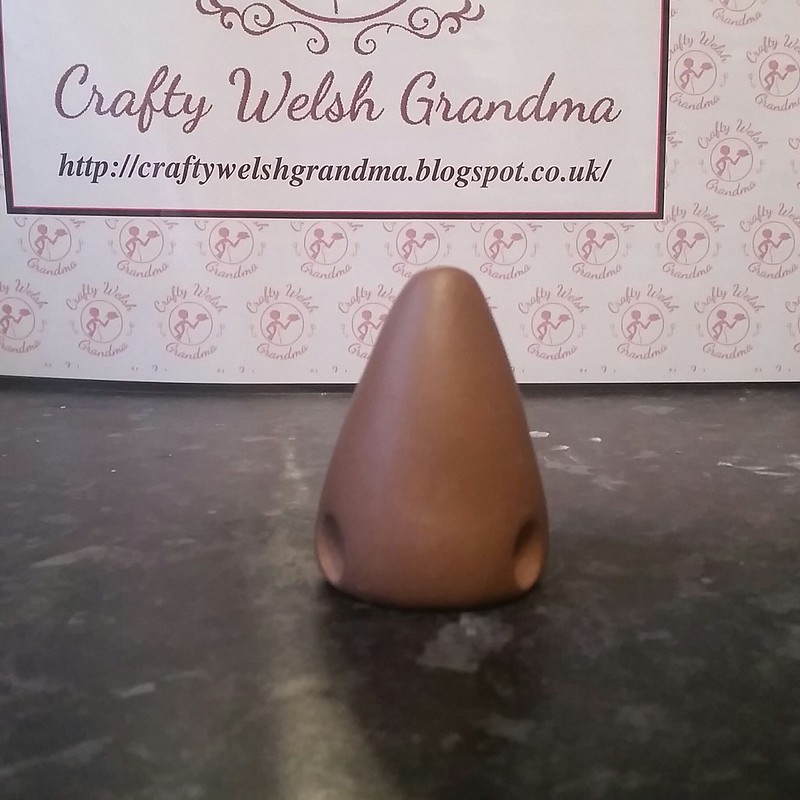
He started off as a ball of red fondant rolled into a cone. Into this I inserted a stick of dried spaghetti (as a dowel and because he might be eaten).  Little did I realise that this was not going to be enough to stabilise him as he grew. I would later use a plastic dowel.


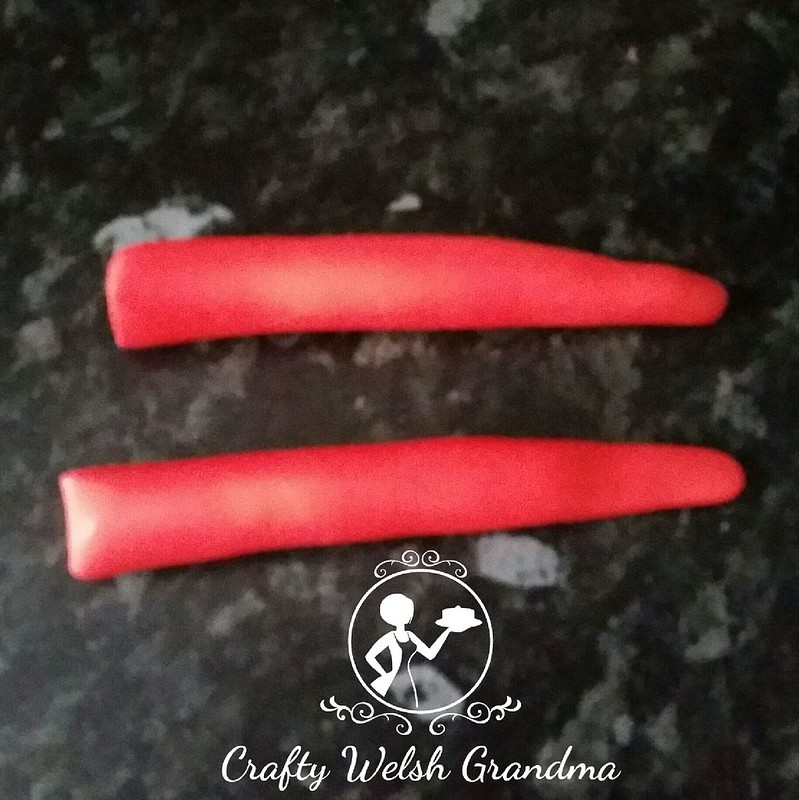
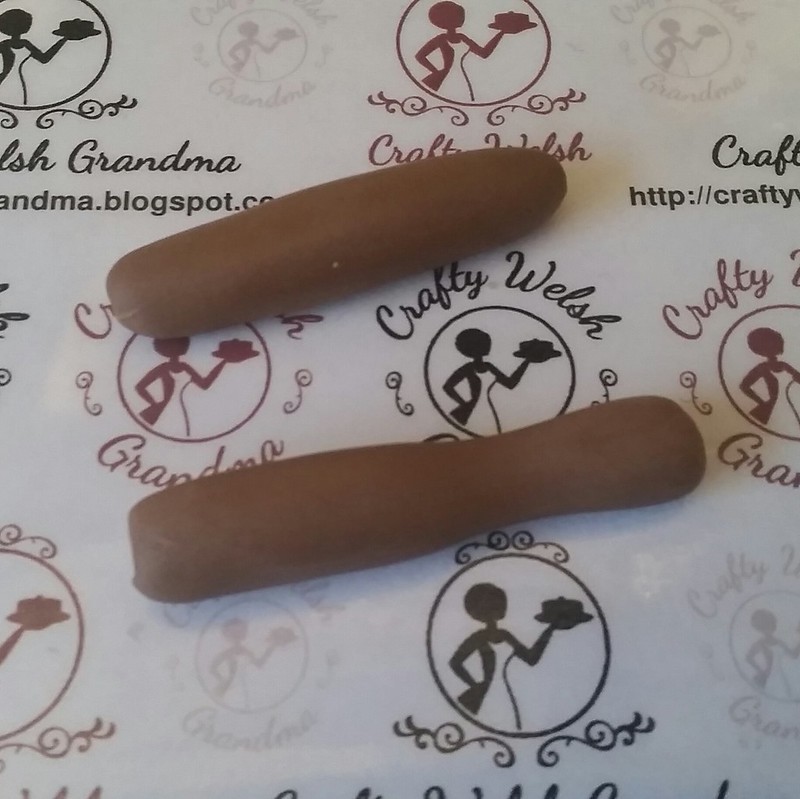
My next task was the arms, I rolled a long sausage shape and cut it in half. Then I measured them against the body, trimmed them and removed them. I will later come to realise that they will need further trimming as they were too long.


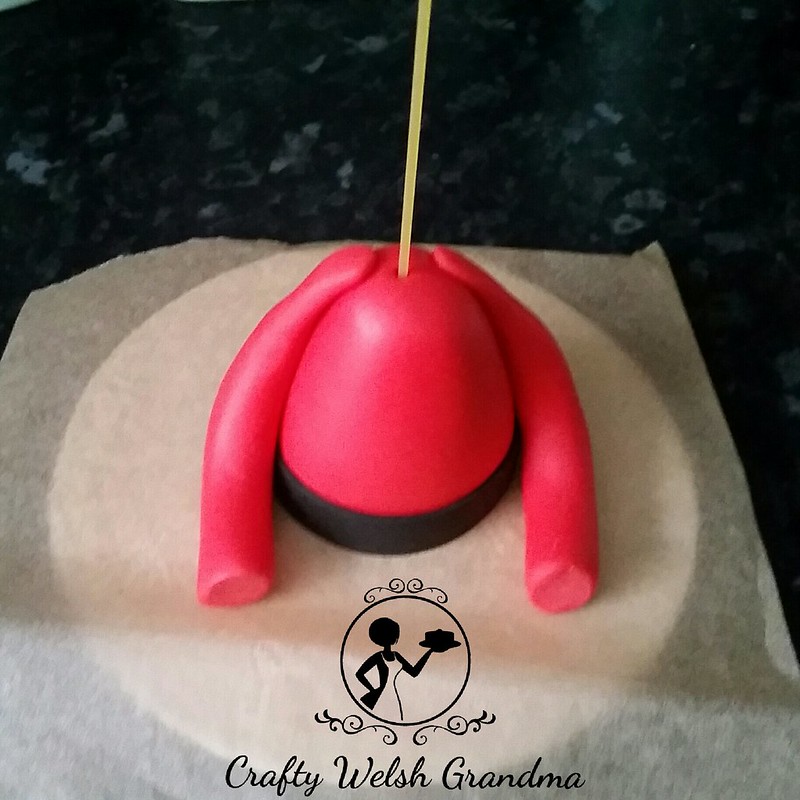
I removed them and rolled a strip of black modelling paste about 1cm thick, and fixed this on for his belt. I will later pain on the gold buckle.

I fixed the arm on with the belt in place


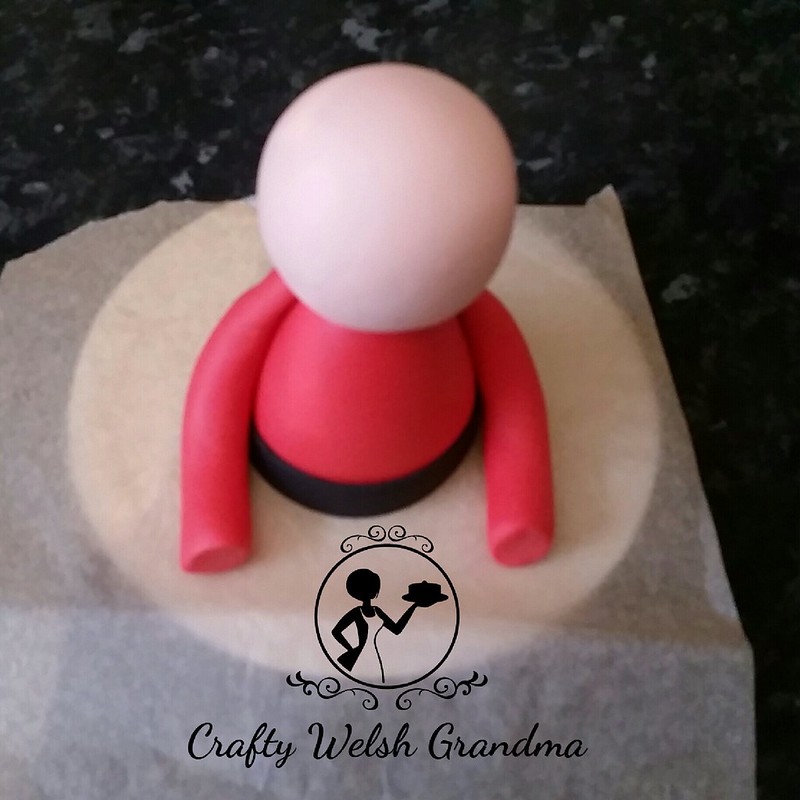
Next, I rolled a suitably sized, skin tone, ball for the head and fixed it onto the spaghetti dowel.


He needed to dry and harden a little, before I added more.

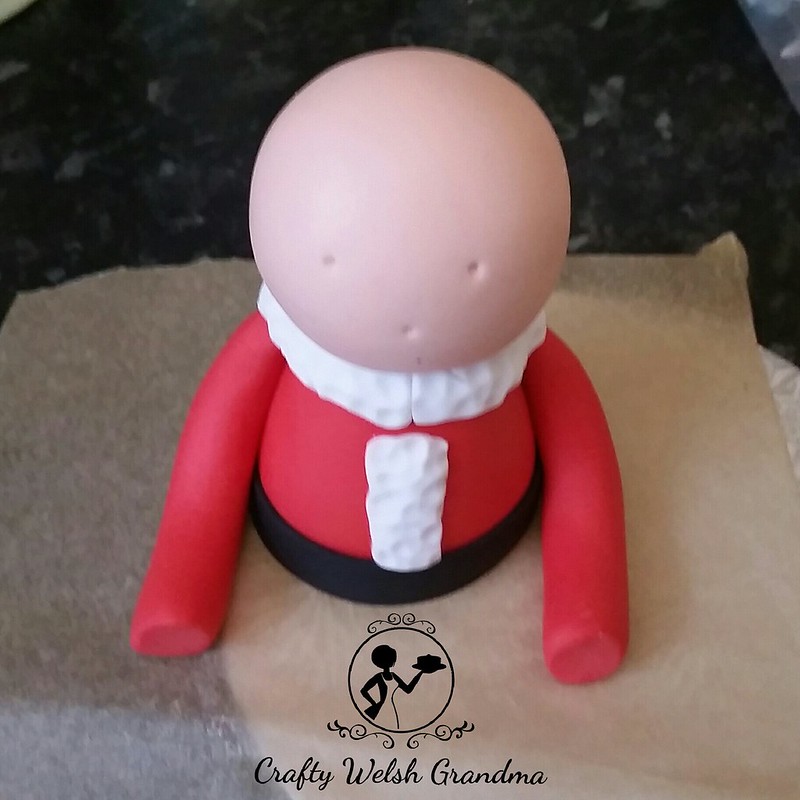
I marked the face with some dots in preparation for his eyes and nose, but I didn't make these right away.


I decided that he needed his fur trim before I did his face as well as his gloves and the trim on those.


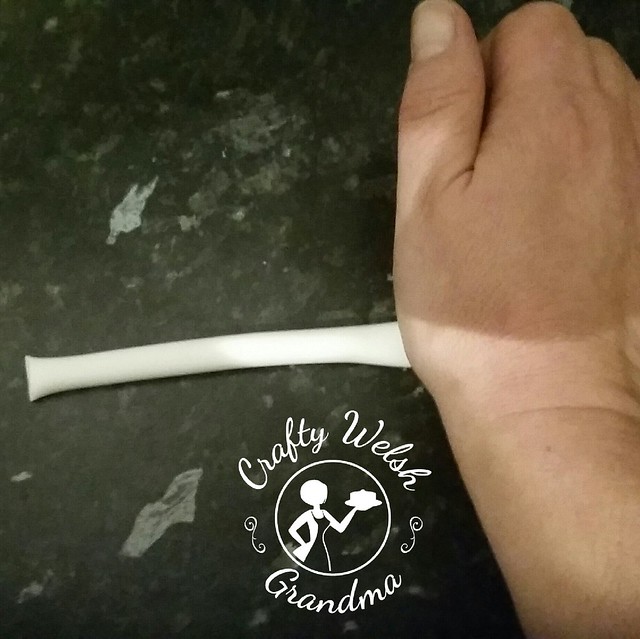
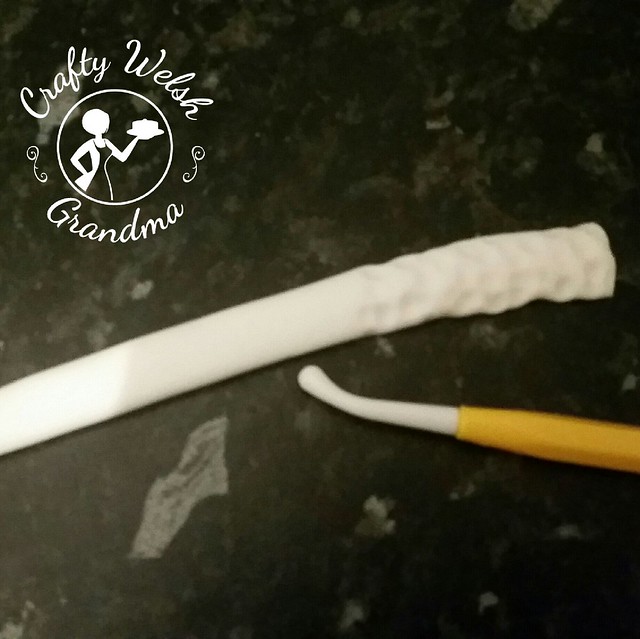
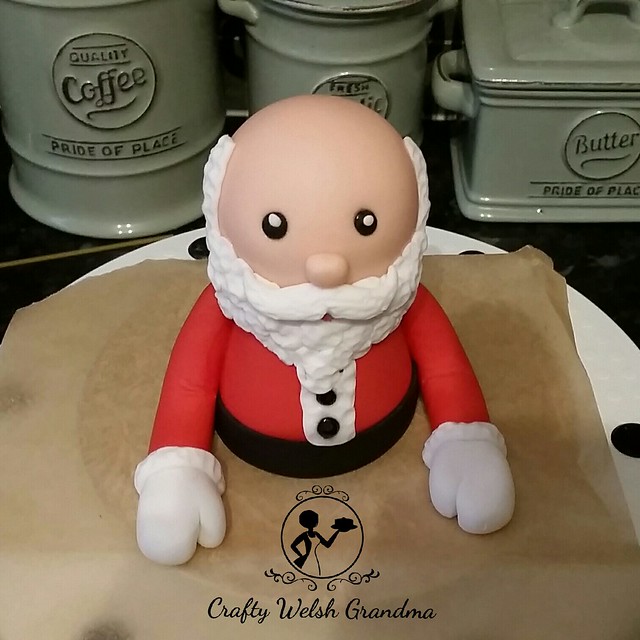
I rolled out a small sausage and flattened it with my hand, you don't want these looking too perfect, after all, it's meant to be fur. I made indents all along the facing side and down the edges, measured it around the neck, cut it to size and fixed it on, with the join at the front. Next for a strip up the front. As you can see, I made this too short, but I'm not going to worry because his beard will cover that later.  I made sure it was thinner at the bottom so it didn't look bulky above the belt.


For his hands / gloves I rolled two balls of white, then rolled them slightly sausage shape and flattened them a little. Tap the one side, that will fix to his arms, a little flatter where you know it's going to meet the rest of the arm. It was about here I realised that his arms were too long with the hands and needed shortening. So I did this.


I made a thumb by using my cutting tool and gently moulded each one, to take the sharp sides away, then inserted a piece of dried spaghetti into the ends of his arms, added some glue and gently pushed his hands on.  For the fur trim, follow the same process as above and glue this on where the gloved meet the sleeve ends.


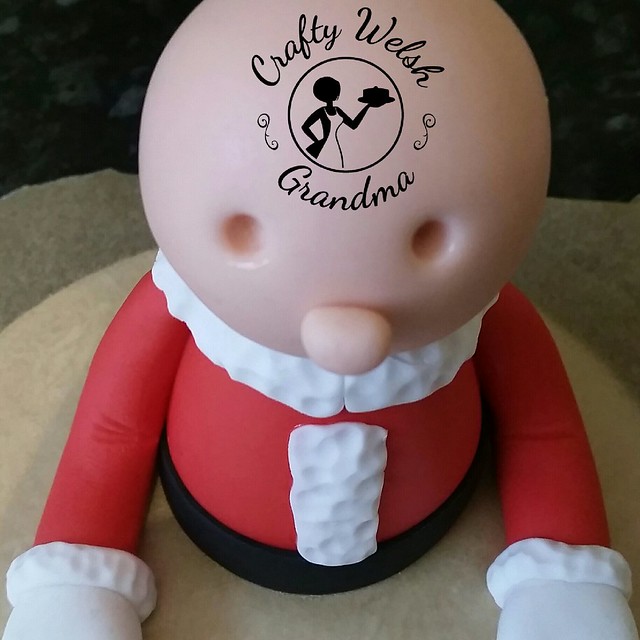
Next I inserted my ball tool into where I had placed the marks for his eyes and nose. For his nose, I rolled a small ball, then shaped it into a capsule shape, in proportion (I had to trim this a few time before I fixed it on as it looked far too comical) and fix on the face.

For his eyes, I rolled two small balls of black fondant, added a dab of glue into the eye holes and inserted them. I then pushed them in to flatten them a little as they looked silly just sticking out.


Follow the same process, as they eyes, for his three buttons down the front of his jacket.

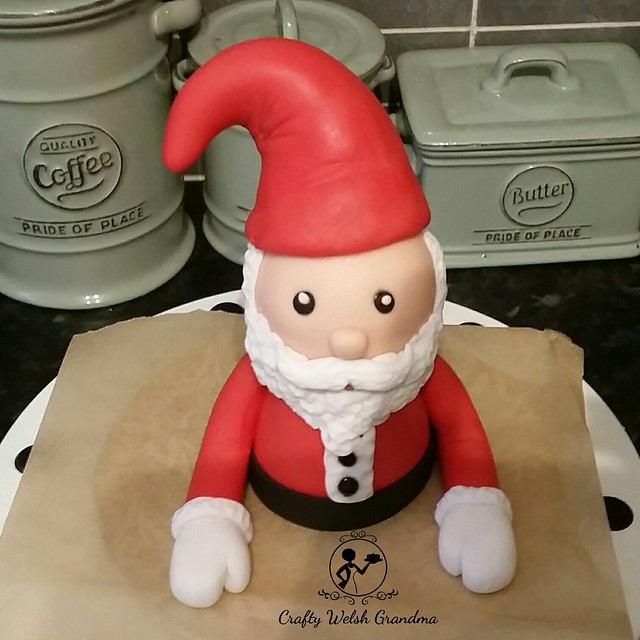
Now for that beard.  I needed to bulk up the area under his chin first, so I made a strip, exactly the same as I did for the fur trim, and fixed it down the side of his face, under his chin and up the other side. Whilst it was in place, I used my ball tool to add extra indents to fake fluffy beardy hair.


Now, I just rolled lots of tiny balls and stuck them onto his face to make the basic beard shape ensuring that there are no gaps showing the under side. Once this was complete, I used a small ball tool to impress little dents all around his beard.


Not shown here is, a tiny little love heart I cut and placed under his nose, this will hopefully show through as his mouth. For the moustache, I rolled a small sausage shape and tapered it off to small points on both sides.  I used a blade tool to press in the middle to give the impression of two sides of a moustache and bring it up and over the little love heart. I used the blade tool to place lines horizontally across the moustache to give the impression of hair.

I also noticed I had forgotten to highlight the eyes. So I tolled two of the tiniest little balls of white, glued them on at the top of the eyes off to one side, then flattened them to secure them on.


For the hat, I went back to the red fondant and rolled a ball. This was then shaped into a long cone and, using the same method as the gingerbread people hats tried it for size. I had to trim quite a bit off at first as it was far too big.

A added another piece of dried spaghetti down through the head to stabilise the hat when it's on.


Tilting his little hat over to one side before I put in on, then glued it and allowed it some time to dry.  It was about now that I noticed his beard needed a few extra balls to finish it off around the sides, so I did that.


It was about now I realised that this spaghetti dowel just couldn't 'cut the mustard' and was failing, I inserted a plastic dowel down the middle, from his hat to his waist. I then had to cover the hole I'd made, so added some holly decorations to his hat, and whilst I was there, painted all the white fur parts with a pearl paint, but not the beard and hair. Then allowed him to dry.

Time to give this half a dude the sack!

He's already super heavy, so I have to keep it light! I've never actually worked with a marshmallow and crisped rice mix, so there's a first time for everything I guess.

I had no idea and no recipe, but I guessed it should be as easy as rice krispie and chocolate things.

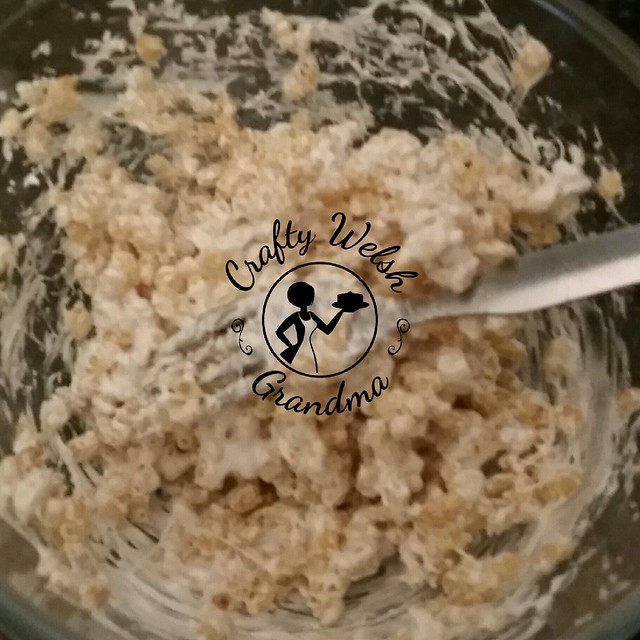
I microwaved half a dozen marshmallows, gave it a mix then ...


... mixed in the crisped rice until it looked good. It seemed to have worked. I needed the sack covered in fondant and to look lumpy and scruffy. 

Having squashed and shaped the krispie ball, I allowed it to harden.  Then I rolled out a base, then rolled out a thin piece for the top (inside the sack) and then rolled out a thick strip. I covered the sides of the sack and made sure it was taller than the krispie ball as I wanted an open top sack. Using a piece of washed and cleaned fruit bag netting, I made impressions around the sack to make it look, well, like a bumpy old sack!


My daughter had helped me make some fondant presents with ribbons and bows, these were added to the sack and around the fugue, these will be glued on at a later date.

For now, this figure is living in an air tight drying box until needed.  Check back for the cake that this will adorn this festive season.

Saturday 25 November 2017

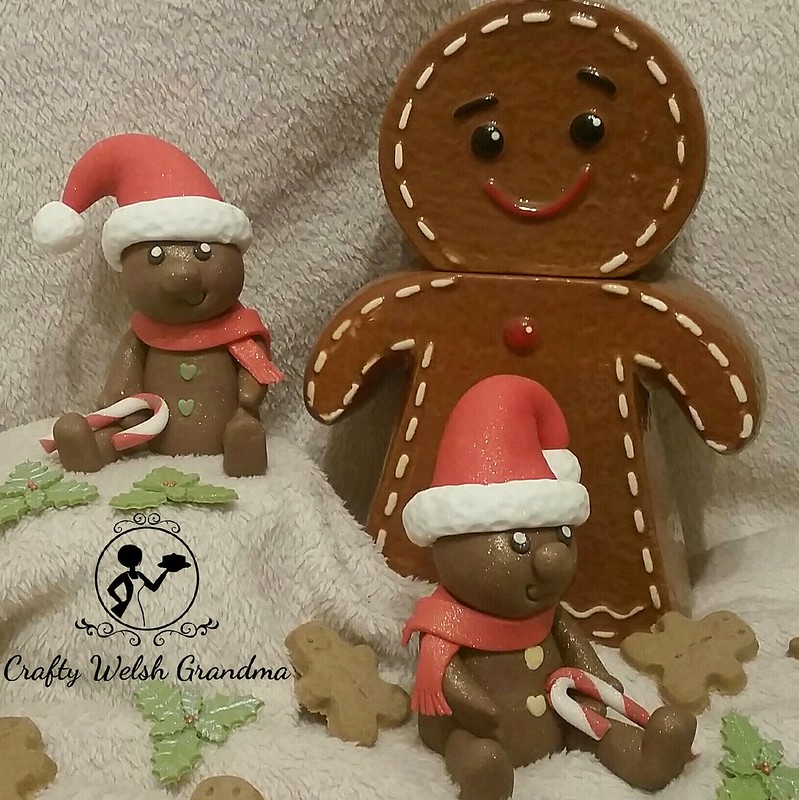
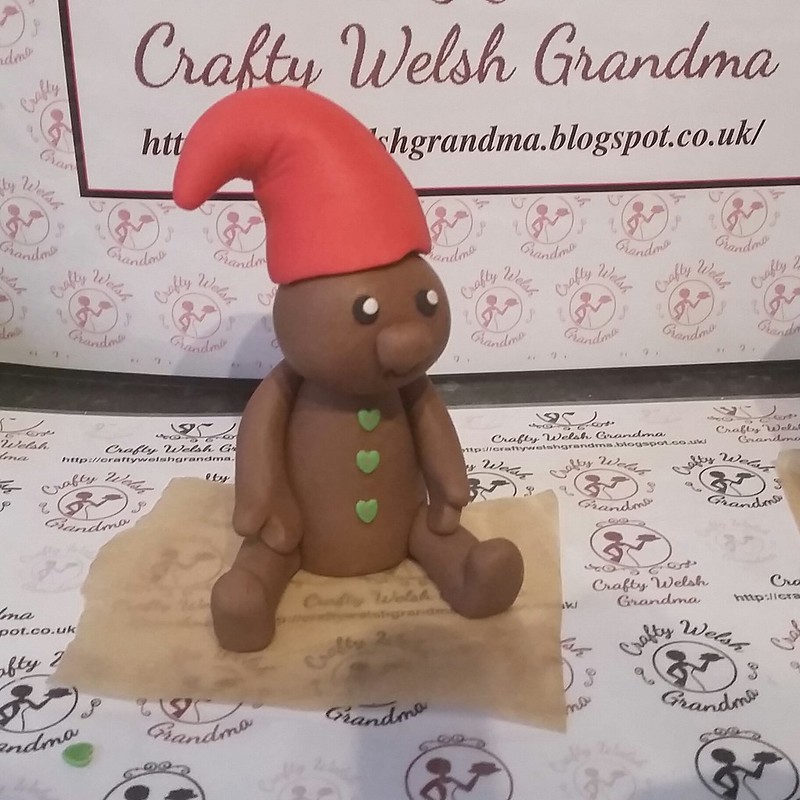
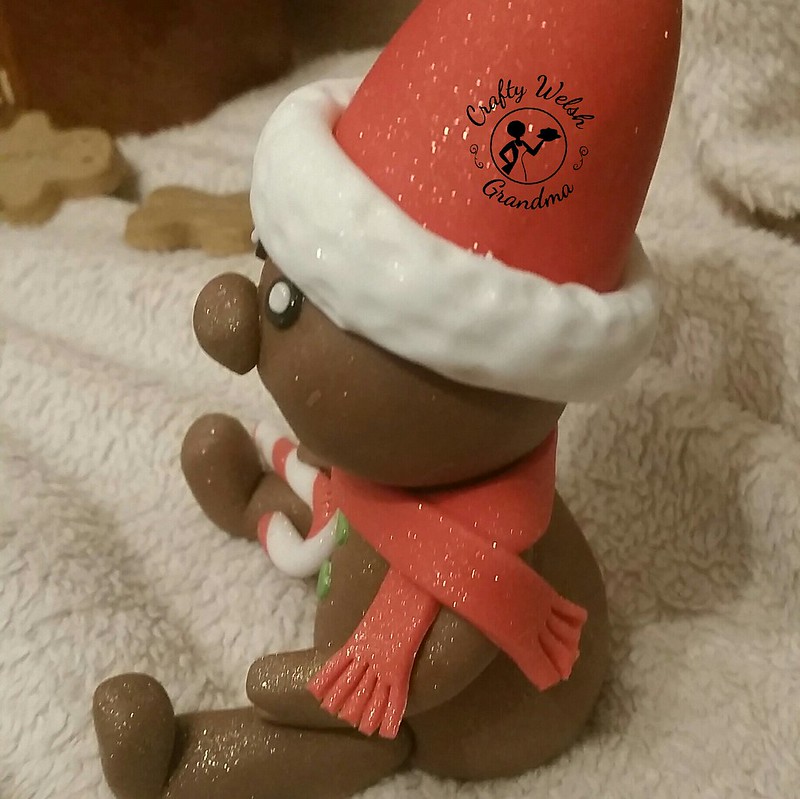
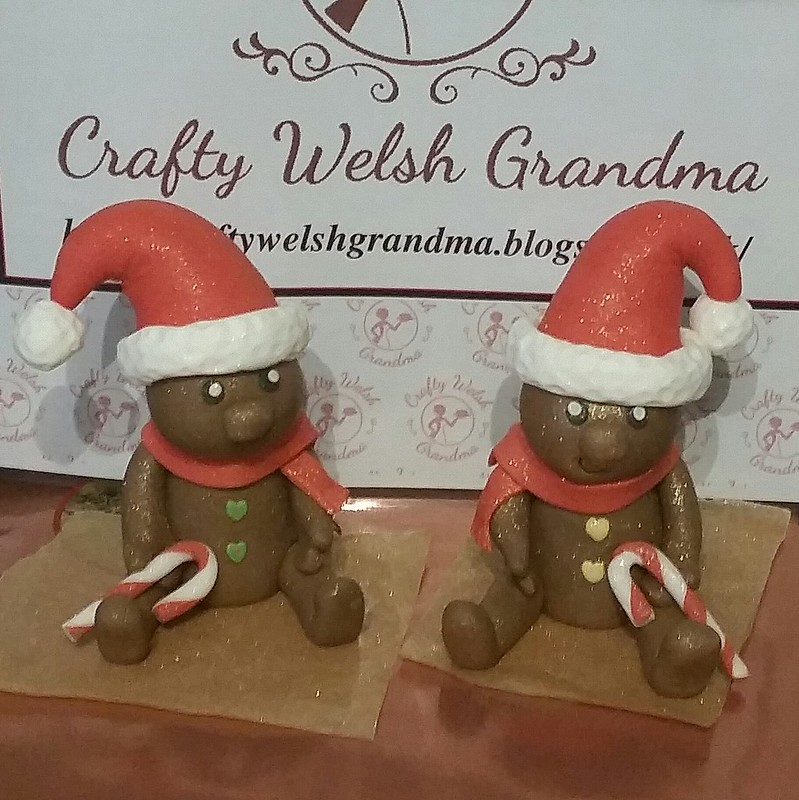
Fondant Gingerbread People - Cake Topper


An absolutely cute gingerbread person cake topper made from fondant. I gained my inspiration from elsewhere, but this is my effort and I want to share it with you.  

Check out my other festive fondant projects, new and from previous years, here.

Before I continue, I must give credit to Krazy Kool Cakes, they're on YouTube, along with the kawaii cupcakes toppers I shared recently that I also made.

I used:
  • Renshaw's fondant in the following colours:
    • Chocolate flavoured / Brown
    • White
    • Red
    • Black
    • A little of another chosen colour for buttons
  • A small or medium ball tool
  • A blade tool
  • A scallop tool
  • Small rolling pin
  • Edible glue / water
  • Small amounts of red and white modelling past if making a candy cane
If, like mine, the chocolate fondant you have it too dark, mix it with white until you reach the shade you like. Once you have the shade you like: 

The Body:
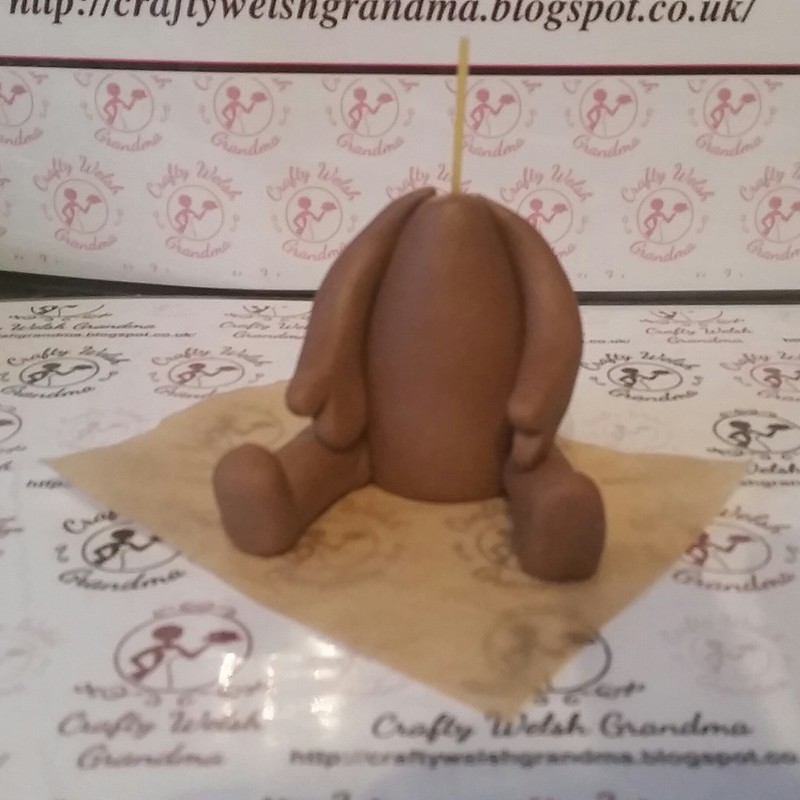
  1. Roll a ball so there are no creases or blemishes in it. My 'body ball' was about 2 to 2.5 inches across. It is the size on this ball that will determine the size of the rest of your gingerbread person. If you want it smaller or bigger, then adjust the 'body ball' accordingly 
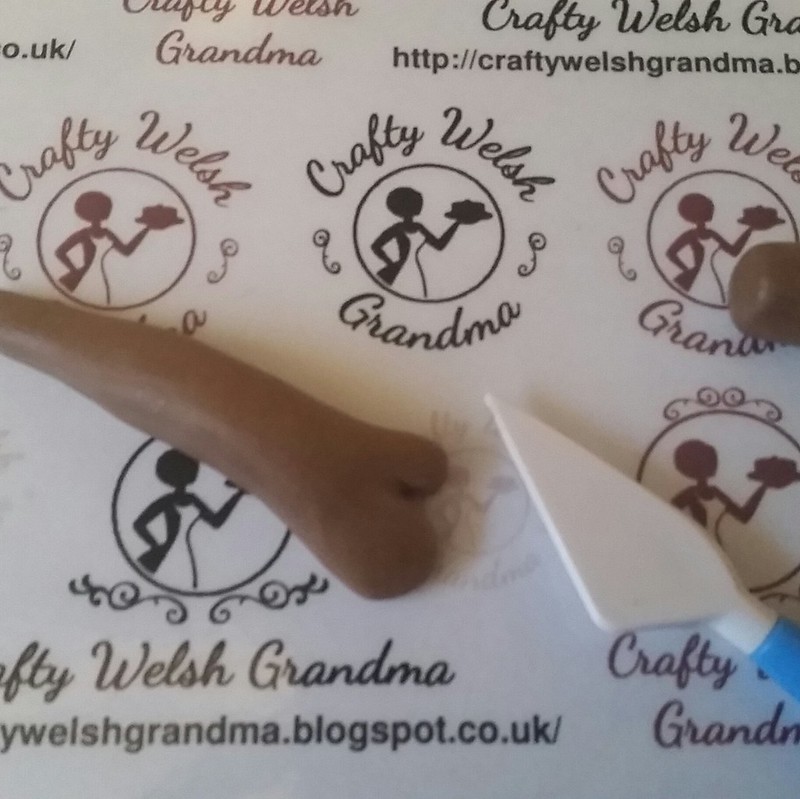
  2. Roll this ball into a cone shape 
  3. Once you are happy with the shape and size, pick the best side for the front.
  4. Using your ball tool, press into the bottom either side of the centre for the legs to sit into. 
  5. Push either about 1/2 of a cocktail stick or a length of dried spaghetti into the centre of these impressions. 
  6. Before you move on, push a length of spaghetti down through the centre of the body, from the 'neck' to the bottom
The Legs:

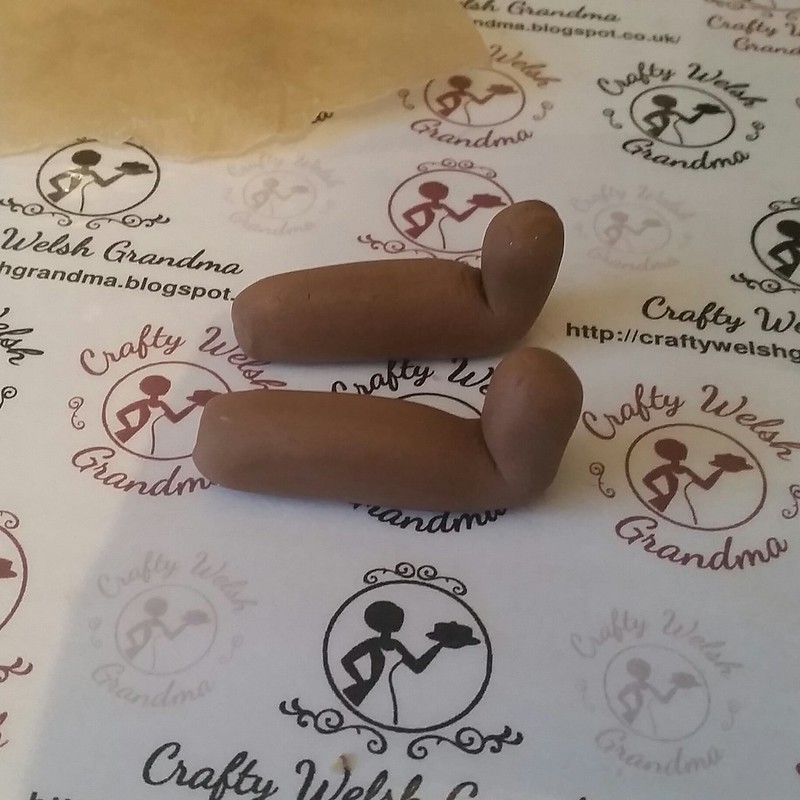
  1. Roll two sausages, mine was about 2 to 2.5 inches long and about the thickness of my little finger 
  2. At about 1/3 from the end: 
    1. Take your finger and roll, only where your finger touches the fondant, so this little but will form an 'ankle' 
    2. Tap the 'foot', not to flatten it but to make a flattened sole 
  3. Pick up the foot and, with your finger, push it up at a right angle to the rest of the leg. If it won't stay, keep trying. It will happen
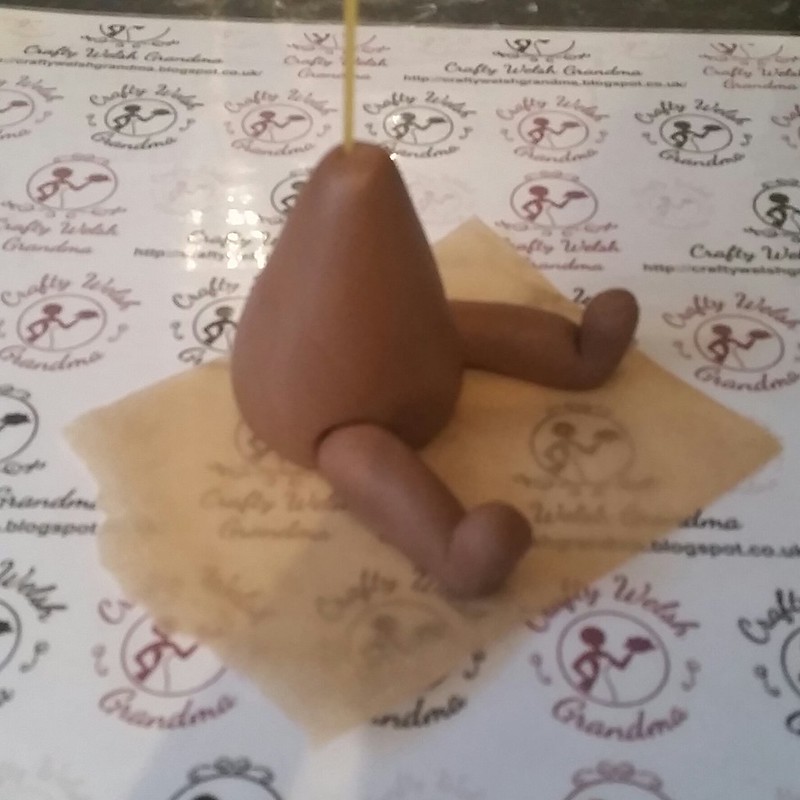
Add legs to body:

Before you attach the legs to the body, check for size. If they are too big, trim a little off at the top and gently reshape.
  1. If you are happy with the length of the legs: 
    1. Add a small amount of glue / water to the socket and spaghetti 
    2. Gently push the leg on 
  2. Do this for the second leg
The Arms:

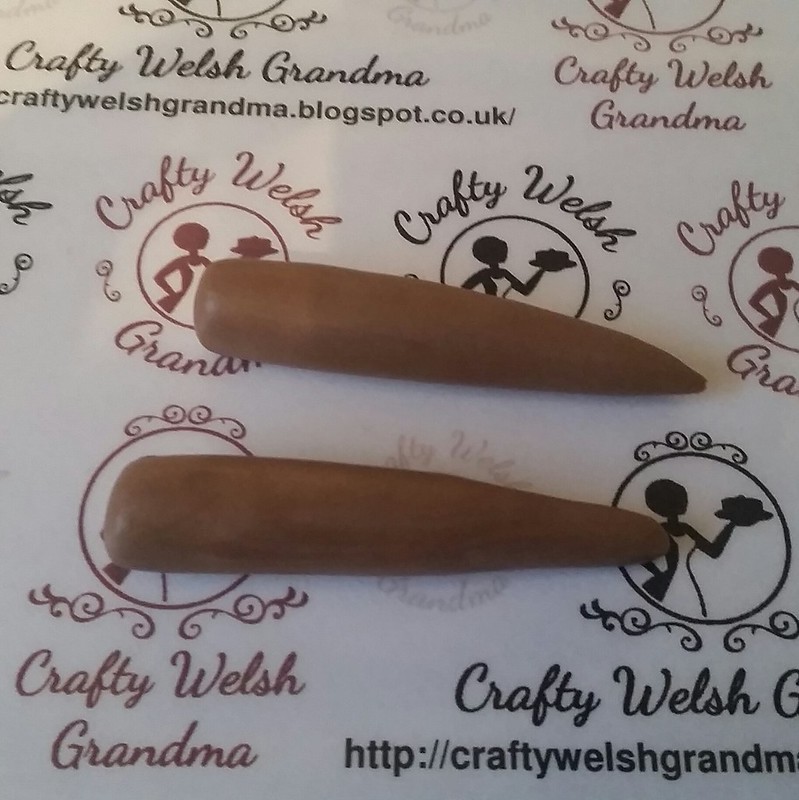
  1. Roll to lengths of fondant into a long cone, thinner but about the same length as the legs. 
  2. Now tap the fat end to flatten and widen for the hands 
  3. Take your blade tool and, on opposing sides on each hand, make a small cut for a thumb
  4. Smooth out the shape edges of the cut 
  5. Model one side, between the thumb and the rest of the hand, a little bigger on one hand if you plan on adding the optional candy cane

Ensuring that you have the thumbs on the correct side:
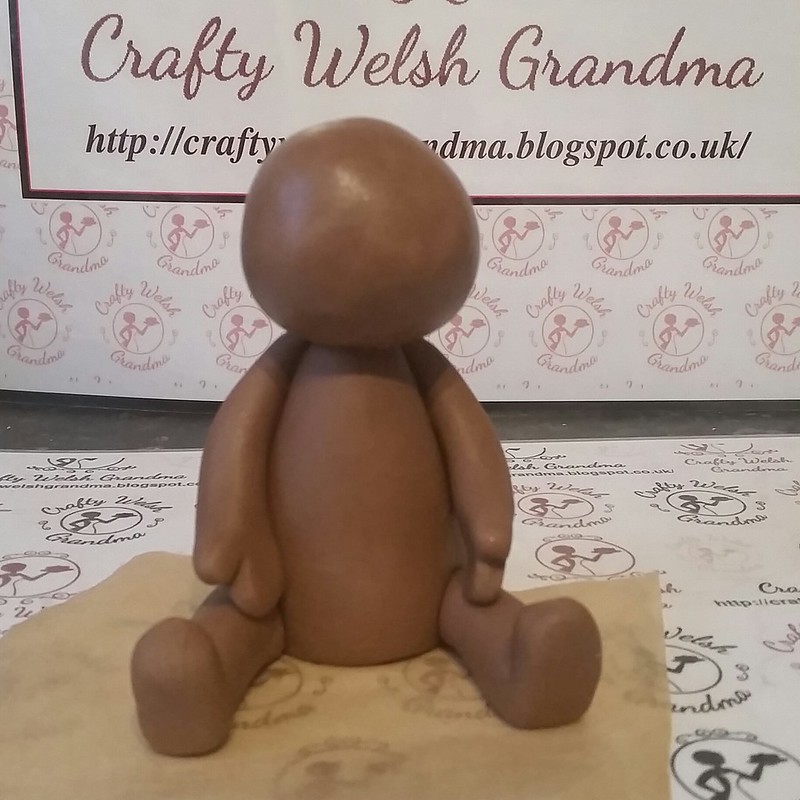
  1. Fix each arm to the body so that the hands rest on the legs 
  2. If there is too much fondant left at the top, cut it off so it's level with the neck

The Head:
  1. Roll a ball of fondant, in proportion to the body
  2. Add glue to the neck and shoulders 
  3. Ensuring that the head it central before fixing ... 
  4. Gently twist the head onto the stick down to the shoulders 
The facial features:

I forgot to take pictures when putting facial features on, but do this before you put the hat on! 

Nose:
  1. Make a small mark where you want the nose to be. 
  2. You might find it easier to bring your project up to eye level to get this right 
  3. Roll a small ball of fondant 
  4. Reshape into a capsule shape and 
  5. Fix, with glue, where you made your mark 
Mouth:
  1. I used a scallop tool make an indent under the nose to make a smiley mouth. 
  2. I like placing mine on the sides, but you can place yours in the middle directly under the nose if you wish 
Eyes:
You can do this by either rolling two small black balls of fondant or, roll out some black fondant, cut two small circles, this is the method I used, whichever way you chose:
  1. Make two small black circles / balls 
  2. Fix to the face above and to the side of the nose 
  3. Roll two very small white balls and fix to the eyes for highlights If you a white edible paint or an edible white pen, you can use that to make highlights if you prefer
The hat and buttons:

Hat:
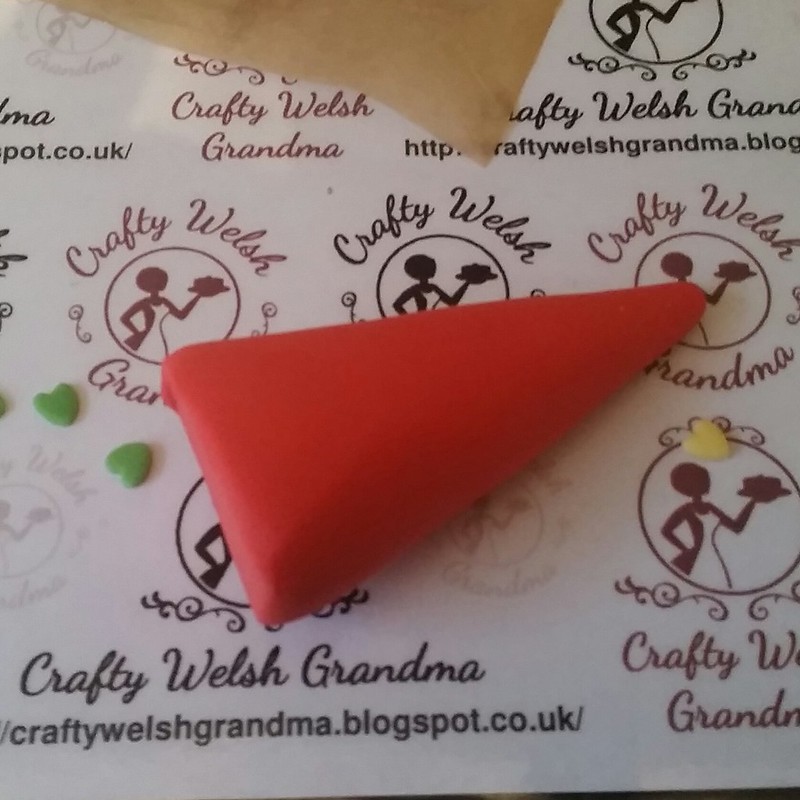
  1.  Roll a ball of red fondant 
  2. Now shape this into a cone 
  3. Check against head to ensure it's in proportion 
  4. Trim the thick end so that it's flat 
  5. Hold the hat gently in your hand and press a small rolling pin into the end to make an impression so that it sits on the head 
  6. Keep checking that it fits and is in proportion 
  7. Thin out the rim out of the hat, using your thumb and finger, so it's not bulky when fixed on.
  8. Bend the top of the hat to one side, see picture
  9.  Add glue to the indent at the bottom of the hat and ...
  10.  Fix to head Use your blade tool to add 'creases' to the bend of the hat if you prefer, but it does look good
Buttons:
I used small heart shaped cutters, but you can roll small balls and either shape them into hearts or leave as flattened balls.
  1.  Cut three, or more - just in case
  2.  Allow to dry a little 
  3. Using three of your hearts shapes / ball shapes, add them as buttons up the front
  4. It's easier to start at the middle button first
The Scarf
  1. Roll out, thinly, a length of red fondant 
  2. Cut so it's about 1cm wide 
  3. Measure it against your gingerbread person so that it crosses over and looks like its wrapped
  4. Cut to length 
  5. Frill both ends 
  6. Add glue to the back 
  7. Place and firmly fix one side to the shoulder so it hangs down the front side of the arm 
  8. Now, rotating your gingerbread person, wrap this scarf around 
  9. Fix firmly over the shoulder, crossing the portion that is draped over the front
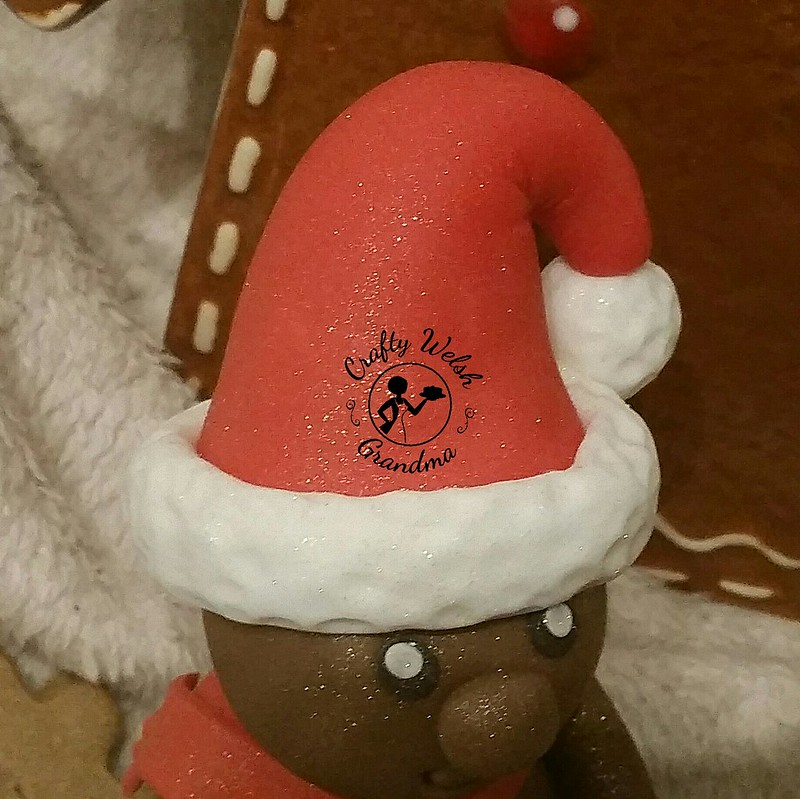
The fluffy white hat trim and pompom:


Fluffy white trim: 
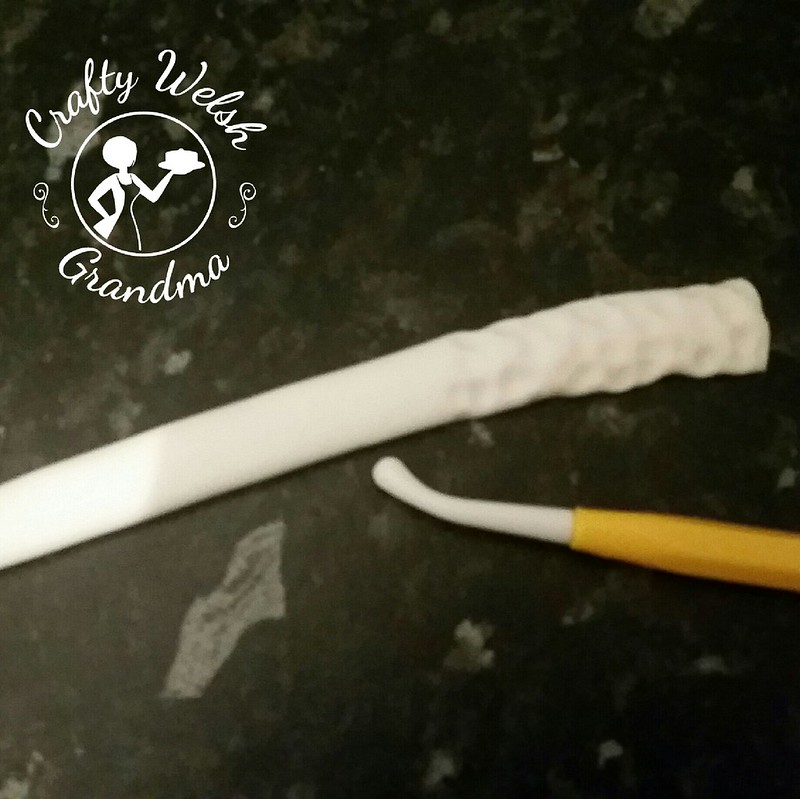
  1.  Roll a length of white fondant into a sausage shape. 
  2. Check size / length against the hat / head 
  3. Trim where required. 
  4. Flatten this with the portion of your hand at he base of the thumb 
  5. This will adjust the size of your piece, so measure again and trim is necessary 
  6. Using your medium sized ball tool (I needed to use a bone tool for mine) make impressions over the top and long sides of the piece, leave trimmed ends straight 
Fluffy white pompom: 
  1. Roll a ball of white fondant to the size your prefer. 
  2. I wanted an oversized fluffy ball for mine. 
  3. Using the small ball tool, make impressions all over.
Fixing then on:
The trim: 
  1.  Add glue to the back / flat side of the trim and ... 
  2. Fix to the hat so it covers the very bottom of the hat and rests just above the eyes. 
  3. Secure all the way around by gently pressing using your finger. 
  4. Ensure the fake fur / impressions are on the top and bottom of the trim 
  5. If not, add some more impressions with the ball toll whist trim is in place 
The pompom:
  1.  Dip one end of a piece of dried spaghetti into your glue insert this into the pointy end of the hat to that you can still see a length of it 
  2. Add some glue to the end showing and gently push the pompom onto this If you need more indents / fluffiness, gently add some now


Friday 24 November 2017

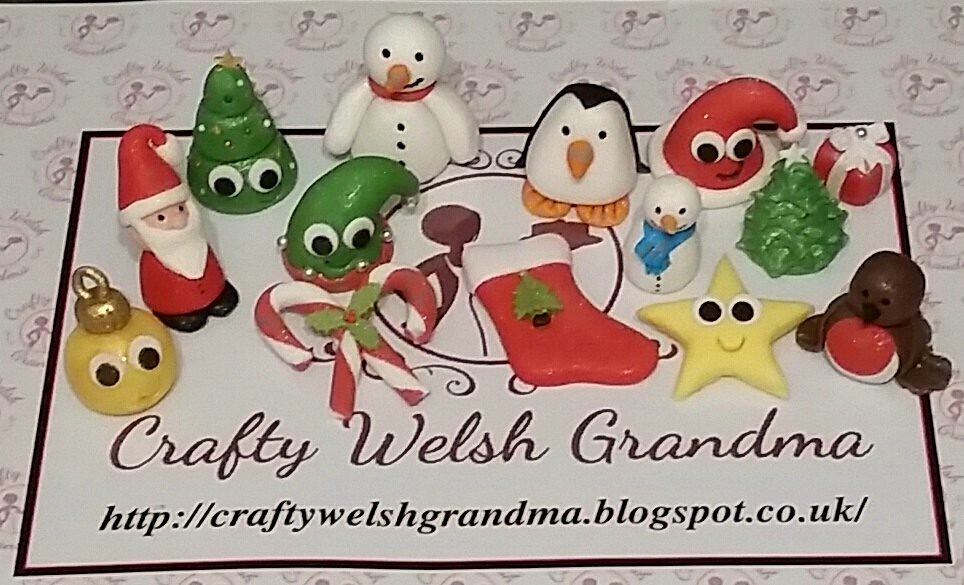
Kawaii Cupcake Toppers


Here is a mix of cupcake toppers I have recently made, some are classed as 'kawaii', due to their large eyes whilst some are simply cute for other reasons.

These will be used for my grandson's cupcakes next month and are currently drying out. I haven't made any instructions for publication for this batch, but I will be making more in time for more Christmas cupcakes.


Sunday 19 November 2017

Paw Patrol "Master Class"


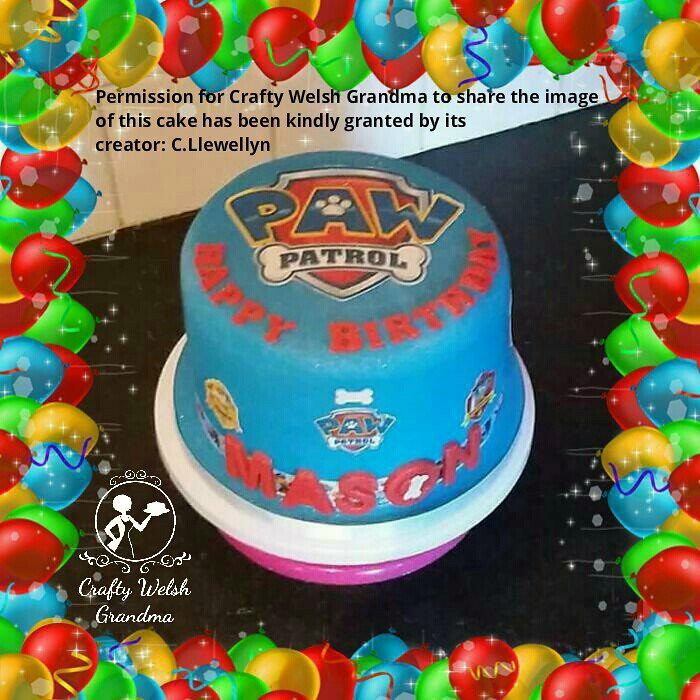
I don't always make cakes, sometimes I help others make cakes for themselves.  This blog entry is one of those and was not made by me, but I want to showcase it anyway.

A good friend of mine needed help to create this wonderful Paw Patrol creation. I had previously made a number of cakes for her, check them out here:

But this time, she wanted to go it alone.  She's a pretty good cook anyway, so the chocolate sponge and accompanying chocolate buttercream was certainly not the issue here.  Her issue here was with the crumb coating and the ultimate fondant cover and decorations.
By the time I had got there, the sponges has already been baked.  I showed her how to top them off so they were level, simple syruped them, then she removed the middle of two of the three sponges, filled them with chocolate buttons whilst stacking.

The crumb coating session went without a hitch.  Of course, as you'd expect, speed was slow but everyone has to try something for the first time and, as yet, I've never found a speedy learner.

We chilled the sponges then covered them in the chocolate buttercream and chilled again.

As with most people I have encountered that are looking for a frst time fondant project, they purchase a low cost brand - I've even done this myself - check out what happened here, it's an awesome read!

As expected, the budget brand fondant was not the greatest of help. It cracked, broke and fell off the cake! However, this was the only major, physical intervention I had. Obviously my friend was upset when this happened, after all, this cake was for her grandson, so she had put a lot of pressure on herself.. However, I managed to claw back and rescue the fondant cover.  This was all from my own experience with the budget brands.

The end product showed a scar where the fondant had cracked. However, she had purchased printed icing sheet decorations, so she used some to cover the scar and, as you can see, the final result shows nothing of its battle :)

With next to no intervention, only 'show and tell' tuition and supervision, everything was completed and not by me. I'd go as far as to say that this was a successful 'master class' with a brilliant 'student' 

Related Posts Plugin for WordPress, Blogger...