Tuesday 31 October 2017

Pumpkin Spice Cookies


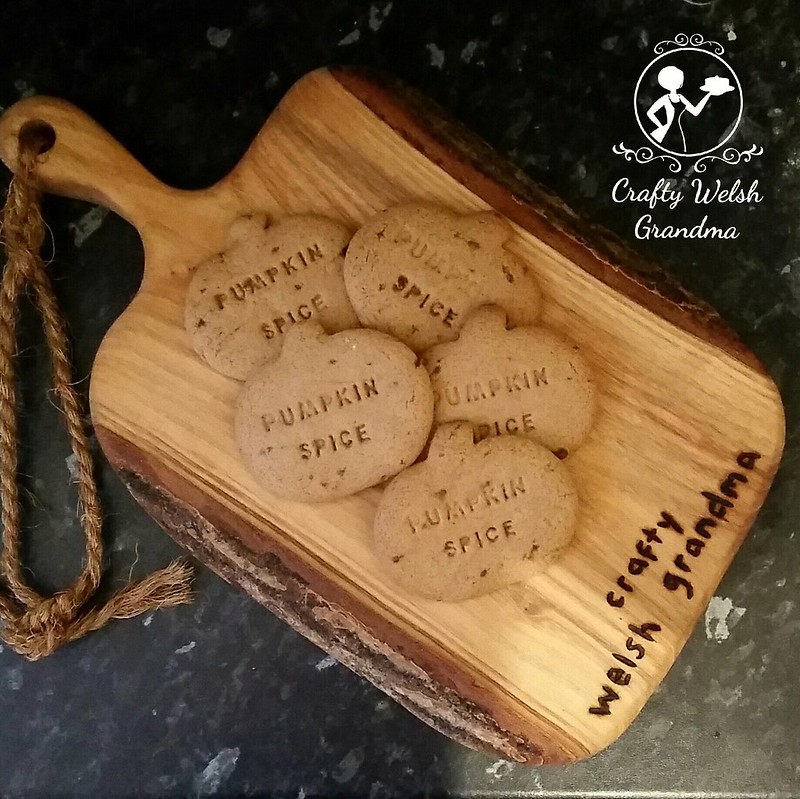
Delicious and simple pumpkin spice cookies, great for baking with the kids.  You can leave them plain or decorate with some writing icing and / or decorations.

You will need:
  • 350g plain flour
  • 1tsp baking powder
  • 3tsp pimplin spice*
  • 125g butter or margerine
  • 175g soft brown sugar
  • 1 egg
  • 4tbsp golden syrup
* If you don't have any pumpkin spice, why not make your own - see here

How to:
  1. Sift and mix together all the dry ingredients.
  2. Rub in the butter to this mixture until it looks like breadcrumbs.
  3. Gently beat the egg with the syrup.
  4. Add this to your breadcrumb mix and stir in until such a time that you can et your hands in there - the mix should clean the bowl of all lose ingredients
  5. Pre-heat the oven to 180*C / 350*F / Gas #4
  6. Leave the mix to rest in the refrigerator for about 15 minutes
  7. Line your baking tray(s) with grease proof / parchment paper
  8. Roll the dough to about 5mm or 1/4 inch thick
  9. Using your cutters, cut out your shapes and place them on the trays, leaving a gap in between
  10. Bake for 12*15mins or unil light and golden.
  11. When cooked, leave on the tray for about 10mins then move them onto a wire rack to finish cooling.
  12. Decorate as you wish

Saturday 21 October 2017

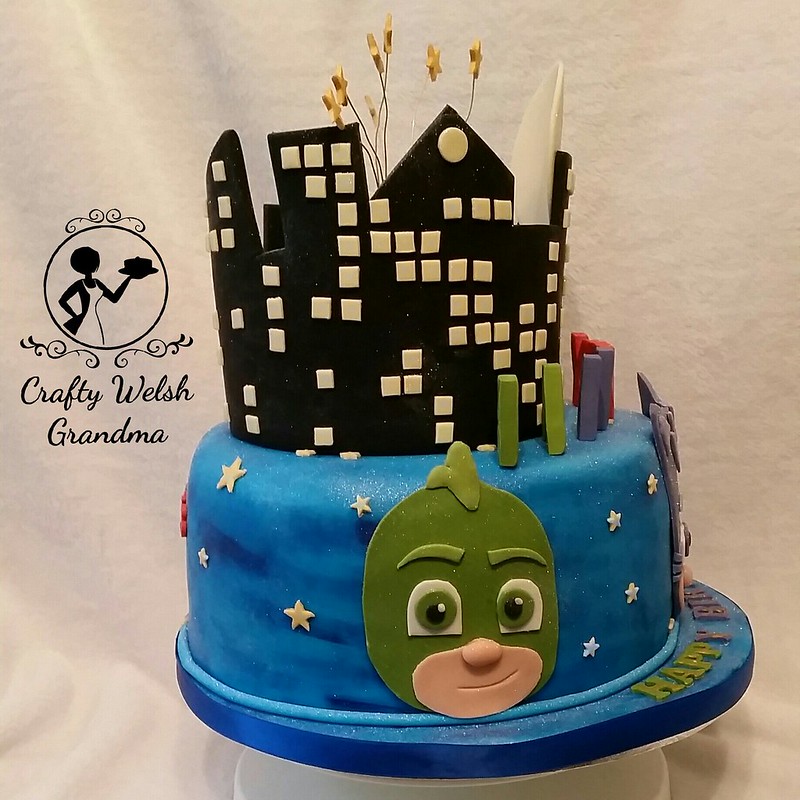
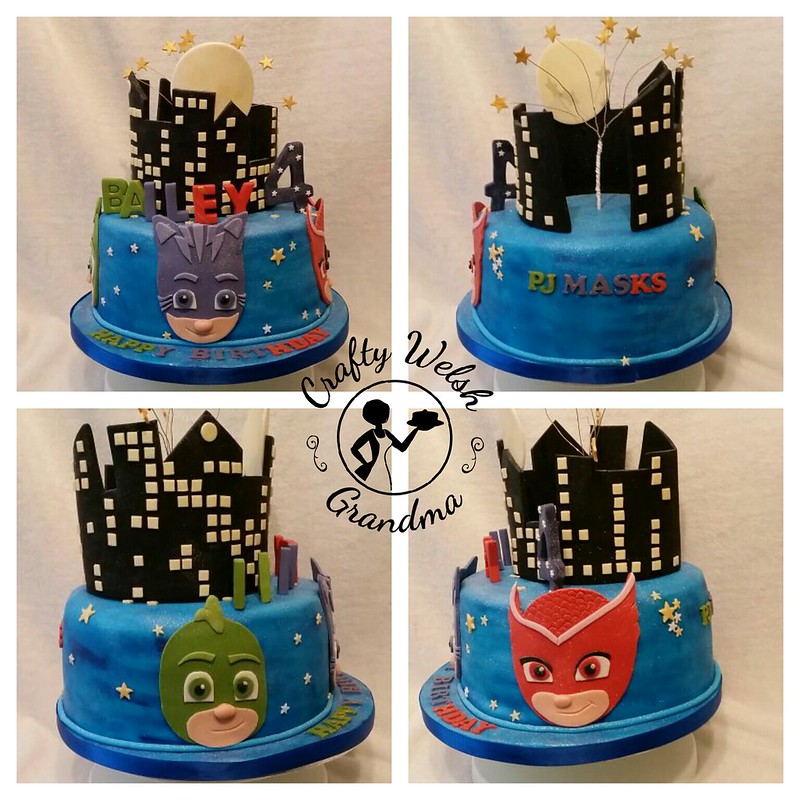
PJ Masks Birthday Cake

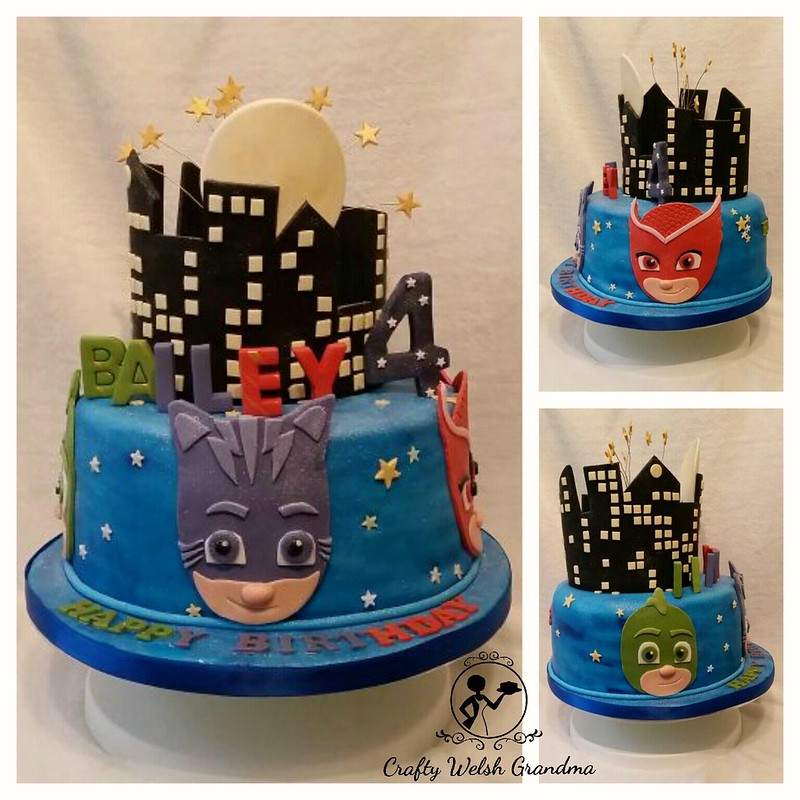
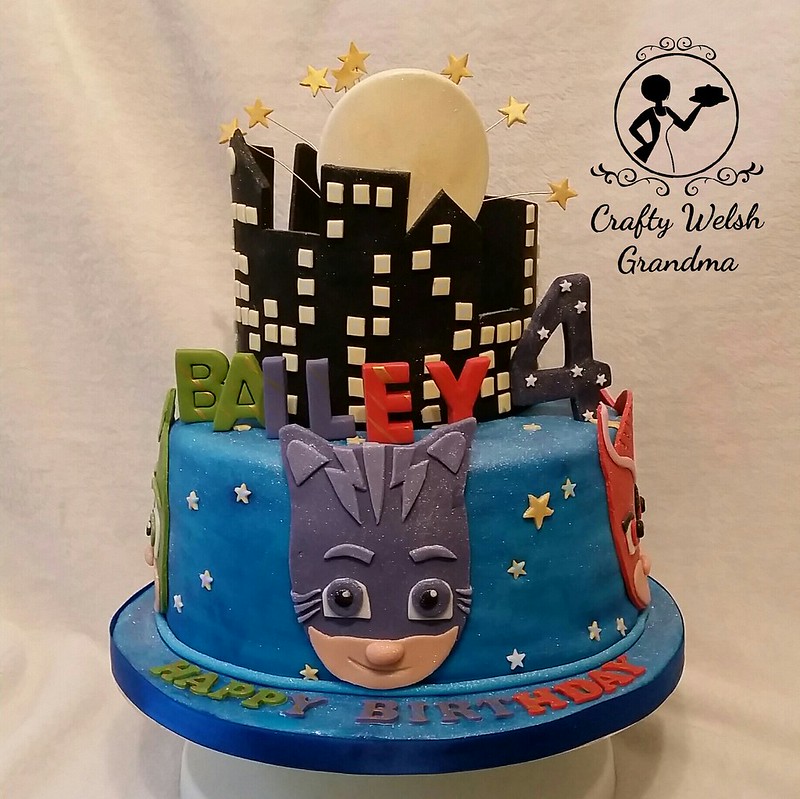
I researched as many PJ Masks cakes before I made this one for my Great Nephew. There was an obvious theme with the ones I found: All the cakes were a shade of blue, they all had a skyline with a moon and each of the three PJ Mask characters featured on the sides. So, It was my turn!


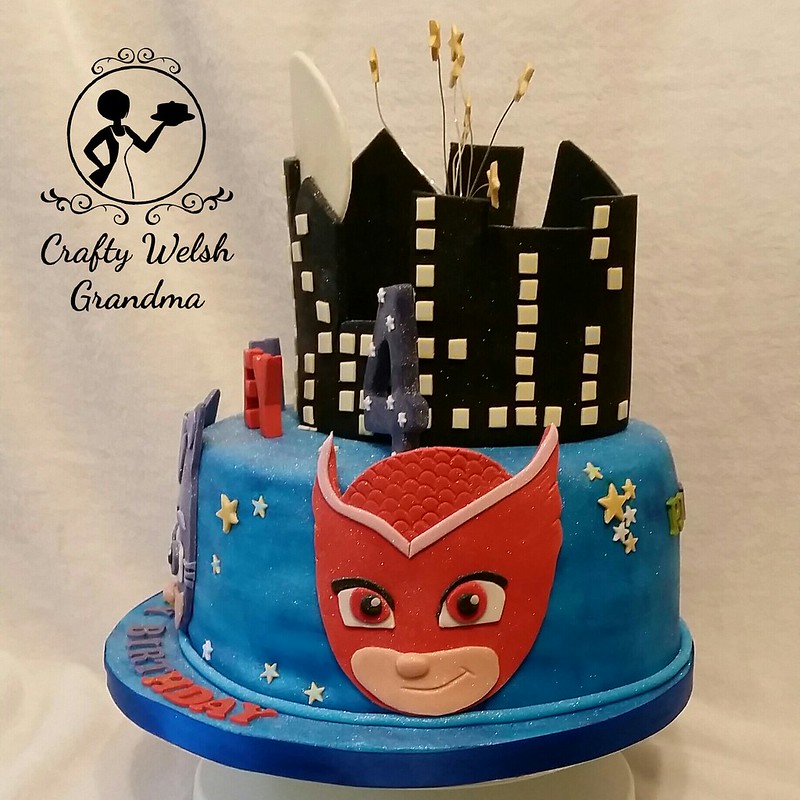
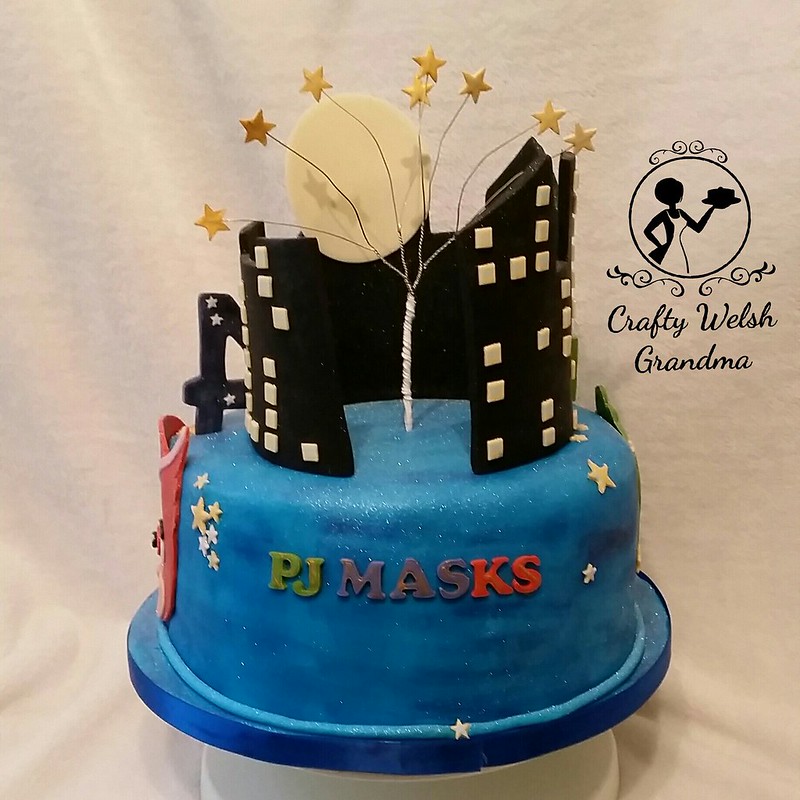
All the black, window-lit skylines I saw on other cakes were straight.  I decided to do mine round. Which was not without its own issues. I used about 500g of black modelling paste, rolled it out to about 8mm thick, cut of the skyline and wrapped it around a six inch baking tin, covered in parchment paper.  I used the six inch tin because my cake was a 10" one.


The moon was cut using a standard cookie cutter with the fondant covered in clingfilm first, this will give a nice edge as it will be on show. I keep promising myself that I will, one day, add to my varied collection of cutters with some basic shapes like squares. But, alas, not yet, so I cut the windows out individually. When will I learn?

I you're interested it a details step-by-step process of how I made the city-scape and the moon, please check out my Instructables post here

Base colour fondant: Renshaws Turquoise dry brushed with navy gel food colour

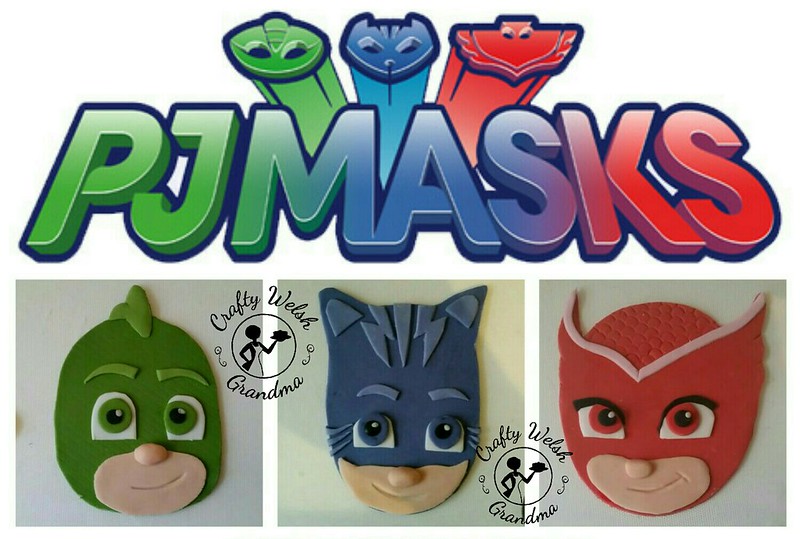
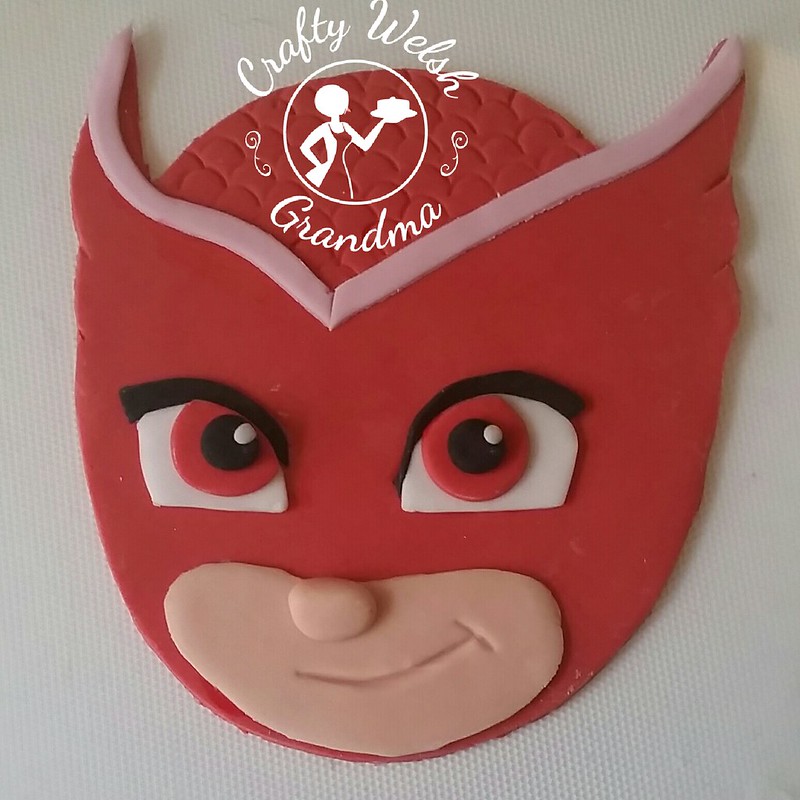
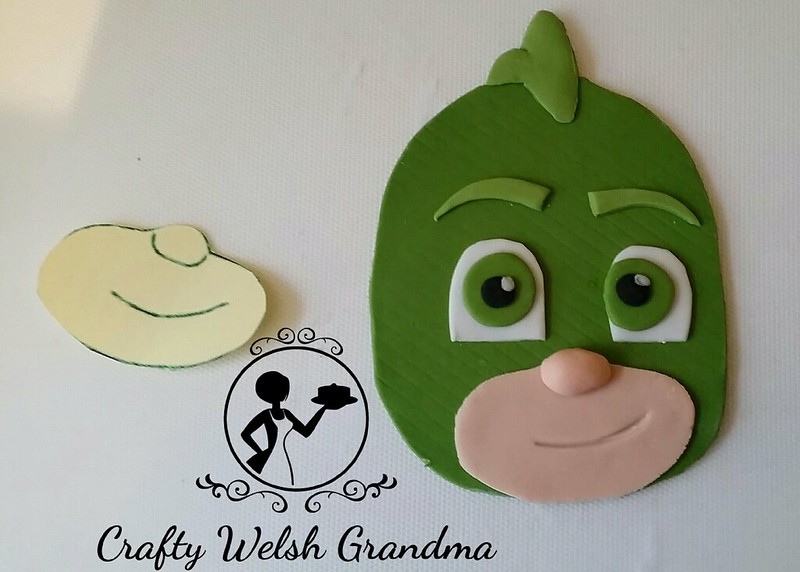
I made each of the character's faces myself, I have another blog entry to show how I did that here.  The process was simple but fiddly and I think it could cross over to other characters too.

I made some stars from modelling fondant, allowed them to dry a little bit before I inserted wire into them so I could make the star burst above the skyline.

My daughter twisted them together for me so I could place it into the centre of the cake when I'm done decorating - They'll be the last to go in.

Before I added the character faces  and stars, I dry brushed the cake with navy blue food colour gel to get a better finish rather than the flat colour of the fondant.

Now, the backside of the cake is not pretty, but then, I've never seen a pretty backside on anything much, but I did add a little wording to distract from the cavernous hole left by the circle skyline piece.  I'm not sure what I can do with this, maybe fill it with candy, I'm not sure.


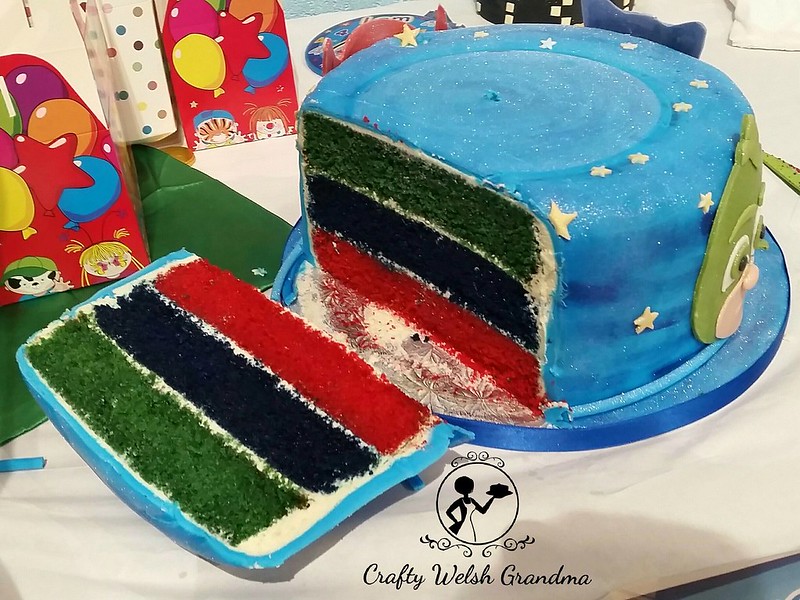
Now, back to the cake ... a 10" cake of three layers. each layer used 1.5 of my basic batter mix, which can be found in my online recipe book here.  I'm pretty sure I used three times my buttercream mix to crumbcoat and ice before the fondant went on

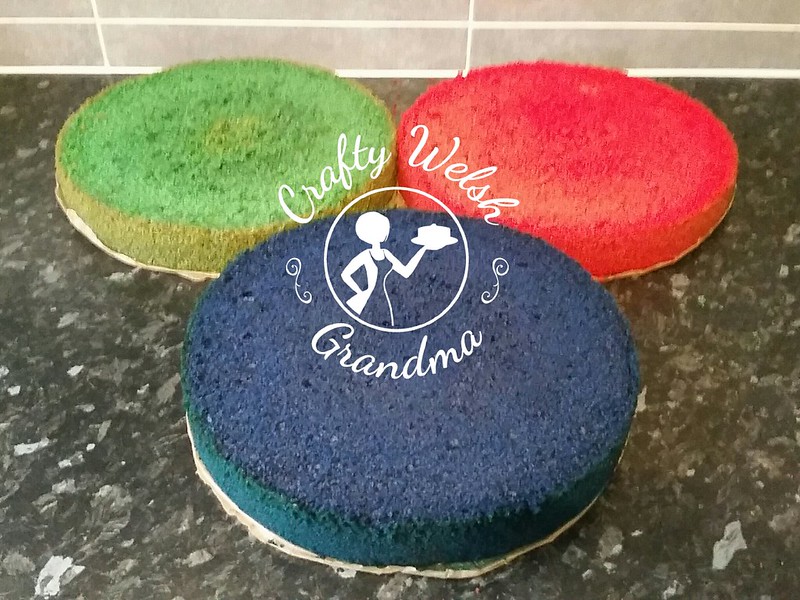
Sugarflair paste colours: Christmas Red, Holly Green and Navy Blue.

Each layer a different colour. The image above shows each layer after being topped off, prior to its simply syrup and decaramelising process to take the sides off, the bottom is fine and will be used as the tops.


The matching cupcakes can be found in another blog entry.

Now all that's left for me to do is, get it to the venue in one piece because it's too tall for its box, even with lid risers!

PJ Masks Cupcakes


I'm having a total PJ Masks week this week. With one dozen PJ Masks cupcakes and a PJ Masks birthday cake!    

As this October was a welcome slow one for me, the chance of two projects for the same recipient was a welcome one.


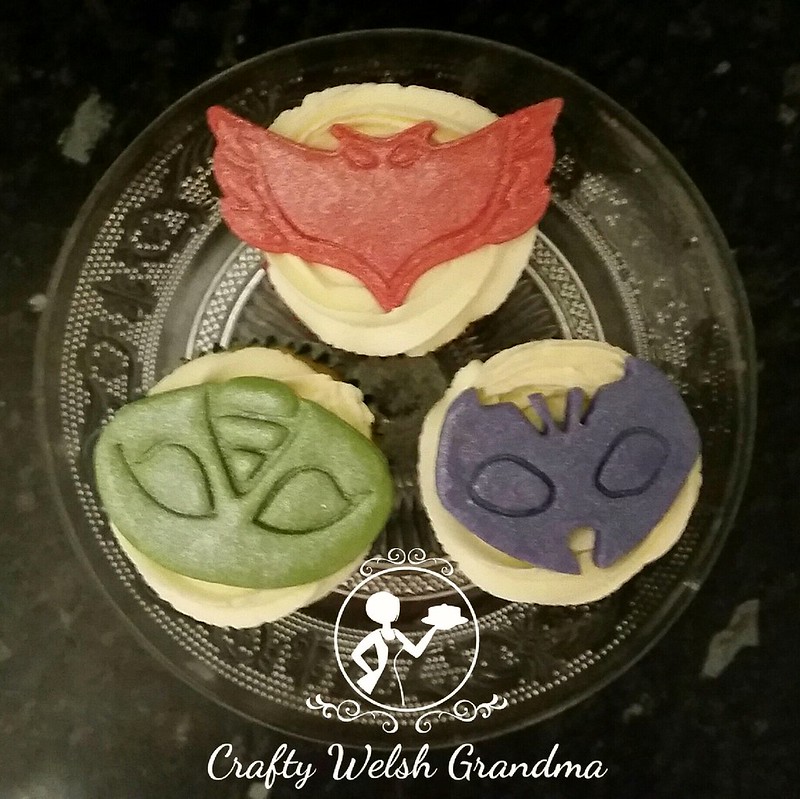
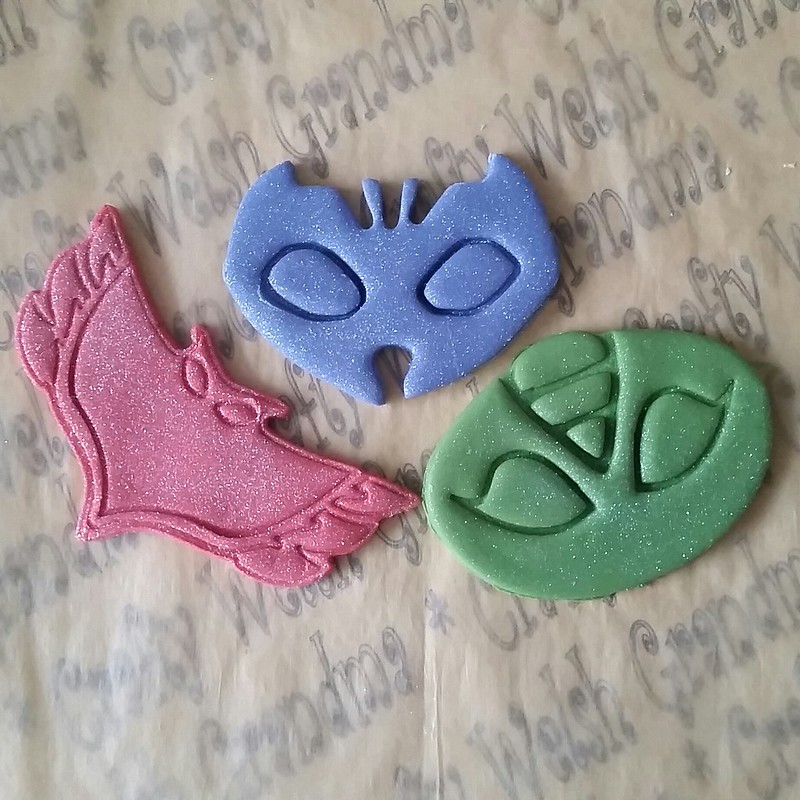
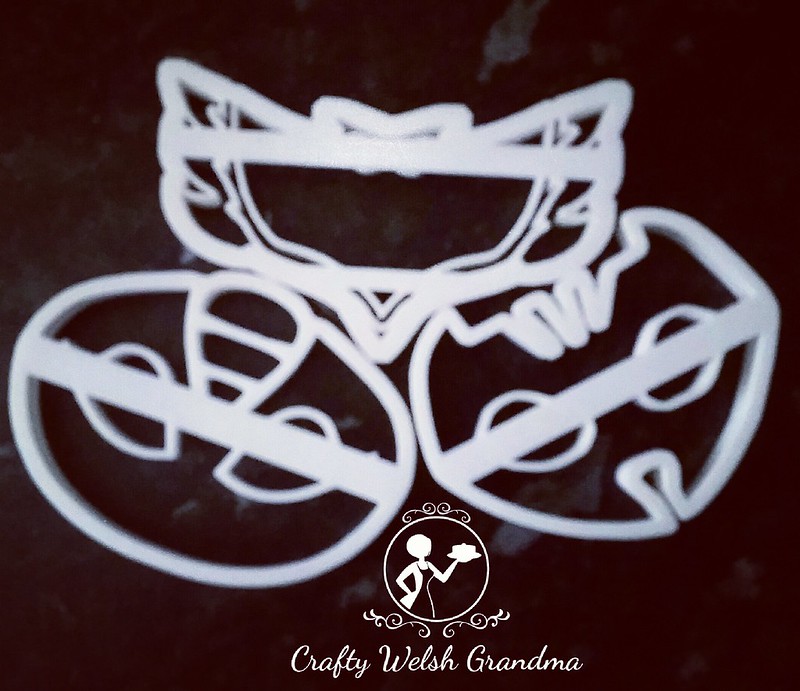
Having secured some 3D printed cutters for the PJ Masks logo, I cut them out in the corresponding colours:
  • Owlette - Red
  • Cat Boy - Blue
  • Gekko - Green
I have but one question though ... I am the only caker that gets stuck putting the last cupcake in the box? I always seem to get stuck!

Check out the birthday cake that went with these and the how to on the character faces on the cake


DIY Character Faces


This is the first time I have ever made 2D characters for a cake. I searched YouTube and around the internet on the best way forward for the task, but ended up using a mixture of ideas, which I will share with you.

I thought it was a scary task at first, but when you see how I made them, you'll soon come to realise just how simple and relatively easy, if a bit fiddly, the process is.

Things you need:
An image of your chosen character, either hand drawn on printed.
If printed, you'll need a printer
Some thick paper or thin card
Scissors
Modelling fondant
Modelling tools
Edible glue

I found what I needed on the internet, so that's the process I'm going to show you here.

Step #1:
Find an image of your character that you want to make and download it to your laptop / PC etc. 
I suggest that, when searching, you look for 'colouring pages'. I seached "PJ Masks Colouring Pages" when looking for mine. These images are basic line drawings which makes it easier to work with

Step #2:
Measure the size you need the character to be then print it out onto thick pager / thin card.
I suggest printing two - you never know. And you can always use one for reference as You'll be cutting one into pieces.
My character faces were to be 12cms 

Step #3:
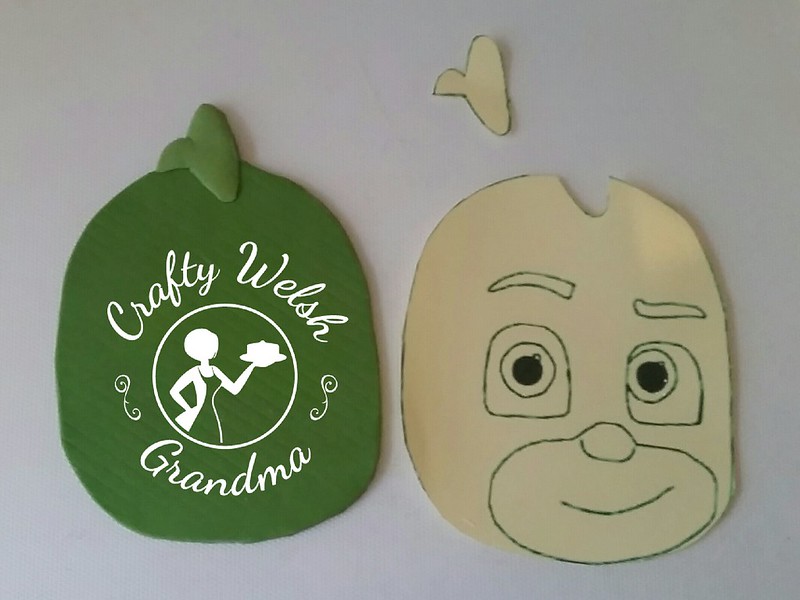
Cut the outline only out, do not cut out individual pieces just yet, you'll see why in a later step.

Step #4:
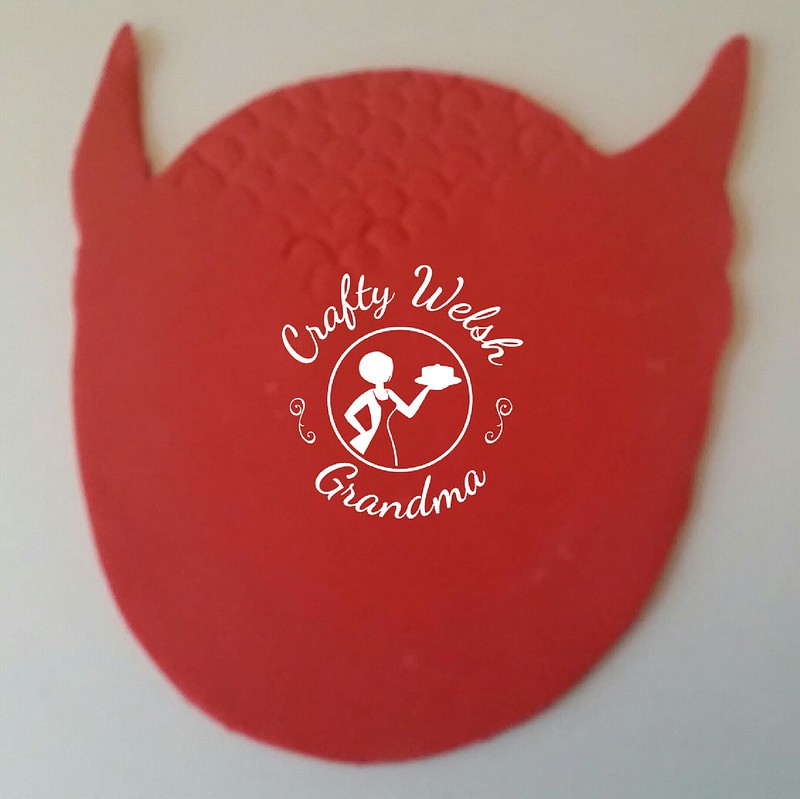
Roll out your fondant, place the full cut out on top and cut around the edges.
You might find that it's not smooth, but you can fix this using your fingers to gently rub the edges and remove 'sharp' cut shapes


You now have the basic, flat shape.  Add some texture here if needed.  For me, I used  the half moon shaped tool from my modelling kit for Owlette's head piece and for Gekko I found the 'B-Side' of one of my cutting boards has squares on.  I turned this about 45*, and impressed this 'diamond' shape onto my fondant base.

Step #5:
Start cutting out the small detail, one piece at a time, either the eyes (see step 6) or headwear - I started with the eyes for Owlette, the crest for Gekko and ears and head stripes for Cat Boy


Use this card shape as a template to cut out and mould the piece you need. 
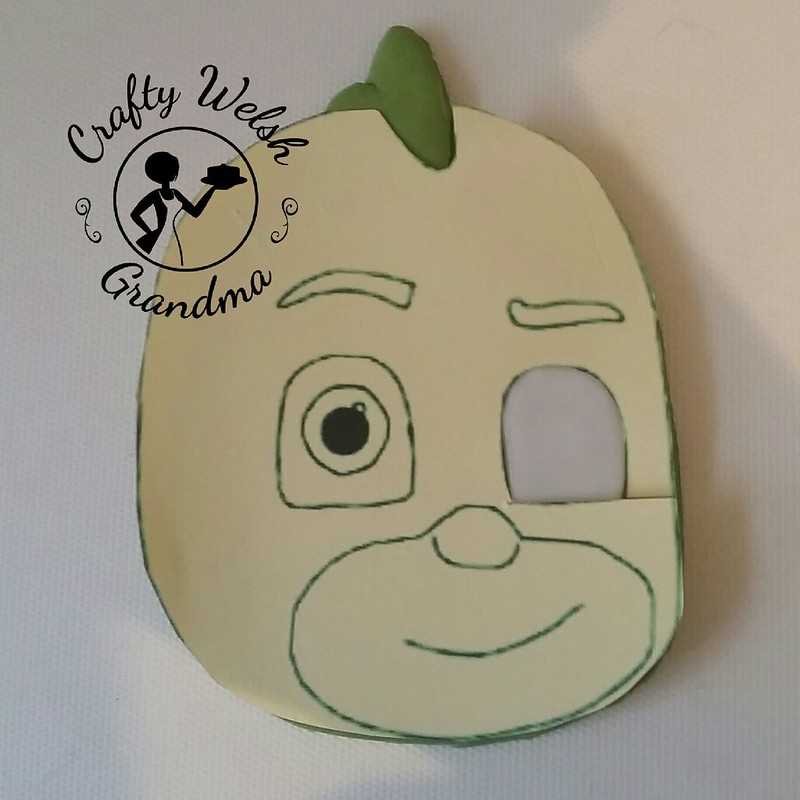
Place the card onto your base piece of fondant so it matches your shape and then use the blank space left by the piece you cut out to fit your fondant into.
Glue each piece on as you go.

Step #6:
When cutting out the eyes, do not cut away the remainder of the card


Place the card back onto your base piece of fondant, taking care to match up the outline, then fit your fondant cutout into the card cutout. 

I used the edge of a pallet knife and some tools to smooth the edges of the smaller pieces out when they were in place as the base was now harder than when I started. 


Step #7:
Continue in this fashion until all your pieces are in place, remembering each time to:
Place your card on top of the base piece of fondant, glue your new piece of fondant into the void
Then move onto the next piece
Remember to glue as you're going! It seriously helps


Don't forget the fine details like eyebrows and mouths:


You can cut out pieces for the mouth if you prefer, but I just used my tools for those.

Remember the little highlights in the eyes


And noses:


This nose isn't quite right, so I moved it more to the side as this image is almost a side-looking view.

Touch-ups:
You will have areas that need touching up, regardless of whether you cut with a craft knife, a scissors or a kitchen knife.  Don't stress, modelling paste is forgiving enough to put up with it, but do them all before it dries out!

The Instructables post will also explain how to make the city-scape and moon.

Related Posts Plugin for WordPress, Blogger...