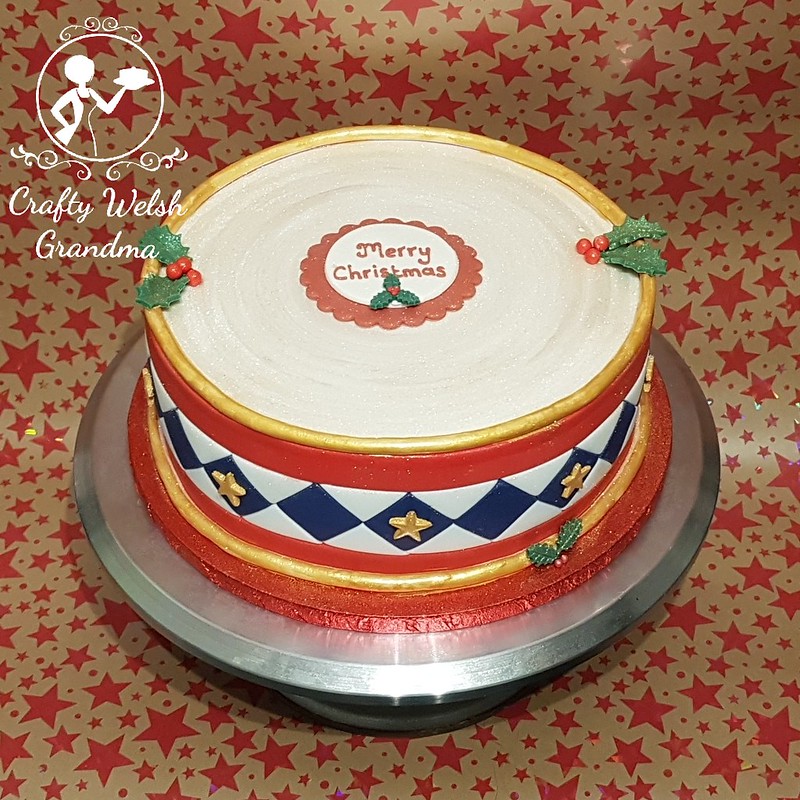
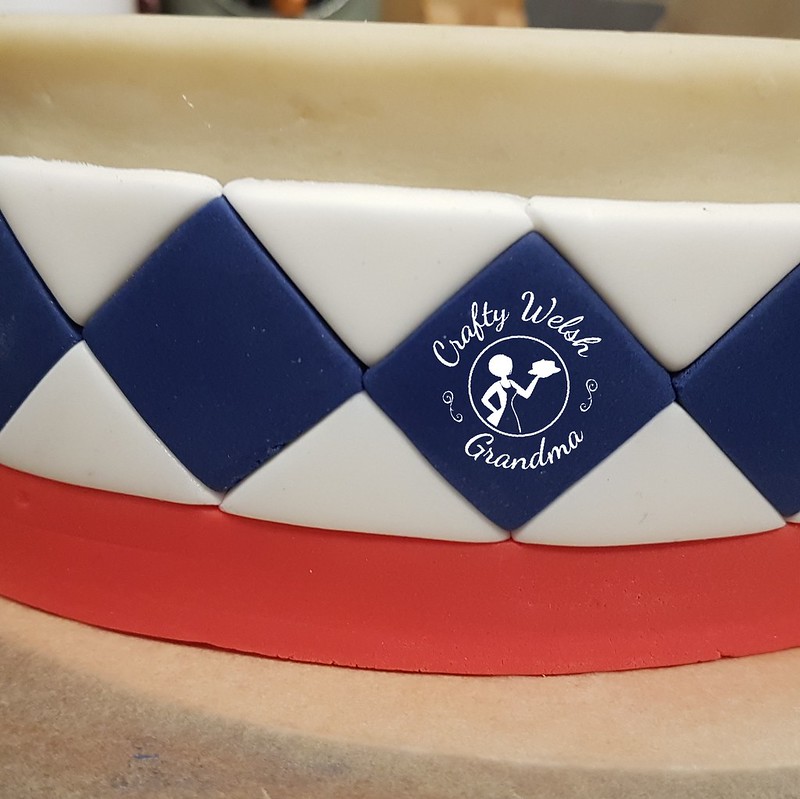
Once cut, these squares were attached, one by one to the sides. The order of decoration went like this:
- I added the fondant to the top first, allowed it to dry a little then ...
- Turned it upside down
- Having measured the side, I cut a 2cm strip of red fondant and added it to the bottom (the top).
- Once dried a little, I added the blue and white squares and triangles I had cut.
- Then added the final piece of red and turned it the right way up
Of course, there is an obvious beginning and end with these squares, so they've been hidden around the back (you can see this in the video below)
Once dried, it was time to decorate the top. I painted it, with edible pearl paint, then generously sprinkled on silver luster dust. Painting it was a bit of a problem as, at first, I couldn't get the effect I wanted. My daughter helped by spinning my turntable whilst I added the paint, and the effect was amazing and exactly what I wanted!
Next was the gold trim. I used my largest disk from my extruder to add the rope to the bottom then onto the top edge. I then painted this with edible gold paint. I then added some gold stars with alternate blue diamond / squares, sprinkled it with some edible gold luster dust and voila!
I hope they like it.
I made it for someone special to me, not because she's one of my greatest supporters, but because she helped me gain my self-confidence and pointed out the importance of raising my self-esteem when I didn't realise I'd lost it!
Her 2017 festive cake is here


Your cakes are always stunning hun, but this has got to be my favourite so far. Whom ever received this will be truly lucky.
ReplyDeleteOn a different note , I wish I had your talent and skills.
Aww thank you so much for your sweet words.
ReplyDeleteDon't forget, you have talents that I do not �� and ones I wish I had too. We can always arrange a "masterclass", but, if ever you need anything, just hollar xxx
F69E69E825
ReplyDeletekiralık hacker
hacker arıyorum
kiralık hacker
hacker arıyorum
belek
D09965A907
ReplyDeletehacker bulma
hacker bul
tütün dünyası
hacker bul
hacker kirala
1EEE34DCC9
ReplyDeleteBeğeni Satın Al
Organik Takipçi
Instagram Takipçi Atma