The problem with being the CCT is, sooner or later, you just don't want cake any more! My CCT, Martin, always has a cake made by me for his birthday. This year is no exception. But a tiny cake!
One of my CCT's favourite footie teams is Cardiff City aka The Bluebirds, this post is about the CCFC logo rather than the cake, which was a standard chocolate Victoria sponge mix.
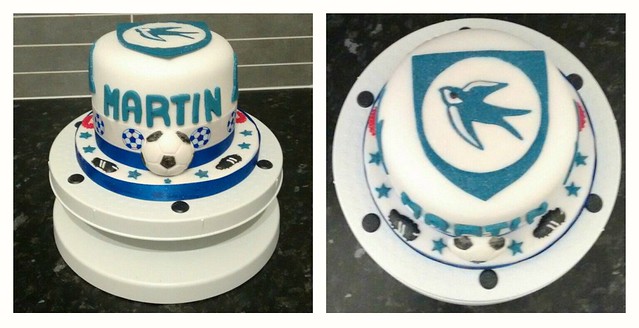
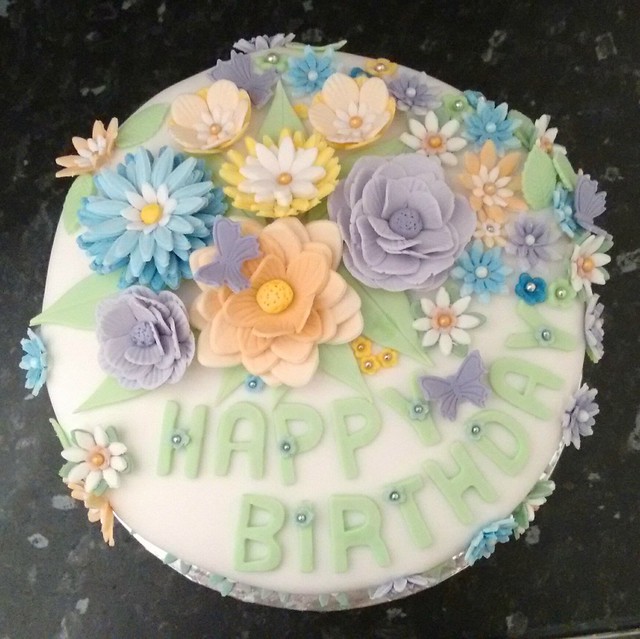
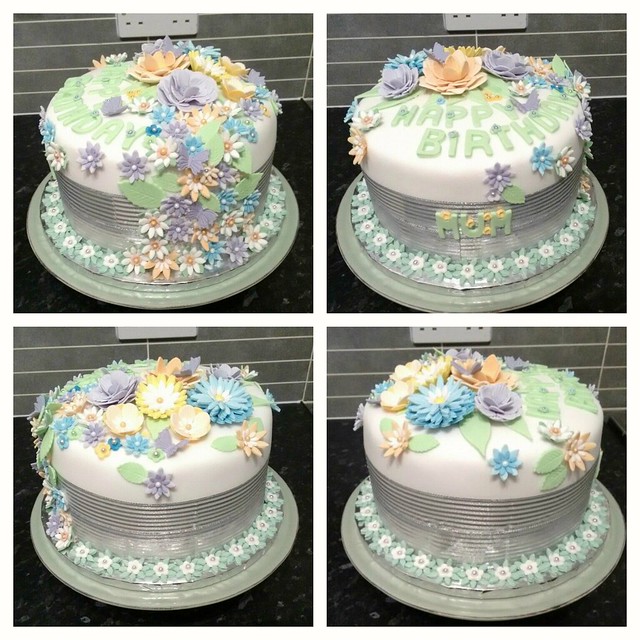
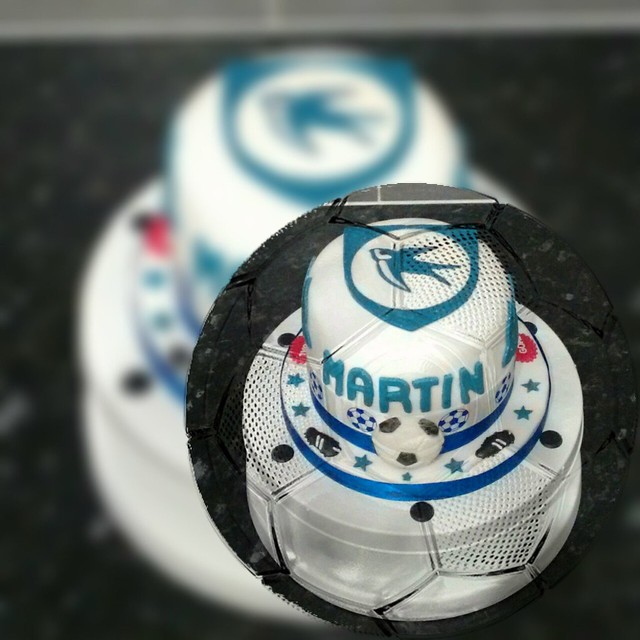
Images are the finished cake still on the turntable
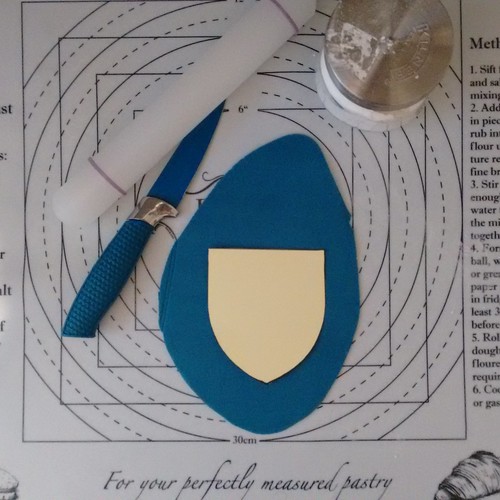
Colouring the fondant:
This was slightly troublesome as I had no idea the true colour of the blue, so I mixed the white fondant with blue colouring and a blob of black to get a darker shade.
Step 1:

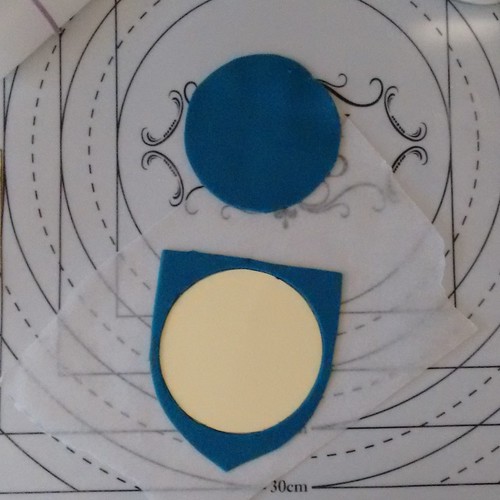
The only cutter I had was the bird! Using the bird as a size guide, I drew a shield shape and circle with the size of both the cake and this cutter in mind.

I cut out the shapes I needed in thin card.
Step 2:
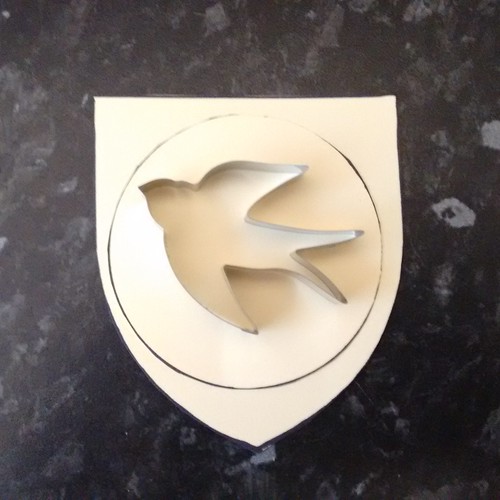
I made sure they fitted together
Step 3:
I cut out all the pieces, checking all the time that everything is fitting:

Step 4:
As is always a fault of mine, I seem to make things difficult for myself. I didn't want a three layer topper, I wanted it flush and as flat as possible. The whole topper would have to be placed on a sheet of parchment / grease proof paper from the start. This is because any movement would make I go out of shape.
Which means, I had to cut out the circle from the shield. I waited for the shield to dry and harden a little first. I kept the cut out for the bird so it would be the same thickness as the shield
Step 5:
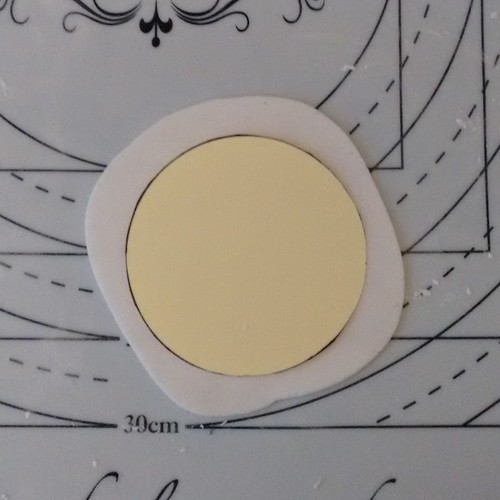
Once dried a little, I fitted it into the shield
Step 6:
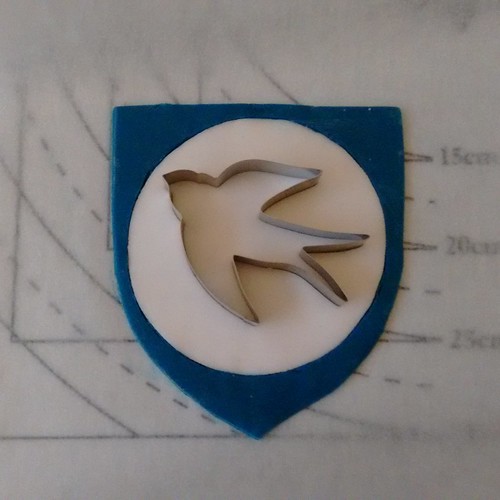
The hard part!
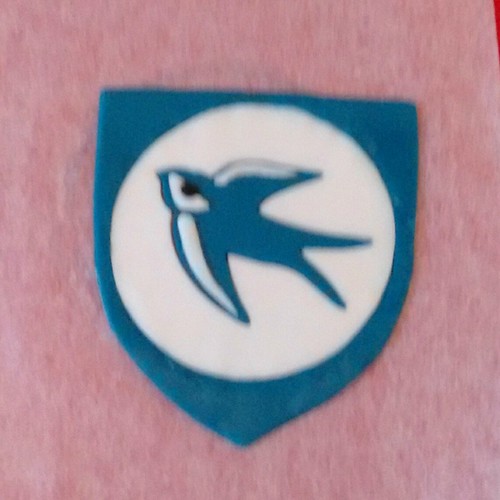
Cut the bluebird shape out from the blue, cut it out also from the white and fit the bluebird into the white circle, allow to dry and then add the minute detail of wing highlights and eyes.
It was hard, but I did it!

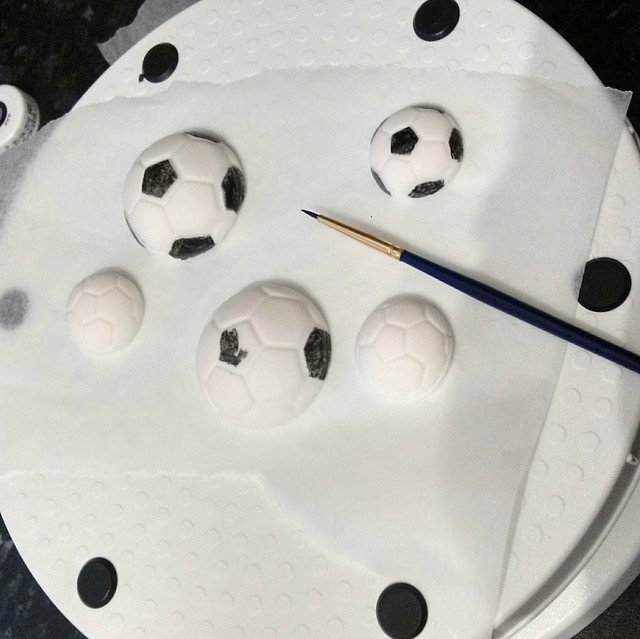
Other decorations on this tiny, little cake:
I am also able to confirm that, handpainting these little football decorations I made from fondant, was also a bit challenging. Not matter how good your glasses are