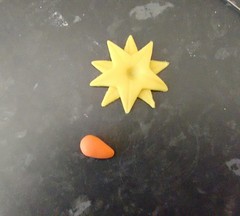
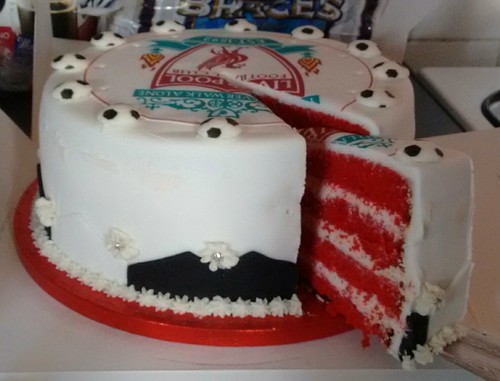
Ok, so I know it's August / September-ish, and I also know that St David's Day isn't until March, but I made them now and felt it best to get the post up early - before I forgot about it.
These are made much in the same way as we made the felt ones at school or for our kids. So if you can remember that, you're half way there, if not, read on ...
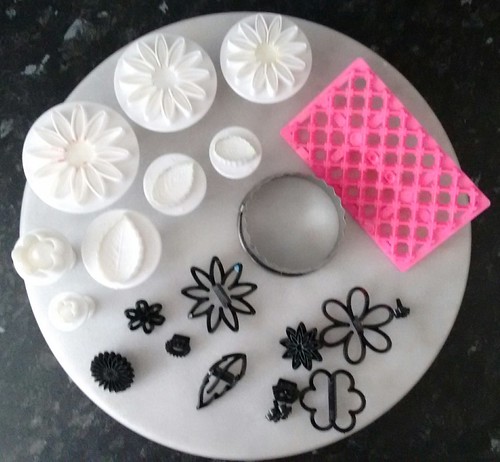
You will need:
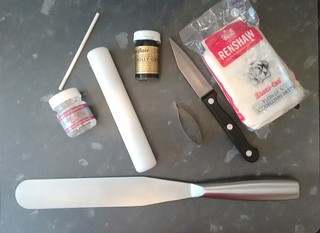
- Modelling fondant - white and green
- Green food colour paste if colouring your own fondant
- A flexible spatula
- Small, sharp knife
- Rolling pin
- Edible glue or water
- Leaf cutter (optional)
- Cake pop stick (optional)
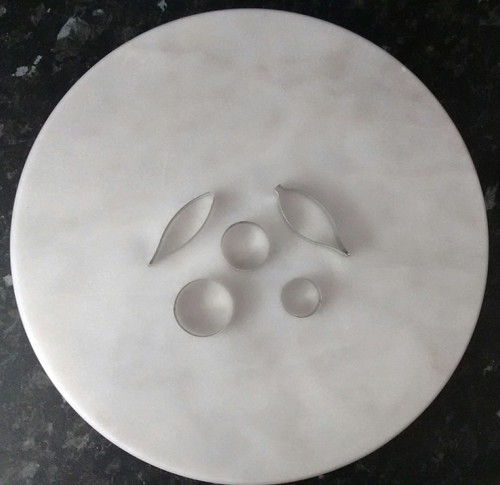
- Ball tool (not shown)
Step 1:
Take just less than half of your fondant and colour it in green.
Step 2:
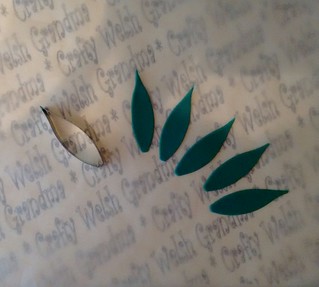
Roll out your green fondant and, using your cutter, cut five leaves

If you don't have a leaf cutter, don't worry, they can be easily cut by hand without one.
Step 3:
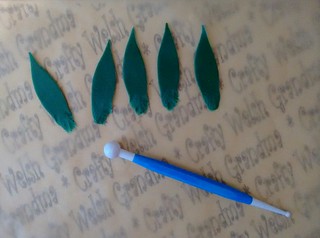
Using your ball tool, flatten off the bottom edges of all five leaves.
Step 4:
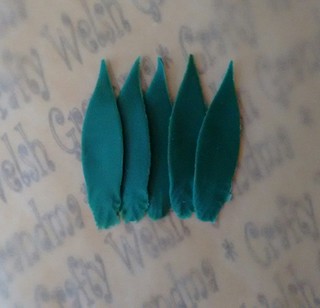
At this point, you can chose to trim the bottom edges of the leaves straight. Personally, I like to leave mine as they are as it gives the uneven, more "natural" look of the finished leek.
Remember the centre, #1, leaf!
Step 5:
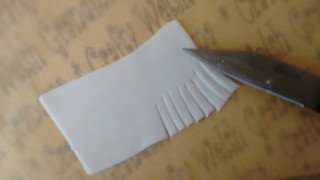
Next, roll out your white fondant to the same thickness as the green, cut it into a rectangle wider than the five leaves (use your spatula as this will give you a smart, straight edge).
Once you've don't that, use your knife to cut a frayed edge about 1/3 if the way up.
Step 6:
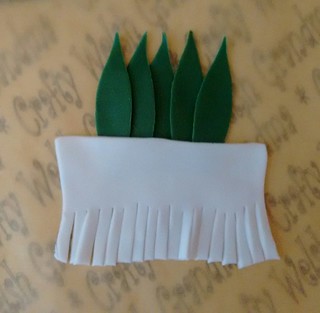
Dab a little edible glue or water on the bottom of the green leaves then lay the white fondant over the bottom, about 1/3 of the way.
Use your rolling pin to gently press the edge, where the green and white meet behind, to secure them togeher
Use your knife to trim the excess white off.
If you make an error, don't worry because we're going to "hide" it in the next step.
Step 7:
Now for the fiddley bit
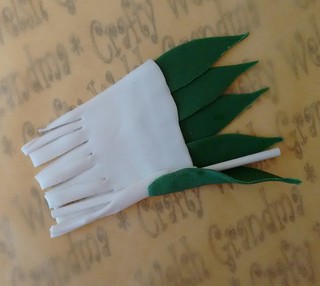
Take the edge and start, slowly, to roll relatively tightly. Make sure you don't damage any leaves or the "roots" and "stem".
If you find it difficult to roll " freehand", enter the cake pop stick. Once rolled, gently remove the stiçk.
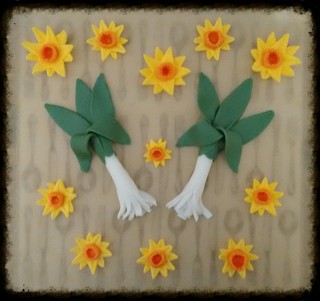
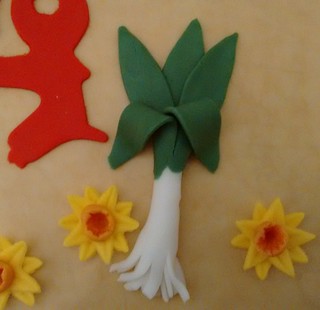
Step 8:
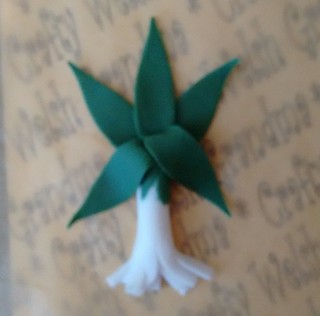
Remember leaf #1?
Ok, find this leaf because this leaf will be at the centre at the back
Spread the leaves #2 and #3 out a little then,
Bring over leaves #4 and #5 so they now "hang" over the front of the white stem with the roots on the bottom.
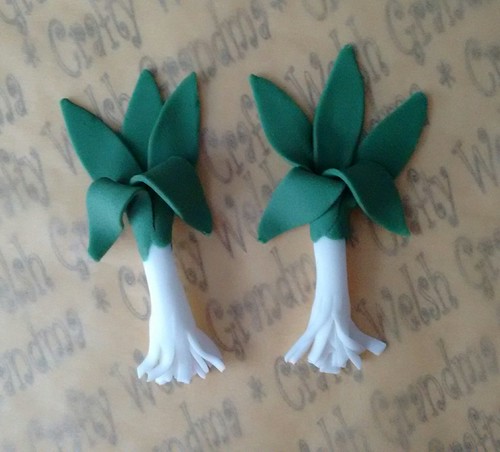
Gently put a "kink" in these two leaves (see picture) and allow to dry
Also available on Instructables
Featured Post