Later this year, in May, I will be baking a five tier wedding cake. These cupcakes are being used for the cake tasting session with the bride and groom, my son and future daughter-in-law.
The results of the tasting session is at the bottom of this post.
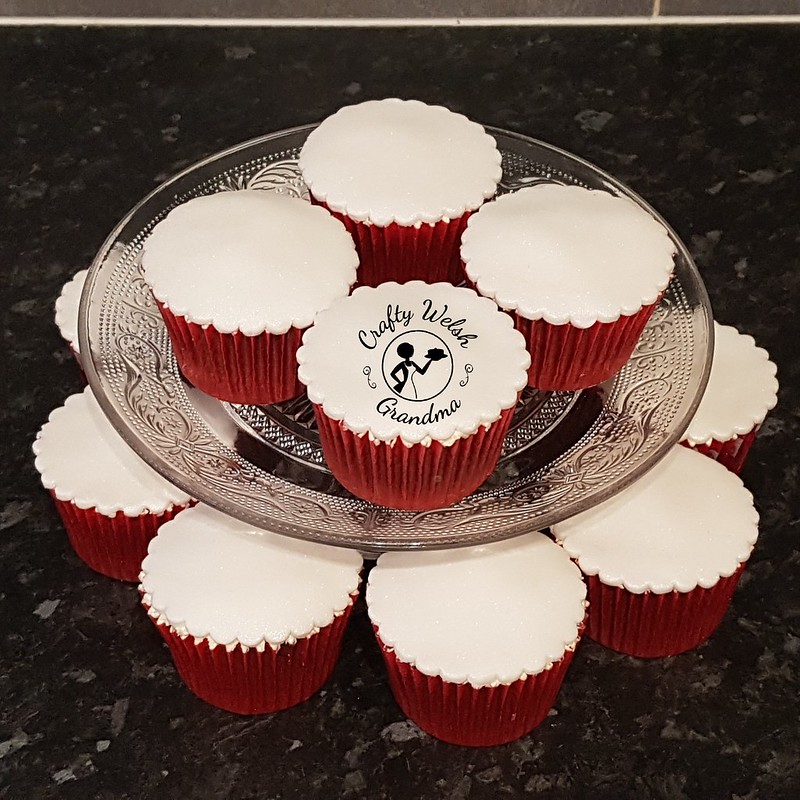
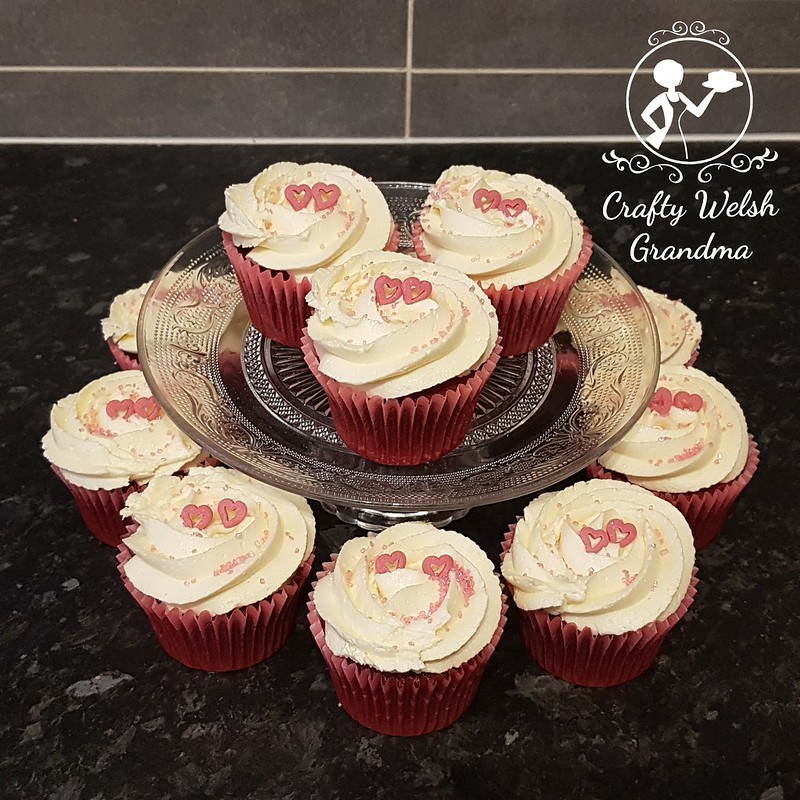
You will note from the image above that these are not the 'usual' looking cupcakes here, I made them exactly as the wedding cake would be ... cake, crumb coat and fondant. The additional cupcakes made from the mix were frosted as standard (below)
For this cake testing, I'm looking carefully at the following areas:
- Colour - sponge
- Texture - sponge
- Flavour - sponge
- Overall satisfaction of whole cake, including topping
The recipe that I will be using can be found here, with the exception of the buttercream. For this tasting session, I am using my standard vanilla buttercream.
You will note that the recipe states, simply, "red food colouring". I am going to assume that it means liquid colours, which I do not use. I am using Sugarflair Extra Red. Sugarflair also make Red Velvet as a colour, but my supplier suggested this.
 I asked advice on the quantity and, like most UK based red velvet sponge mixes, it's all by eye. Because of the UK's stringent additives rules, we can't get the vibrant colours as our American cousins do. Therefore, when you see a wickedly amazing colour on a red velvet sponge, it can be either and America image or, well, most of the time, a packet mix. So for this, I'm looking for a rich burgundy shade.
If you check out the recipe I've been using, here, you will see in the notes at the bottom, how much I used in each cake
When the day comes for the big cake, I will be keeping a spoonful of coloured batter in the refrigerator to compare to the next batch of batter.
You will note that the recipe states, simply, "red food colouring". I am going to assume that it means liquid colours, which I do not use. I am using Sugarflair Extra Red. Sugarflair also make Red Velvet as a colour, but my supplier suggested this.

If you check out the recipe I've been using, here, you will see in the notes at the bottom, how much I used in each cake
When the day comes for the big cake, I will be keeping a spoonful of coloured batter in the refrigerator to compare to the next batch of batter.
These cupcakes have been made using the sponge recipe, the buttercream and then topped off with the fondant that will be used on the cake.
On the day tasting session:
For these cupcakes, I used the medium / 9 inch cake mix here, I added 15g of Red Extra colour paste to the mix, which made 24 cupcakes. If I had scraped the bowl correctly, I could have realistically made 25, maybe even 26. I use an ice cream scoop to measure my cupcakes.
Here are the bride and groom's, as well as my own findings:
- Colour: The are delighted with the colour, so I will adjust the weight of the colour paste accordingly for the other layers.
- Texture: The texture was perfect for a wedding cake, far more stable than a 'standard' red velvet cake, it is transportable for the few hundred miles I will need to take it. The bride and groom felt the texture was great. The groom suggested he would prefer another tasting session, next time in cake form and using simple syrup and he would like to try the cream cheese frosting - watch this space for a link to the further cake tasting sessions. I think my son just likes cake to be honest lol
- Flavour: No changes are required to the flavour, the recipe was perfect.
- Overall satisfaction: Overall the bride and groom were more than happy with the tasting session but have made suggestions for an addition tasting session and changes / ideas
Overall, this was a success and a good basis for a start.