Sunday 23 December 2018

3D Tree with Snowman and SnowDog


My last cake of 2018. A three dimensional festive decorated tree with resin cast Snowman and his Snowdog. The cake is a delicate vanilla sponge, baked in a silicone mould (which I am not a fan of), but I have used it once and that's all it's having lol.

It's a six-piece cake, the base, which you cannot see, has been covered in chocolate fondant, whilst the four tree parts were pipped, using a petal tip, in vanilla buttercream. The final piece is the star, this part of the mould was filled with chocolate, allowed to set and then covered in gold, edible glitter.

The star is wedged into the plastic, hollow dowel, that runs down the centre of the tree / cake.

It suffered a few mishaps along the way, but I think I brought it back from the brink.


Thursday 20 December 2018

Nuts, Berries and Holly - Festive Cake


This rich fruit festive eight-inch cake is adorned with pine cones, pistachios, holly and berries, acorns, fruit berries, walnuts and ... Oh, I think that's it actually.  Not one nutcracker will be required to eat these decorations though, they've been handcrafted from fondant! Every single one!

The moulds/molds can be purchased from Katy Sue Designs, I used:
These silicone moulds/molds are excellent quality and I would thoroughly recommend them.

Even before adding some petal dust, the walnuts looked pretty realistic!


Having made each item, in half, then stuck them together with edible glue. An awesome look for all the nuts, berries and pinecones.

My daughter, sister and myself, spent some hours making these between us and once almost dry, they were glued and allowed to dry completely before adding to the top of the cake.

Sprinkled with a little edible luster dust, allowed to dry and it's ready to be delivered to my family for their Christmas table this year.

Bird and Cat Paw Prints - Festive Cake


This little six-inch rich fruit cake has been made for my own house this year.  Which means, decorating is open to anyone! So my daughter took up the challenge.

I did the 'brickwork' ... as you can see, I am absolutely no brickie! But it was fun. I cut out each brick-shaped piece of fondant, exactly the same as the Little Drummer Boy cake yesterday. To make them more brick-like, I cut the pieces in half again.

On top of the white marzipan is a layer of marbled grey fondant, this will simulate the cement between the bricks. On top of that, the bricks have been 'laid', but only on the sides.  

For the top, a thick layer of fondant, which had been cut much larger than the top and then cut, unevenly, so that it would look like a layer of snow on the top of my 'wall'.

My daughter made the holly leaves with a plunger cutter and affixed, in her chosen shape, to the top of the cake. She then added red candy balls to represent the holly berries.

For reasons, which are beyond my way of thinking, but put a smile on my face, she added little bird prints (enlarge to see them at the back of the top of the cake), closely followed by some golden kitty paw prints.

I just hope the bird got away!

This will adorn my Yule tale this year and I love it!

Little Drummer Boy - Festive Cake


For 2018, I wanted to try some 'traditional' festive cakes. This rich fruit festive cake is my homage to the festive song "The Little Drummer Boy".  The eight-inch cake was covered first, using white marzipan, and then decorated with hand cut individual squares. 


Once cut, these squares were attached, one by one to the sides. The order of decoration went like this:
  1. I added the fondant to the top first, allowed it to dry a little then ...
  2. Turned it upside down
  3. Having measured the side, I cut a 2cm strip of red fondant and added it to the bottom (the top).
  4. Once dried a little, I added the blue and white squares and triangles I had cut.
  5. Then added the final piece of red and turned it the right way up


Of course, there is an obvious beginning and end with these squares, so they've been hidden around the back (you can see this in the video below)


Once dried, it was time to decorate the top. I painted it, with edible pearl paint, then generously sprinkled on silver luster dust. Painting it was a bit of a problem as, at first, I couldn't get the effect I wanted. My daughter helped by spinning my turntable whilst I added the paint, and the effect was amazing and exactly what I wanted!

Next was the gold trim. I used my largest disk from my extruder to add the rope to the bottom then onto the top edge. I then painted this with edible gold paint. I then added some gold stars with alternate blue diamond / squares, sprinkled it with some edible gold luster dust and voila! 

I hope they like it.

I made it for someone special to me, not because she's one of my greatest supporters, but because she helped me gain my self-confidence and pointed out the importance of raising my self-esteem when I didn't realise I'd lost it!

Her 2017 festive cake is here

Sunday 16 December 2018

Asha's Festive Cupcake Masterclass


Today, I have had the pleasure of a fantastic student, Asha. She made these amazing cupcakes and all I did was show her once then stand back, just in case I was needed, which I wasn't.  

As a Crafty Welsh Grandma, I adore sharing my knowledge, skills and experiences. No more so than in one-to-one 'masterclasses'


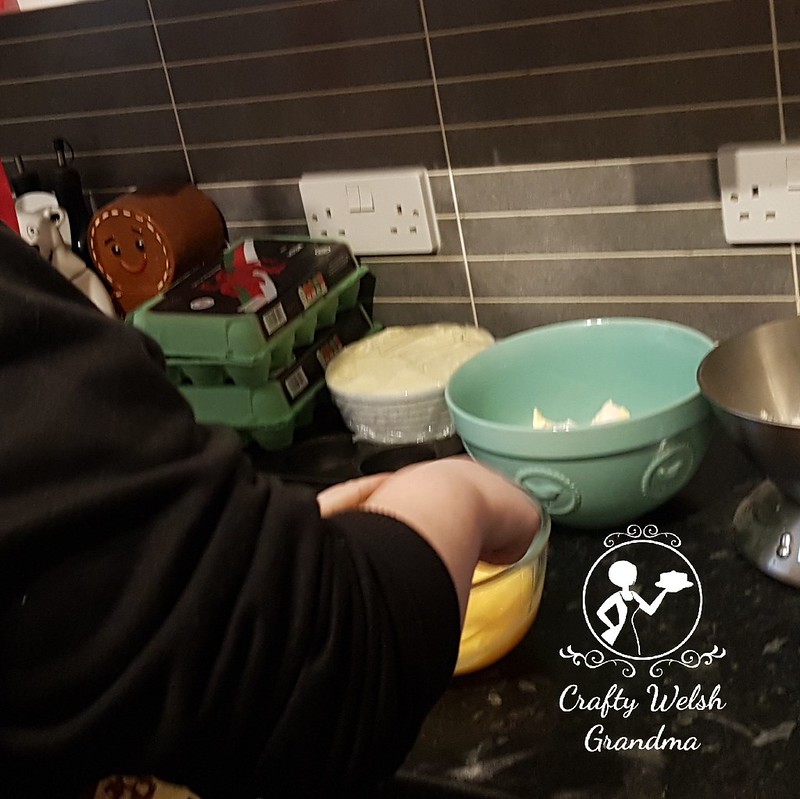
Asha had her own ideas of how she wanted her cupcakes to look and, no sooner had she arrived at my kitchen straight from work she donned the festive apron I had ready for her, and off we went.


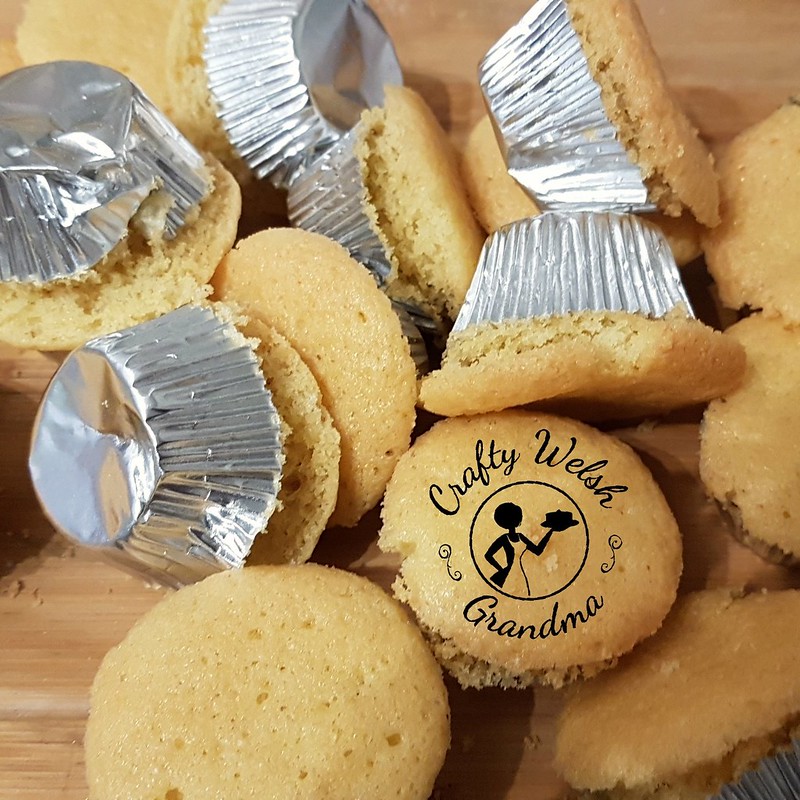
Asha chose to make half a dozen (plus extra for practice later) in classic vanilla with an equally delicate buttercream and a further half dozen (again, with some extra for practice later) in chocolate.


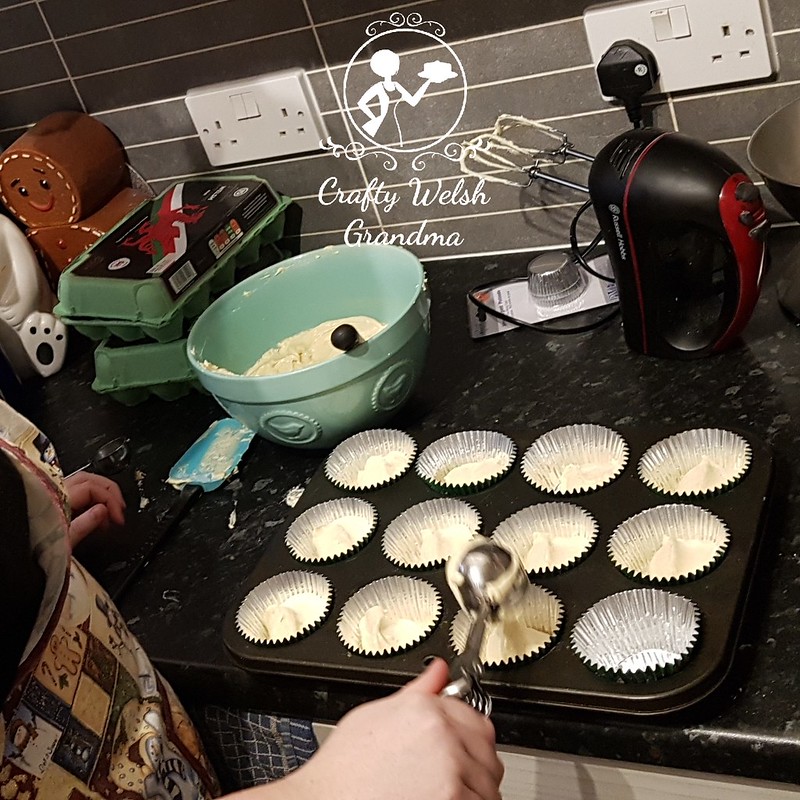
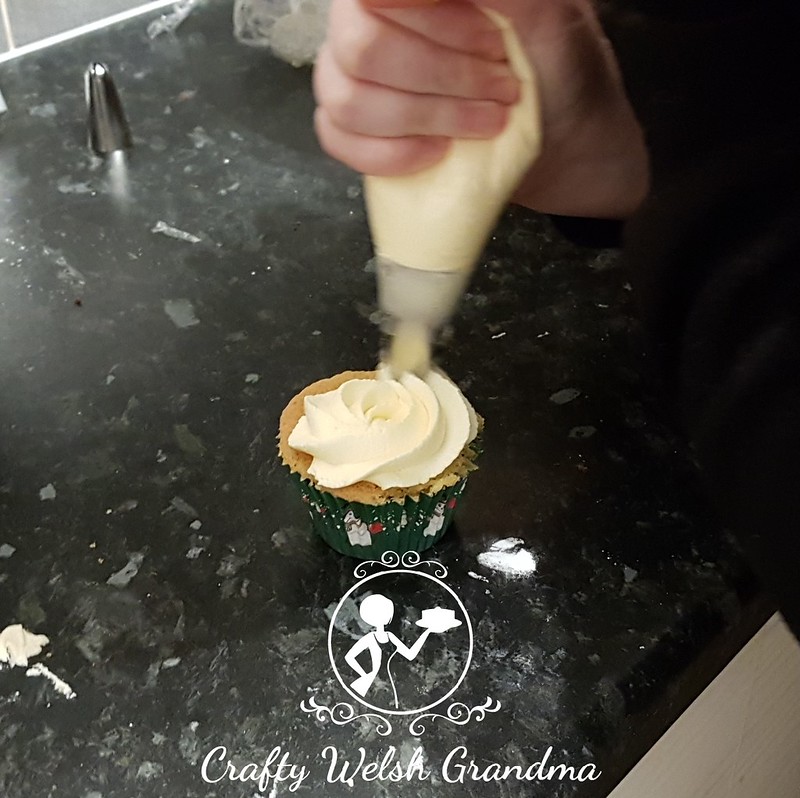
It is my preference to use ice-cream scoops to portion out the batter in each cupcake case, so, as my student for the day, Asha was instructed and took to this method with ease.

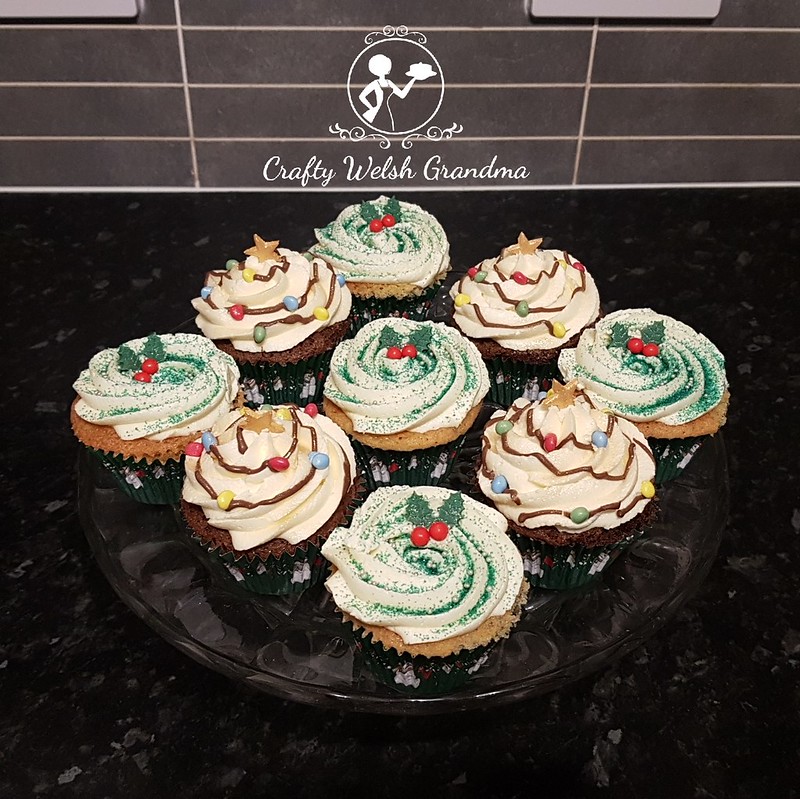
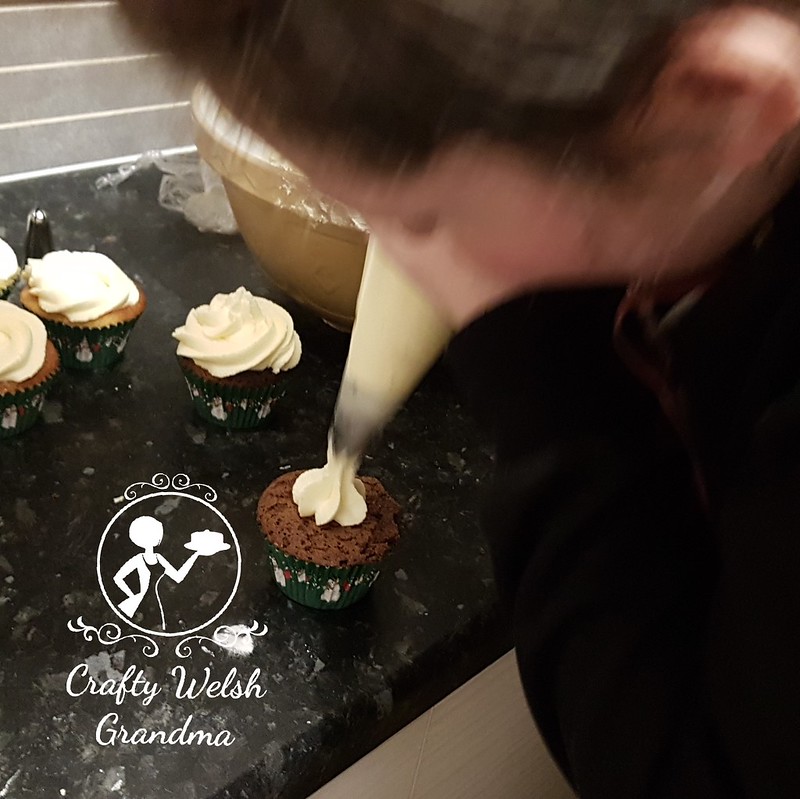
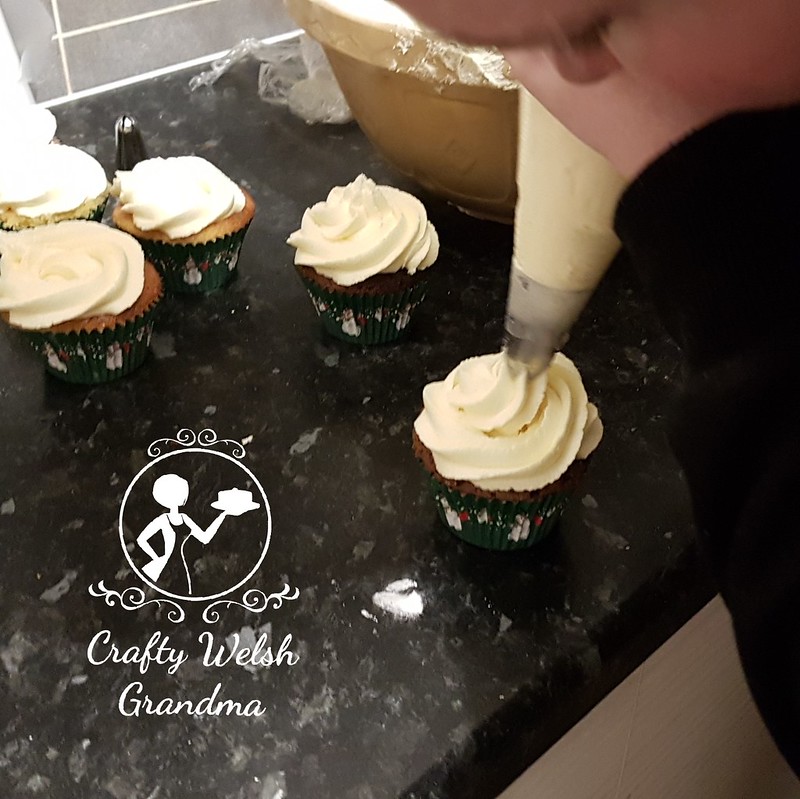
As mentioned earlier, Asha made a few more cupcakes for practice, and it was the decorating she used them for.  I showed her two types of topping, the classic cupcake peak and a simple, flatter, almost rose type topping.


Once more, the only interaction I had was showing once then standing back until I was needed, again, I wasn't needed.


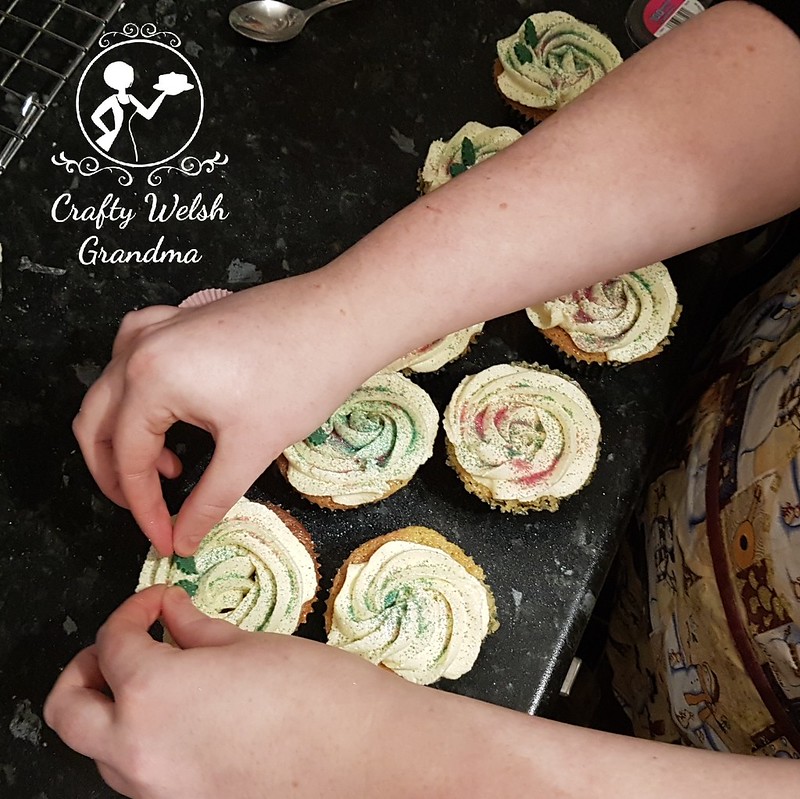
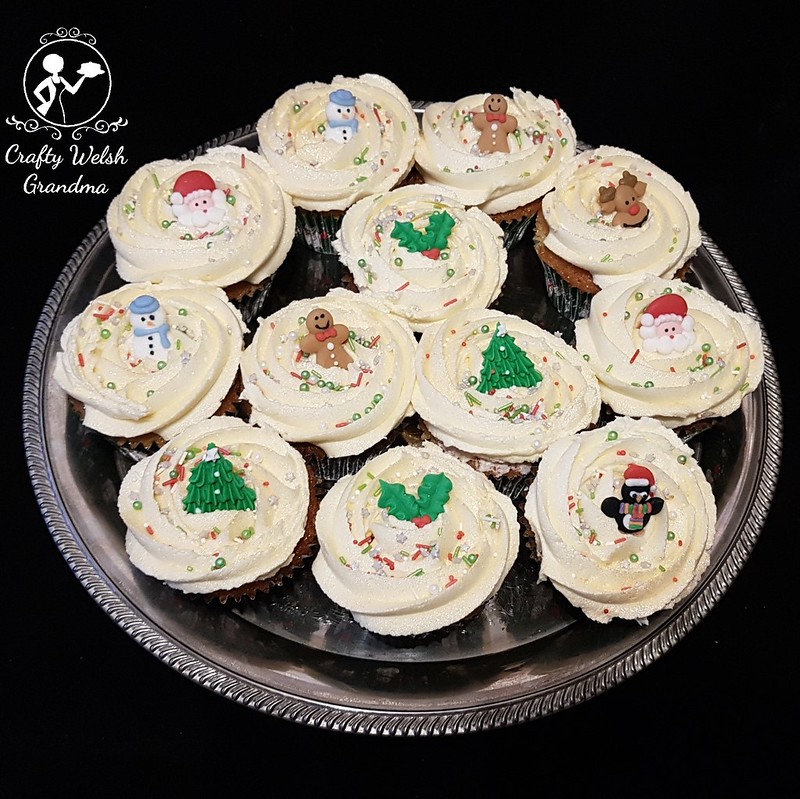
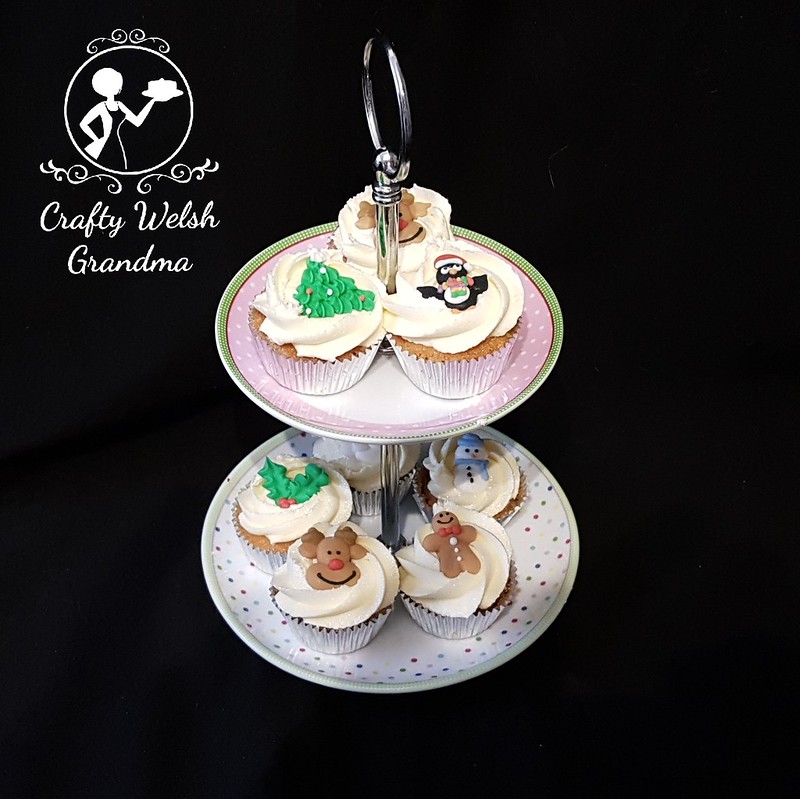
Handcrafted holly leaves were used on the one flavour cupcakes and handcrafted golden stars were used on the other.  


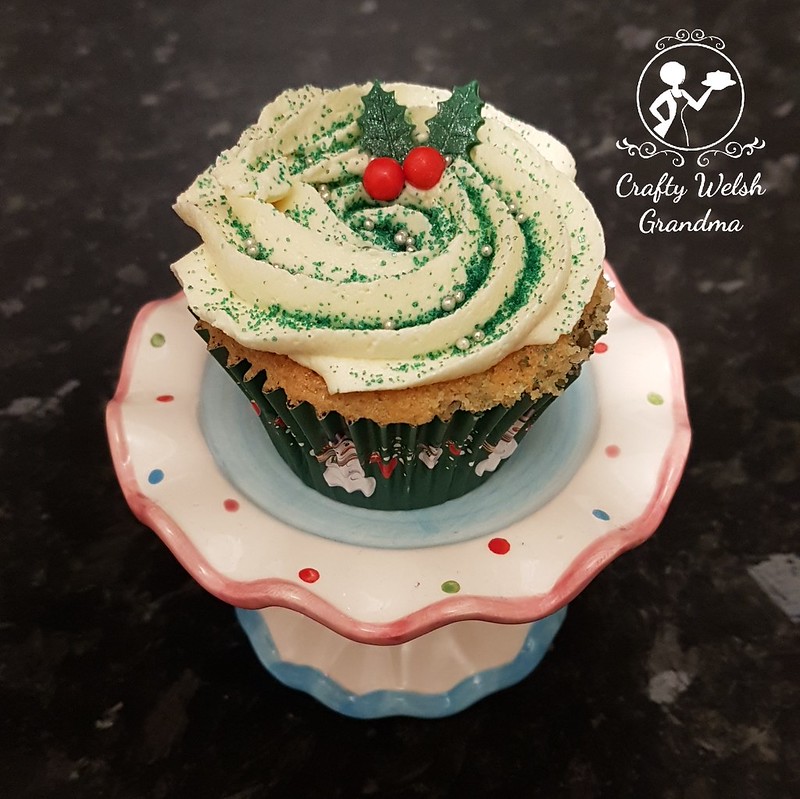
Asha decorated the vanilla cupcakes with the holly, some red candy balls for berries, a little green glitter then topped off with a dash of silver luster dust. Perfection. 

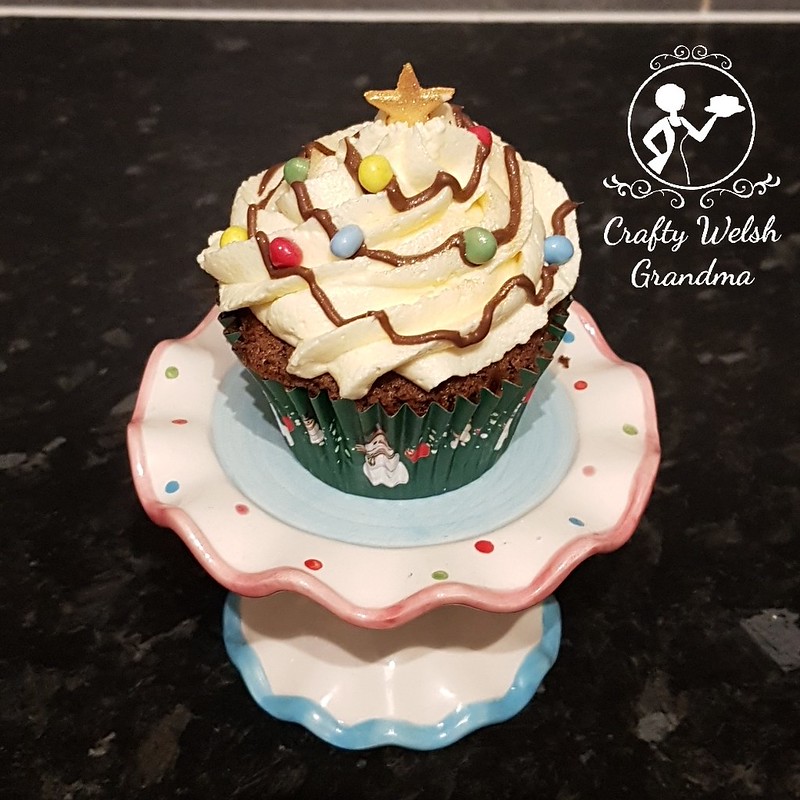
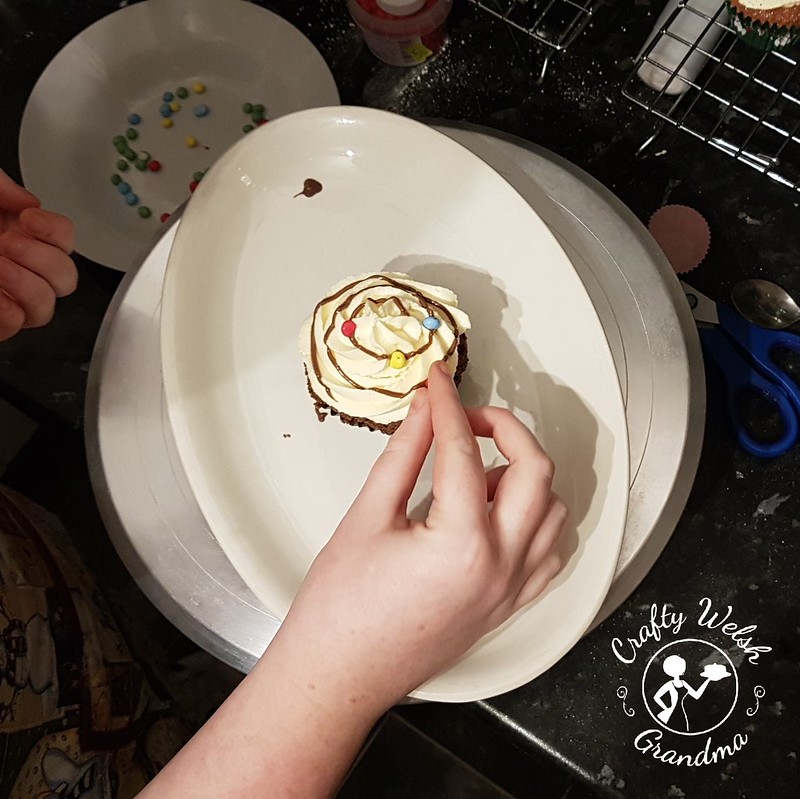
For the chocolate cupcakes, which Asha topped in vanilla buttercream, she swirled melted chocolate around them, then multi-coloured candy covered chocolate beans (small Smarties) were used to resemble Christmas light on the chocolate 'wires'. Topped off with the gold star, which Asha earned loads of today, then sprinkled with some gold luster dust. Perfection, the second time around!

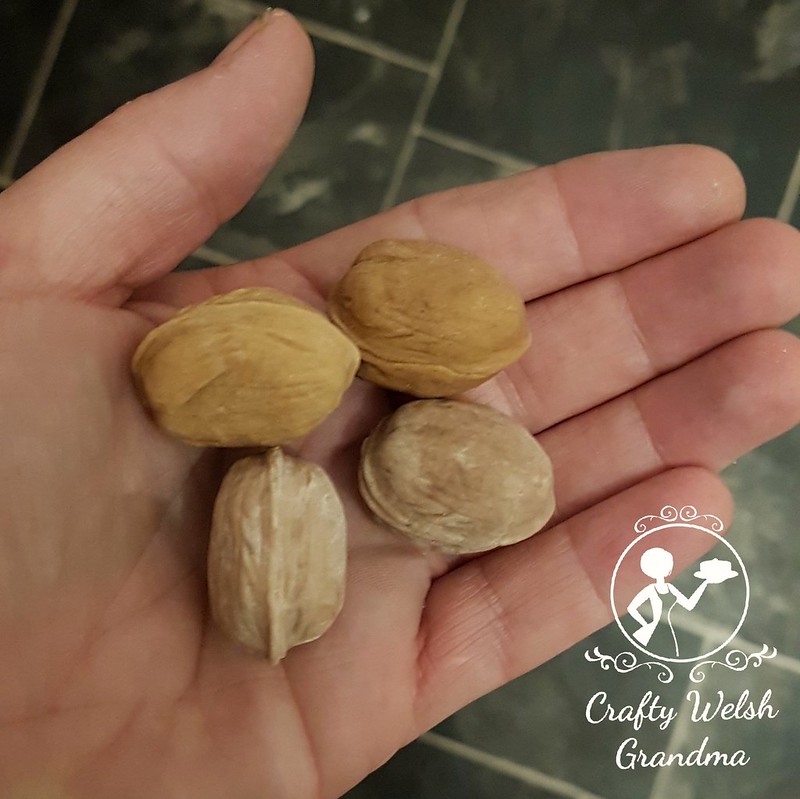
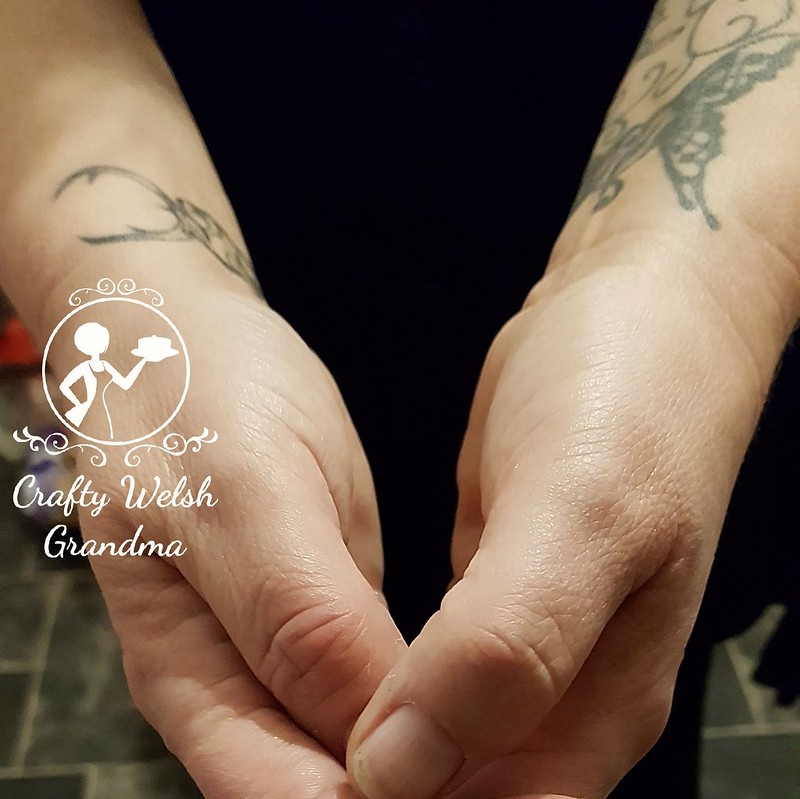
Now, there comes a time, with some of my masterclasses, there are doubters. To help dispel the doubt, check out the hands working hard here, then compare them to mine.


Here are my hands, the crafty hands belonging to this Crafty Welsh Grandma, complete with my permanent artwork / tattoos, quite different don't you think?

Well done Asha, you worked hard today and deserve all the credit. After all, this was all your work and not mine!

More Festive Cupcakes


As promised, a quick showcase of the standard sized cupcakes that accompanied the Mini Festive Cupcakes blog entry, for my Grandson's Christmas party this weekend.

For more details about those cupcakes, plus some links to a few awesome tutorials and a showcase of festive cupcake toppers see here.


Mini Festive Cupcakes


These little sweeties were made for my Grandson's Christmas party, but they did not go quite as planned.  I knew I wanted to make bite-sized yummies, plus a few "normal" sized ones, but I just didn't foresee the problems I had in my Kitchen that day.

I used a full batch of my faithful batter mix, to be topped off with vanilla buttercream later, and added a small amount to each case. No problems so far? Nope. But my smallest measuring scoop was, well, far too big. So I ended discarding the first batch I baked after this happened ...


"Not a problem," says I, to myself, "I'll just use the rest of the batter mix, make big ones then worry about the little ones later."

But no, that was not meant to be. I filled eight, full-sized cases, as I picked up the tray to take it to the oven, I dropped it. With the unsalvagable cupcakes exploded all over my kitchen floor, I just stood there, tears welling up in my eyes and thinking all is lost.

Time to start again. This time, without any problems. I'll publish a quick blog entry to show off the standard size cupcakes in a moment.

As you can see, I didn't DIY the toppers this year, unlike the previous year, but they looked equally as good.

Friday 14 December 2018

Basic Vanilla Biscuits


Creating these simple vanilla biscuits can be a fun family activity. When my children were growing up, they used to say that I "never bought food, just ingredients", the same was true of biscuits too

I've used an 8cm snowman cutter here as these are for my Grandson's Christmas party, but you can use any shaped cutter you wish. I also managed to add a few gingerbread people shapes as the dough got smaller.

This mix will make over 40 biscuits using the snowman shape. I purchased the cutters from Sainsbury's earlier this month and this cutter is the smallest of the three.

You will need:

  • 175g of softened, unsalted butter
  • 200g caster sugar
  • 2 large eggs
  • 400g plain flour (plus extra for rolling)
  • 1 teaspoon of vanilla extract *
  • 1 teaspoon salt
  • 1 teaspoon baking powder
  • Rolling pin
  • Baking parchment
  • Baking tray
  • Wire cooling rack
How to:
  1. Cream together the butter and the sugar until pale and fluffy 
  2. Beat in the eggs and vanilla extract*
  3. In a separate bowl, combine the flour, salt, and baking powder
  4. Combine the mixture from both bowl and mix together. If the mix is too sticky, add a little more flour.
  5. Separate the mix into two, sprinkle a little flour onto the two portions and place in cling film or plastic bag, then into the refrigerator for about an hour.
  6. Turn the oven onto Gas #4 then have a little chill-time yourself.
  7. Cover your baking tray with parchment paper, or grease the tray
  8. Remove dough from refrigerator, dust your work surface with a little flour and dust the top of your dough.
  9. Roll out to 5mm thickness and cut.
  10. Place, a little distance apart from the next biscuit onto your baking tray.
  11. Bake in the centre of the oven for 8 - 12 minutes. By this time, they should just start to go golden brown on the edges. If they haven't, leave them in the oven and check regularly until they do.
  12. Once cooked, turn out onto a cooling rack.
  13. Once cooled, you can decorate them as desired or leave as they are.

* You can change the flavour to suit your needs, here are some suggestions:
  • Use lemon extract with some zest
  • Add some edible lavender to the mix
Related Posts Plugin for WordPress, Blogger...