Sunday 26 February 2017

Saint David's Day model makes


With St David's Day just around the corner (1st March), I want to re-share with you some links for you to DIY your own Cupcake toppers: sheep, leeks and simple daffodils from fondant - you can use the same instructions with modelling clay / plasticine, but don't use plasticine models with food ;-)

With links to the how-to on my Blog, Instructables and one on YouTube you can adorn your masterpieces with another masterpiece, with or without cutters or even with or without the right cutters.

The sheep: If you can model a ball shape, then this one is for you
Blog post: Click here
Instructables: Click here

Leeks: Even if you don't have leaf shaped cutters, you can still make these
Blog post: Click here
Instructables: Click here
YouTube: Click here

Daffodils: Even if you don't have a daffodil cutter, you can make this simple topper using a star cutter
Blog post: Click here
Instructables: Click here

Wednesday 22 February 2017

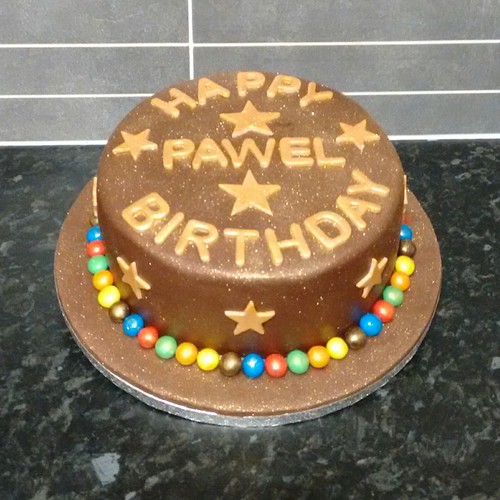
Chocolate Birthday Cake - February 2017


I thought that this might be a simple cake with a little extra 'bling'.  

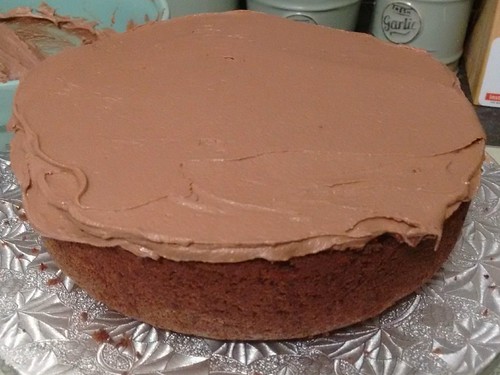
The recipient doesn't like buttercream, but adores chocolate. This is a basic chocolate sponge with ganache filling and crumb coat. I finished it earlier than I anticipated.

As the recipient is also the kind of person who prefers a 'tiny statement' and less fuss, I had to make the cake to reflect the same.

So, with two layers of chocolate sponge sandwiched together with ganache and then covered, again, with ganache I had to make it look a little special at least - after all, it's for a special person.

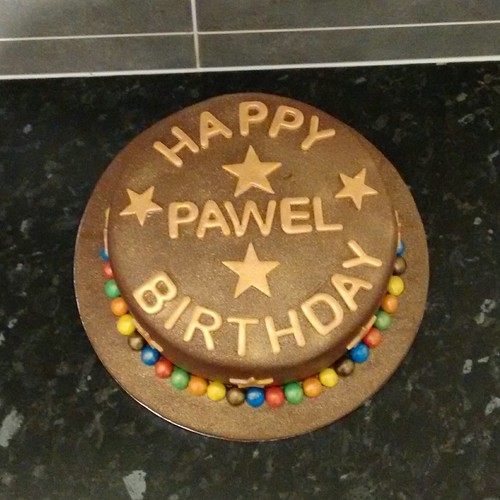
I used Renshaws chocolate flavoured (and colour) fondant to cover the cake and the board, I 'painted' the letters in gold with a sprinkle of gold lustre dust. The extra stars were the same.  Both letters and stars were made from fondant that was lighter in shade.

It needed a little 'something'! So I glued (edible glue) M&M's all around the join where the cake meets the board. 

I think, whilst less is more, this is a wonderful contrast! To finish the whole thing off, I sprinkled the whole cake with the same gold lustre dust after I had given the M&M's a light dusting with gold edible paint.


Perfect

I've just realised! My letters are a tad out of line. But hey, it still looks good I think.


Saturday 18 February 2017

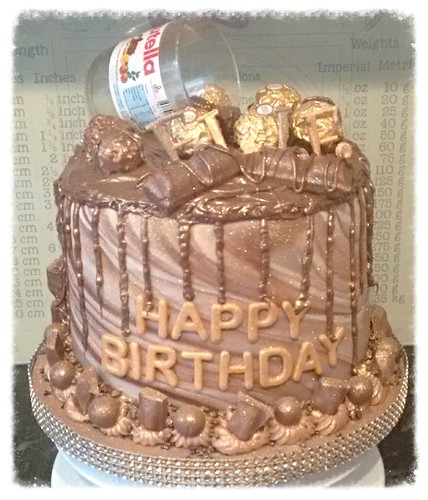
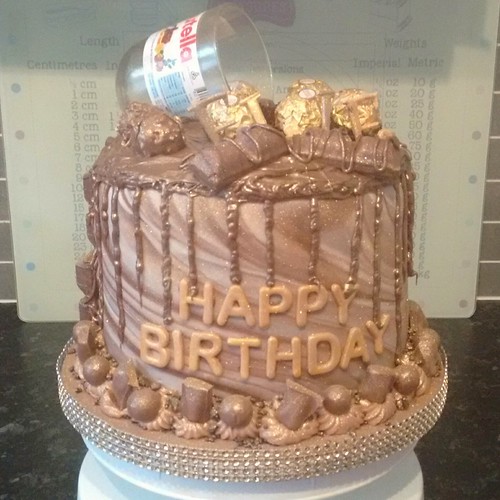
Nutella® birthday cake - Feb 2017


There's Nutella in everything! Almost.

  • It's in the sponge, Nutella added instead of vanilla
  • The buttercream is Nutella
  • The centre of the middle layer is nothing but ... Yep, Nutella
  • The ganache is ... Hmm, I forget now ... Oh yes! I remember, Nutella
  • In fact, I used approx 1.2kg of the stuff for this one cake!
However, there's no Nutella in:
  • The milk chocolate flavoured fondant, that's Renshaws
  • The white chocolate flavoured fondant, also Renshaws
  • The jar, the Nutella it contained was used in the cake
In addition, I used the following to decorate:
  • Chocolate covered popping candy
  • Galaxy chocolate pieces
  • Maltesers 
  • Gold luster spray
  • Forerro Rocher
  • Kinder Bueno
If the birthday girl isn't sick of Nutella after this ... Well, I just don't know what to say

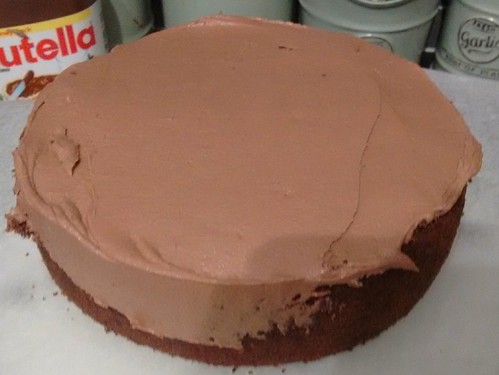
It all started with three layers of Nutella and chocolate sponge ...


The bottom layer was stuck onto the board with the Nutella frosting.
This was then topped of with a generous layer of Nutella frosting.

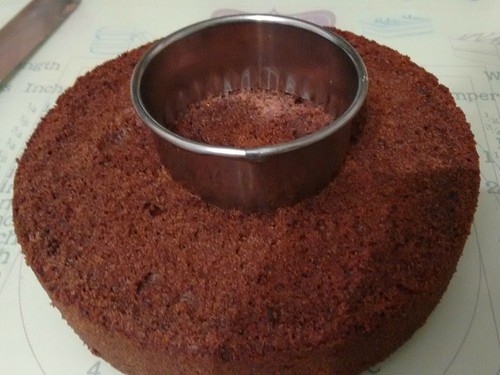
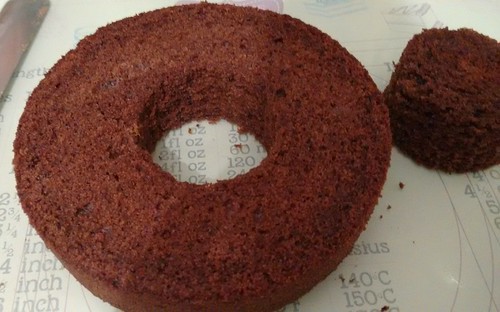
I used my largest, circular cookie cutter ...

... to cut a perfect hole right in the centre of the middle layer

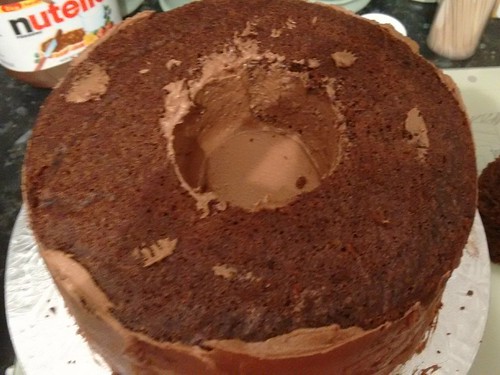
The hole / well was lined with the buttercream ... 

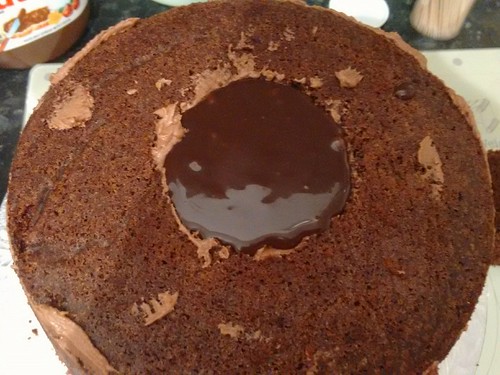
... and filled with the Nutella ganache

As the middle layer has a hole in it with unset ganache, the top layer had to be frosted before it was upturned and placed on the top of the cake

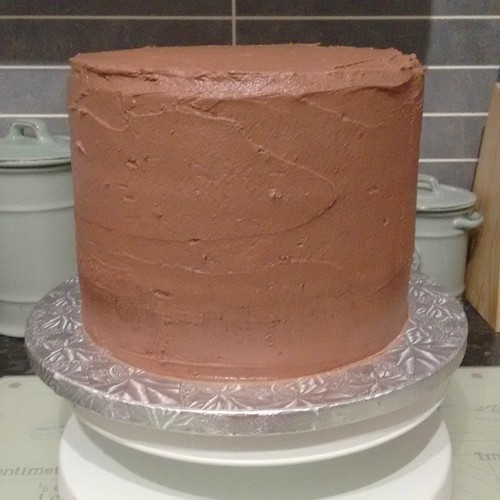
The three tiers were crumb coated and chilled.
At this stage, because the ganache and frosting have not set, the layer cake was unstable, so it has to be chilled right through before it can have it's fondant coating.
This caused a little bit of a problem!
My refrigerator simply wasn't big enough to accommodate the cake - yep, I think I might have overdone it somewhat.

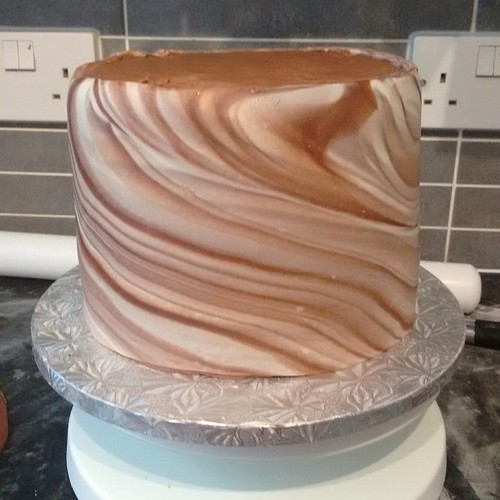
When the cake chilled, it was covered in milk chocolate and white chocolate marbled fondant on the sides.
The top was later covered in plain, milk chocolate fondant.
Both processes required to cake to be re-chilled and the fondant trimmed with a blade.
The board was then covered in the mixed fondants, this was mixed so it was plain and not marbled.

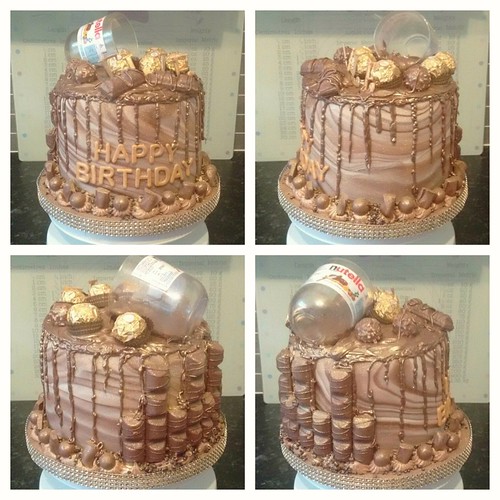
The Nutella was warmed slightly, in the microwave and poured, swirled, pipped and drizzled over the top of the cake.
It had to be pipped to imitate drips down the sides as it wouldn't drip by itself because it wasn't warm enough. If I had warmed it too much, it would have ruined the cake.
The cake was then embellished with hand painted letters and various other decorations (see above) then the whole cake was sprayed with gold lustre 


Since the taking photos and uploading them, the gold bling board trim has been shortened from four rows down to three.

Image credit: A Evans 2017

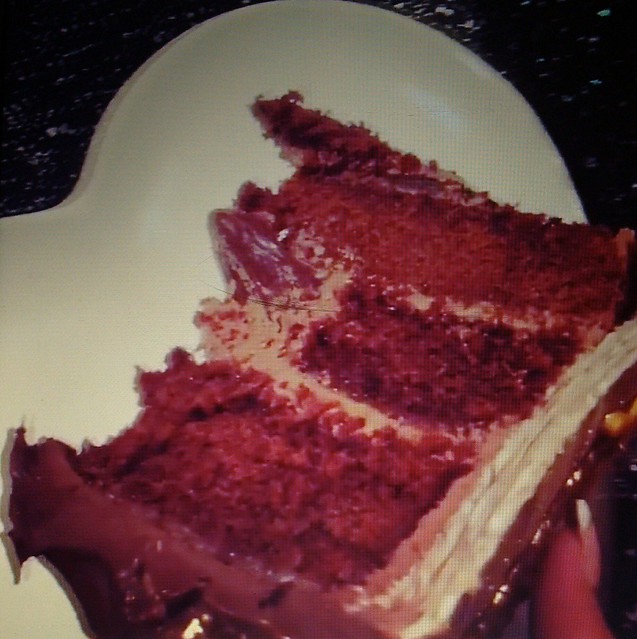
Thanks to the birthday girls Mum for tagging me in the video of the cutting of the cake. Here's a still. It looks even better than I imagined. Very chocolatey and utterly calorie laiden - yummmm 


Friday 17 February 2017

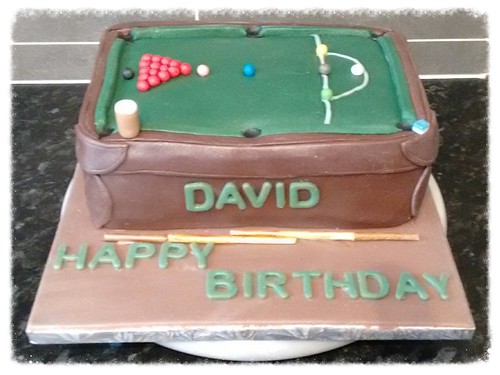
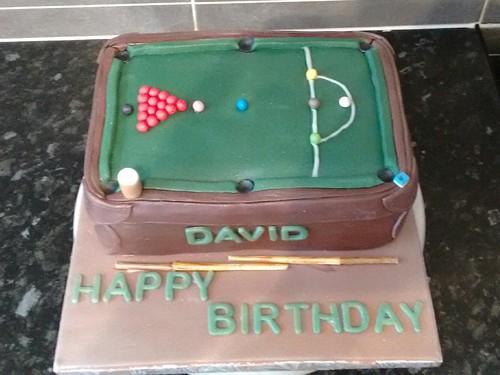
Snooker Table - February 2017


Not being a snooker person, I had to find a good image of a table so I knew how to set the cake out. Yes, I know, some snooker player is going to read this and laugh at me because I had to make a list of balls and get the setup image sorted, but hey, who cares :-)

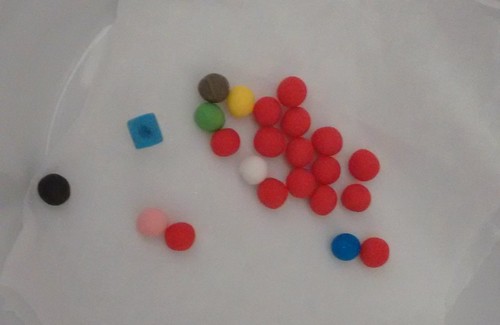
Total Snooker balls required:
  • 1 x White
  • 1 x Yellow
  • 1 x Brown
  • 1 x Green
  • 1 x Blue
  • 1 x Pink
  • 1 x Black
  • 15 x Red

The balls were handmade from fondant and allowed to dry for a few days.

Because a snooker table is usually made to look like wood, or even made from wood itself, the cake inside is basic chocolate sponge with chocolate frosting

I've seen many snooker table cake ideas, but my intention was to concentrate on the top with the sides as plain as possible.


Even though I wanted this to be simple, I did add:
  • The little chalk block
  • Two cues 
  • A pint
  • And a triangle, which is around the side
  • I did forget the gold coloured half ring around the pockets though 😱


Thursday 16 February 2017

Ganache


A new recipe has been added to my recipe book

The recipe for chocolate or Nutella ganache is available here

I hope you enjoy

Wednesday 1 February 2017

New visitor's book

A new, no frills, no fuss visitor's book!

Sometimes, leaving a message on an individual page, is not always what you'd like to do.  So I have made a new visitor's book here.

Please feel free to leave me a message on any topic related to my blog.  There's no need to sign in anywhere, just leave a message with no fuss.

There's a link up at the top of the page
Related Posts Plugin for WordPress, Blogger...