
I feel honoured to have been asked to make this cake! But at the same time, I felt petrified that I might get it wrong! Everyone told me "Just trust yourself, you can do it!"

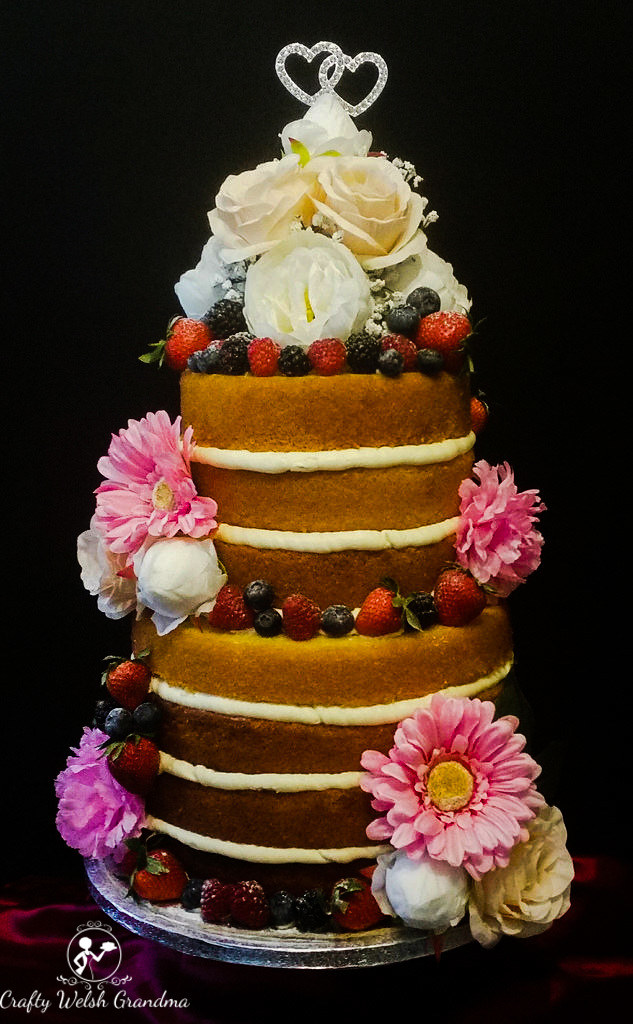
Work in progress on the floral cake topper with diamante hearts.
A special thank you to my topper maker!
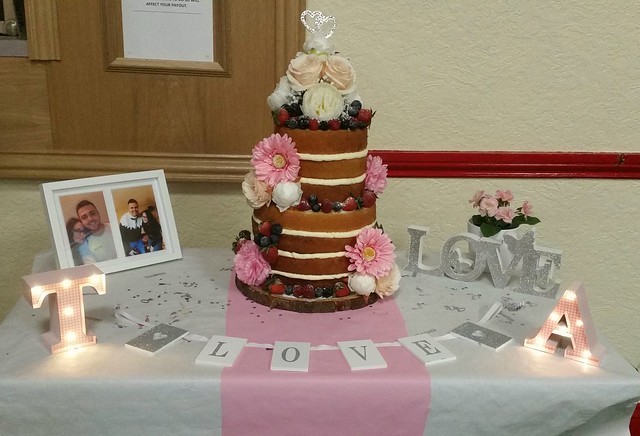
This type of cake does not lend itself to the heavy drapes of the fondant decorations. Instead, it's perfect for light flowers, fruits and berries. Unless the flowers are of an edible kind, I try not to use real ones on any cake. I'm always concerned that, if I haven't grown the flowers myself, they may contain traces of pesticides! So this cake's flowers are artificial, but the strawberries, raspberries, blackberries and blueberries are quite real!
It's "back to basics" for this creation, even down to leaving on the caramelised outer layer. The basic sponge and buttercream have been delicately flavoured with vanilla, generously doused with simple syrup to stop it drying out, and that's all the intervention it had ... With the exception of buttercream whitener and then the internal dowels for stability and ease of transport.
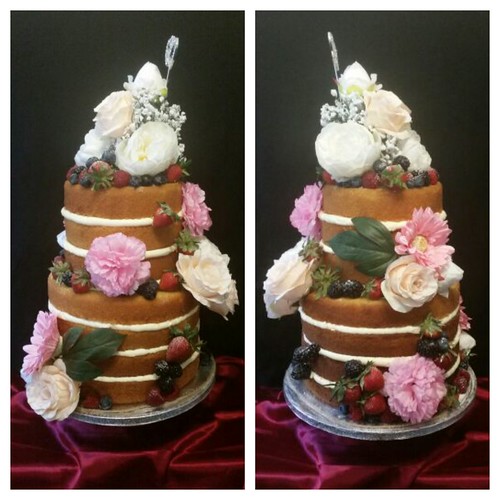
Top (L) and (R) side views
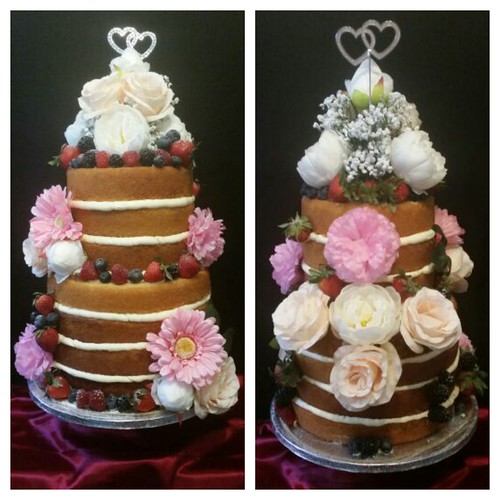
Bottom (L) Front view (R) Rear view
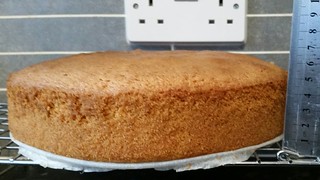
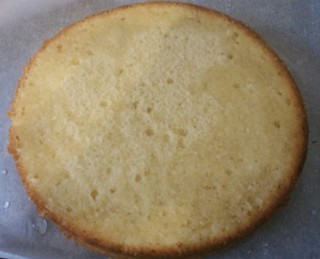
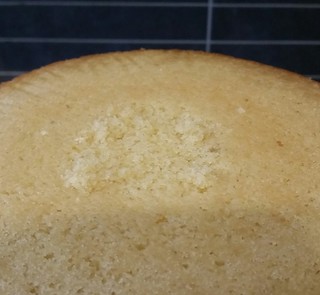
Just one of the seven layers before being trimmed
One of the layers being 'simple syruped'
The top and bottom tiers were treated as two separate cakes. The top tier also has its own cake card. This was iced as a way of gluing the cake to it. The bottom tier is also on a card, which is stuck to a board in the same way, This is because, when the cake gets to the venue, it will be shifted onto rustic wooden tree 'cookie' or board.
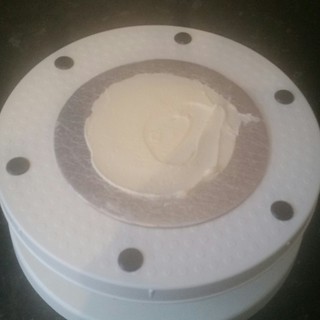
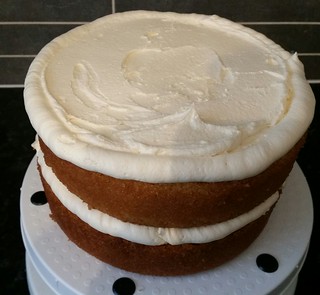
Each layer's buttercream was piped around the edges and then the centre was filled in. This was done so that the buttercream you can see between the layers had a nicer finish than it if was spread. This also helped reduce the risk of crumb contamination.
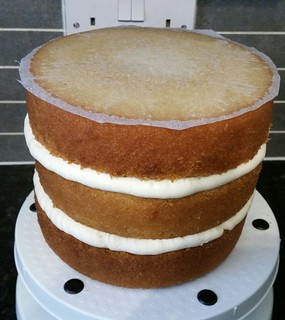
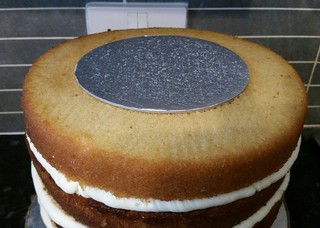
I left a disk of parchment paper on top tier as a way of preventing it from drying out. Then it was transferred to the refrigerator for some chill time
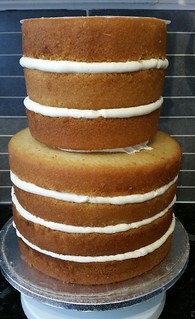
After the bottom tier had chilled enough so it could be handled, it was taken out of the refrigerator and prepared for the top tier.
Naked cakes are notoriously unstable at the best of times, to add a heavy tier onto this one was going to test every inch of my nerve and skill.
Tip for future self: When making a cake this tall, add an additional cake card in between the middle layers of the bottom tier. Also use bubble straws etc to support this layer.
The top tier's cake board is smaller than the cake, so I used one the same size as a guide for some buttercream and dowels. I gently scored the cake, it will not be seen as the top layer is slightly bigger.
I used an edible pen for this step.
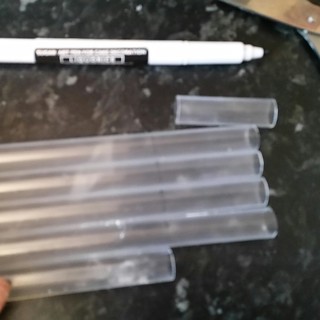
Tip: When cutting dowels or bubble straws, measure one and use that as a guide, By doing this, if your lower tier is not level, which I believe mine was, it will level out the cake.
Prior to inserting my bubble straws / plastic dowels into the lower tier, I added some buttercream to act as a glue for the next layer. I placed them a little wide so they would stabilise the upper tier by the card, and this meant I had room for the longer dowels later.
Trust me when I tell you, I can;t believe I got it right in the middle - first time!
I cut my bubble straws a mm or two longer as I wanted to pipe some more buttercream between the tiers so it would not look out of place not having any. I also wanted this extra space to push in some flowers later.
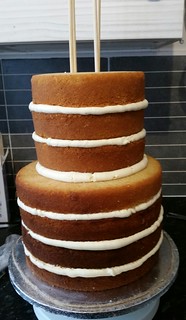
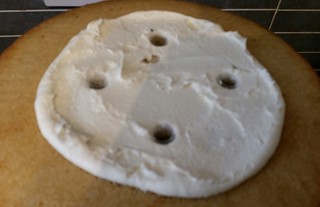
My next task was to insert four bamboo dowels right through the centre of the cake and down to the bottom board. The image above shows them where they stopped at the board under the top tier. I positioned them, using my best guess, inside the plastic dowels in the bottom tier.
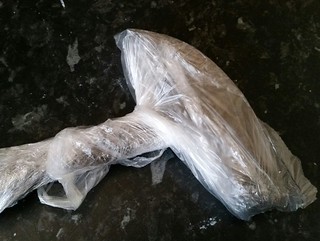
I used a pencil sharpener to make a point on the one end of each bamboo dowel to make it easier to hammer it through the card under the top layer. I had a new common DIY hammer and wrapped it in clingfilm and a food bag, just to be on the safe side.
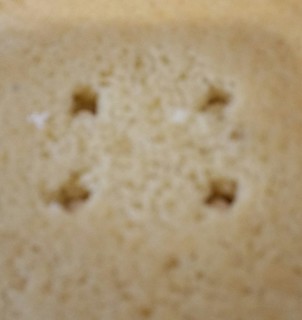
To hide the holes, I crumbled some of the trimmings into the hole, then replaced the parchment paper disk back on the top.
Thank you to my fabulous bouquet cake topper maker, who remains nameless. I couldn't have done this without you xxx
My next task was to insert four bamboo dowels right through the centre of the cake and down to the bottom board. The image above shows them where they stopped at the board under the top tier. I positioned them, using my best guess, inside the plastic dowels in the bottom tier.
I used a pencil sharpener to make a point on the one end of each bamboo dowel to make it easier to hammer it through the card under the top layer. I had a new common DIY hammer and wrapped it in clingfilm and a food bag, just to be on the safe side.
Once I felt the dowel go through the board below, I twist-pushed them as far as I could then used another dowel to push the one in the cake down to the bottom. All that's left is four holes in the top.
As you can just about see, the cake was transfered from the standard cake board to a rustic wood "cookie" board.
Thank you to my fabulous bouquet cake topper maker, who remains nameless. I couldn't have done this without you xxx

Thank you for sharing such great information.
ReplyDeleteIt has help me in finding out more detail aboutbest engagement cake
More often than not I don't offer remarks on cake, yet I'd prefer to state that this article truly constrained me to do as such. Extremely decent post. fruit salad box Brisbane
ReplyDeleteIt’s great to come across a blog every once in a while that isn’t the same out of date rehashed material. Fantastic read.Best Kids birthday party ideas service provider
ReplyDelete57D660E4
ReplyDeleteİçmeler esçort
gümbet esçort
esçort kırşehir
esçort bayan kastamonu
esçort bayan urfa
kayapınar esçort
bodrum rus esçort
esçort sakarya
kayseri esçort
A3F47375
ReplyDeleteesçort sivas
esçort bayan tokat
ardahan esçort
esçort bolu
esçort iğdır
nazilli esçort
esçort İzmir
zonguldak esçort
esçort bayan manisa
9743E687
ReplyDeleteForum
Forum
Forum
Forum
Forum
Forum
Forum
Forum
Forum