"All things lively must be used."
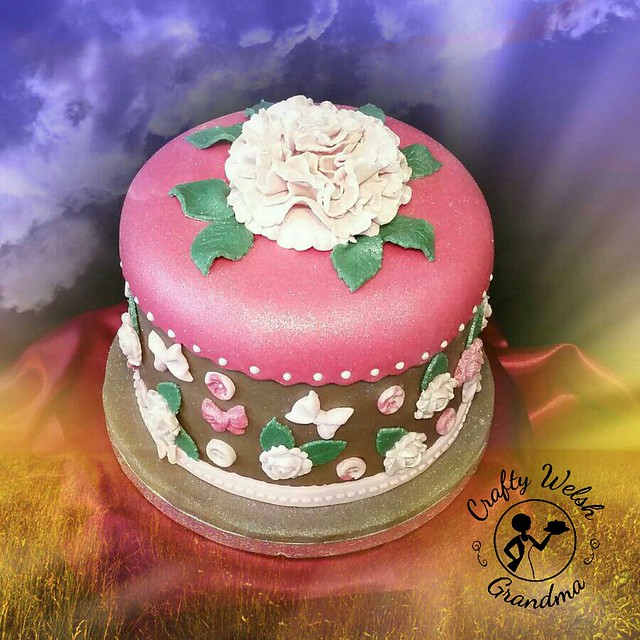
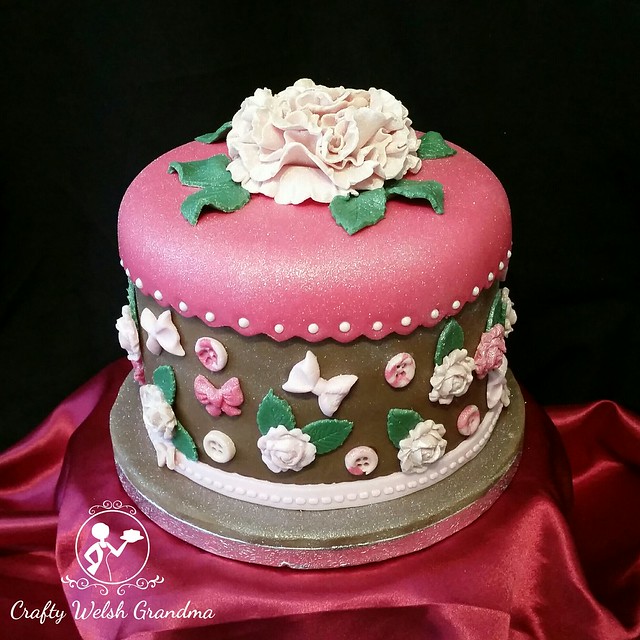
I love it when I get the chance of a cake with full artistic licence! This is one of those. Small, but perfectly formed and decorated it buttons, bows and flowers!
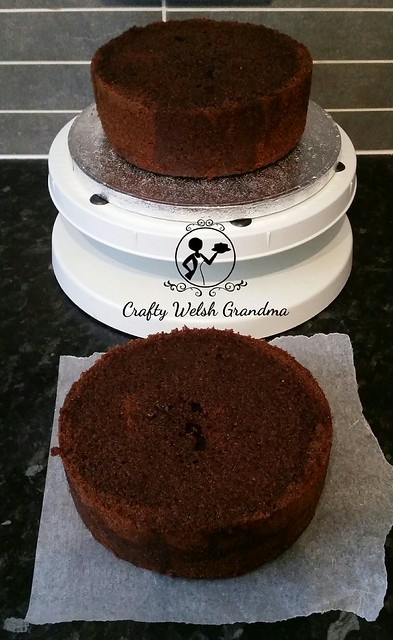
It started off as two 6" chocolate sponges, both of which contained one full mix each, I wanted a taller cake but only two layers, which were dowsed in some simple syrup.
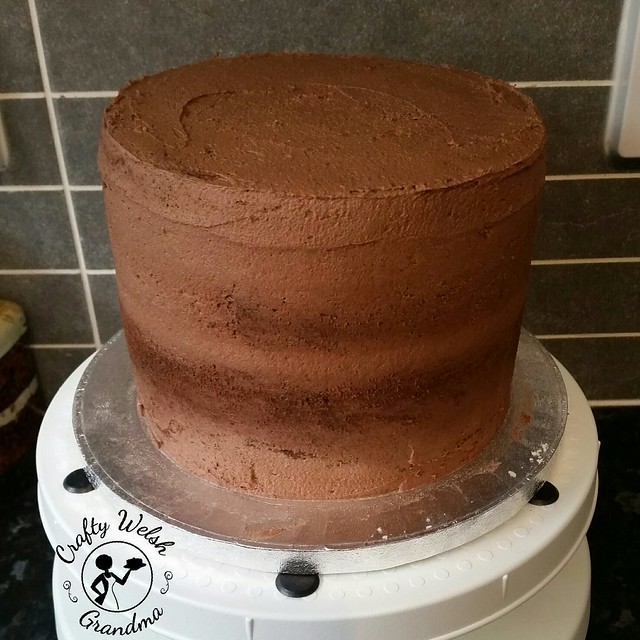
Sandwiched together with delicious chocolate buttercream, crumb coated in the same and allowed to chill before a generous coating of the chocolate buttercream, then ... chilled once more!
Oh I do love chocolate buttercream. As it was only a small cake, it only needed one mix of the recipe.
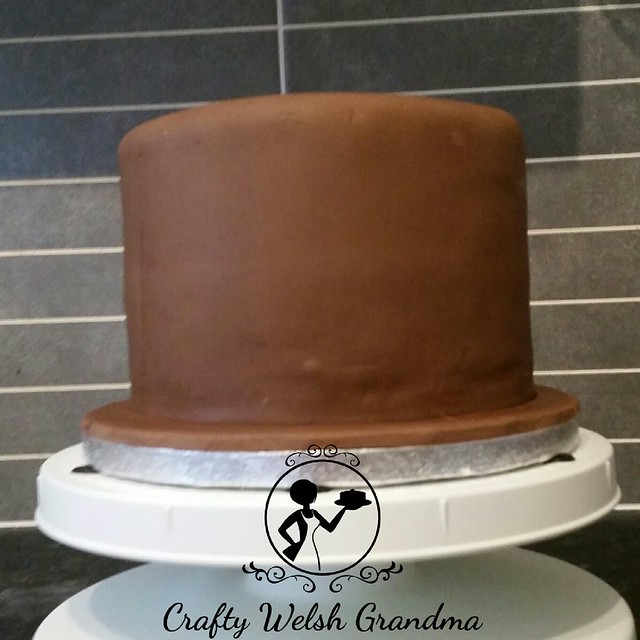
Once this scrumptiously smelling chocolateness was completely chilled, it was time to cover in, well, what else but chocolate flavoured fondant.
This Renshaws Chocolate Fondant is not without its trials. If you haven't used it before and your first time is dawning, here's a tip for you:
Tip: Use in a cool kitchen, wear food grade gloves and 'polish' your smoothing paddles when working with it. It has a tendency to be stickier than 'standard' fondant. Stick with it (if you pardon the pun)
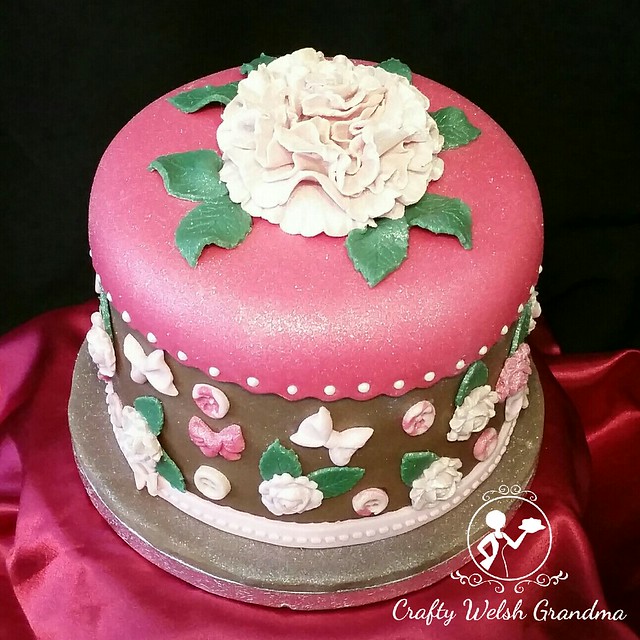
Once covered, I topped this cake off with fuchsia pink! What a wonderful contrast. I needed the topping to look like a table cloth and didn't want it to be on the top looking absolutely perfect, that would spoil it. So I scalloped the edges before I put it on the top - off centred! Then little sugar balls were added to each scallop.
The bottom ribbon was made of a pale pink standard fondant, which was made at the time of decoration to ensure it wouldn't crack and break when fixing it to the bottom of the cake.
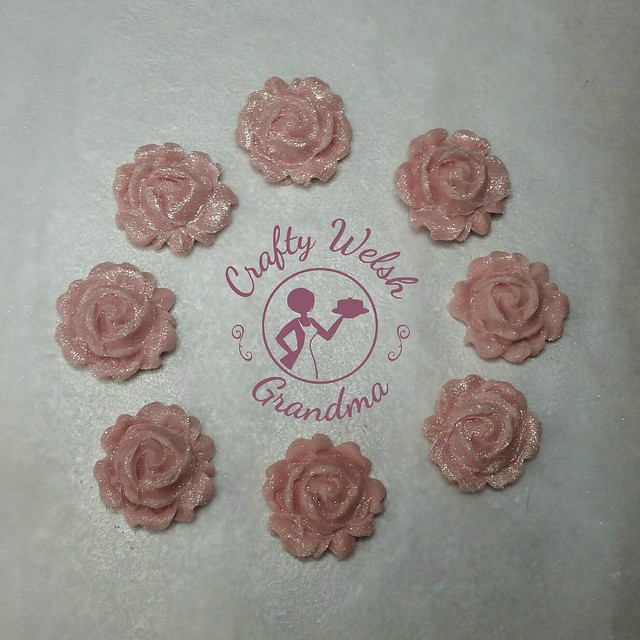
A few days in advance, I made fondant roses, buttons and bows, again from standard fondant and allowed them to dry out. Allowing these creations to have a day or more to dry out makes life easier on the day of decorating. They're obviously harder and much, much easier to handle without distorting the shape.
The topper is a ruffle flower or fondant carnation. This was made from standard fondant, not modelling paste (as my instructions tell you here), with CMC / Tylose powder added. Adding this will increase elasticity and durability and will also allow it to harden more than standard fondant. Having said this, the creation made using CMC and standard fondant will still mean your creation is delicate and not a robust as a creation made using modelling paste. Which means ... It can be cut when the cake is being cut and softer than modelling paste when eaten.
Usually you'd dust your mould with some icing sugar or cornstarch to enable the release of your creation, but as I wanted my flowers to have a little bling, I dusted the mould with edible glitter. I think it worked perfectly.
Randomly add the buttons, bows and roses to the sides, with leaves made on the day of decoration, add some sparkle (using edible lustre dust) and voila! There you have it! Small, sweet and beautiful!
All that's left for me to say is "Happy Birthday Louise!"



No comments:
Post a Comment