Friday, 16 December 2016

Rich Fruit Cake

Perfect for all special occasions. On its own or covered with marzipan and icing.

You can substitute some of the liquid for bandy, whisky or rum for that extra special-ness (see step)

Planning note: Fruit will be soaked overnight
You will need (a lot of things):
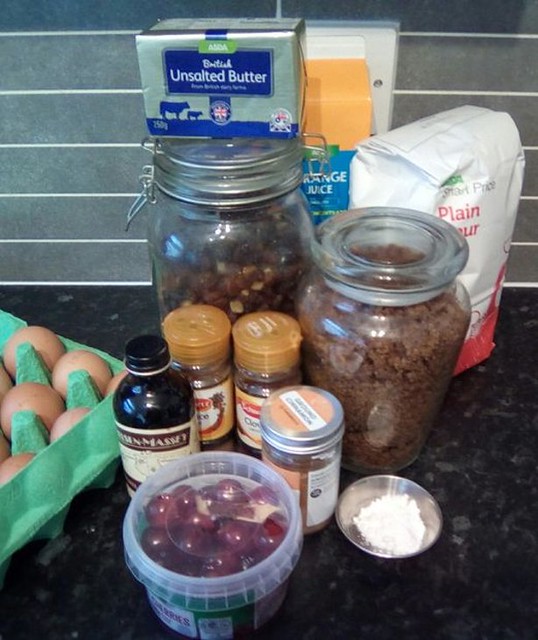
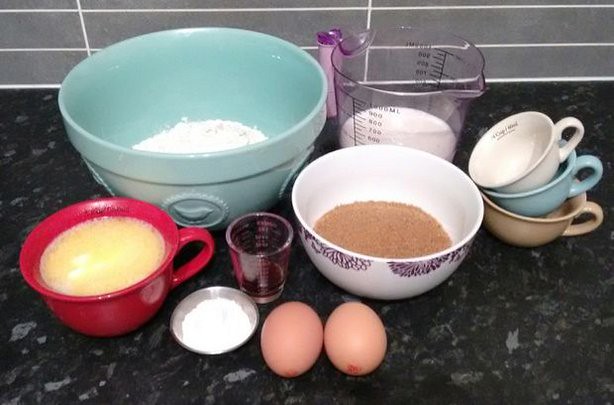
Ingredients Part 1 aka 'Bowl 1' 
  • 220ml of hot, strong tea or orange juice (see notes ❅)
  • 750g or dried, mixed fruit (see notes ❅❅)
Ingredients Part 2 aka 'Bowl 2' 
  • 200g Unsalted butter 
  • 110g Glace cherries (halved)
  • 225g Dark brown sugar
  • 4 Medium eggs, lightly beaten
  • 225g Plain, white flour
  • ¾ tsp Baking powder
  • 1tsp Ground cinnamon
  • 1/5tsp Ground cloves
  • 1tsp Mixed spice
  • 1tsp Vanilla extract
  • Small amount of margarine / butter for greasing tin
Equipment:
  • 1 8" cake tin at least 3" deep
  • A saucepan
  • 2 Mixing bowl, plus 1 bowl for eggs
  • Measuring spoons
  • Greaseproof paper
  • String - suitable for the oven
  • Mixing spoons
  • Tea towel or cling film
  • A sieve to drain fruit
Notes:
★ If you have two different size bowls, the largest size will be best suited as Bowl 2
 Liquids: For more indulgence, replace half this liquid with Brandy, Rum or Whisky. If using alcohol, you will need to make this cake weeks in advance to allow maturing and feeding (see step later on)
❅❅ Fruit: I purchased ready mixed fruit, if you don't want to use ready mixed, you can use any or all of the following up to 750kg:
  • Sultanas
  • Raisins
  • Craisins
  • Currants

Day #1 - Bowl #1:
  1. Weigh and wash your fruit
  2. Drain through a sieve
  3. Place in a large bowl
  4. Allow your liquid to come to room temperature
  5. Pour over the fruit and cover with a tea towel or cling film
  6. Allow to soak overnight or a minimum of six hours
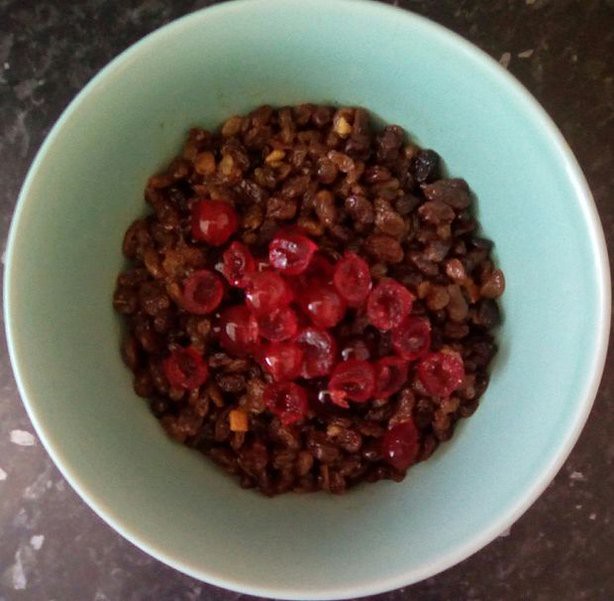
  7. Cut cherries in half and mix into Bowl 1
Day #2:
  • Cut cherries in half and mix into Bowl 1

Melt Butter and Sugar:

** Preheat the oven to Gas mark 2 ***
  • Ensure all ingredients are at room temperature
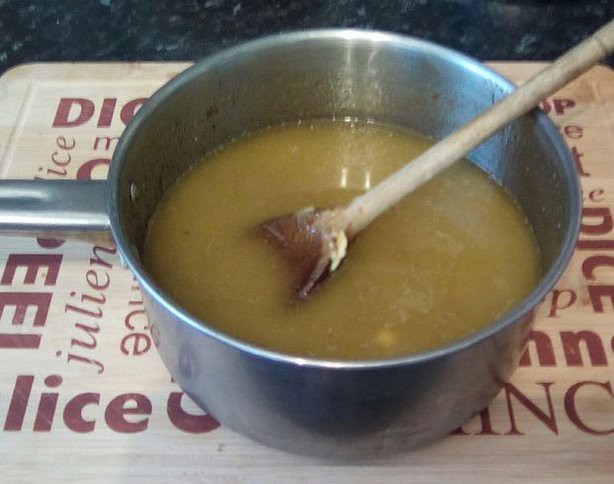
  • Melt the butter and sugar together in a saucepan. stir continually until it has mixed well. Allow to cool.
  • Whilst cooling, grease and line your tin. 
  • Pour mix into Bowl 2
  • Lightly beat your eggs with the vanilla - Mix in to Bowl 2
  • Sift and mix together, into Bowl 2, the remaining dry ingredients from 'Bowl 2' list

Combine both bowls:
  • Add a spoonful of fruit at a time and fold in
Measure greaseproof papers for the outside of the tin:
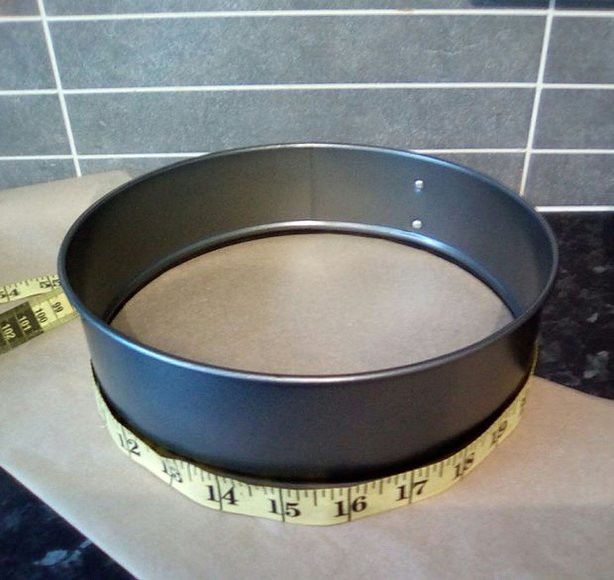
  • Measure your tin, round and height, and cut a length of greaseproof paper to fit around (plus a little more) and four times the height.
  • Fold this in half and ensure that it comes over the rim of your tin by about 2 inches.
  • Place to one side
Spoon mixture into tin:
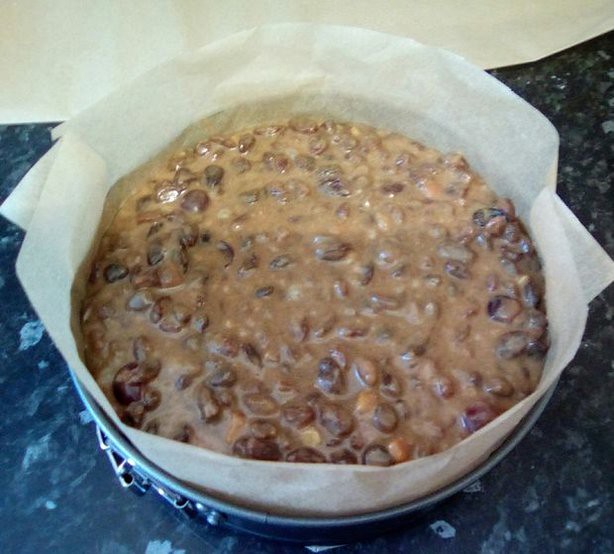
  • Spoon the mixture into the tin and flatten the top
Secure paper to tin:
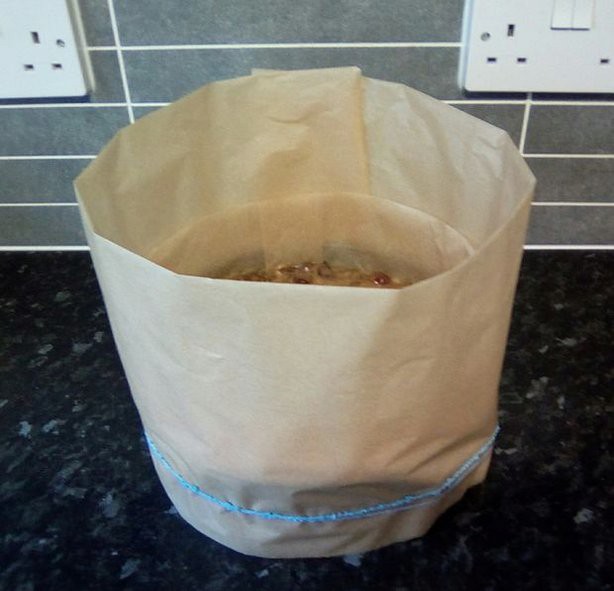
  • Take your length of greaseproof paper and secure it around the tin with the string
  • This is to ensure that, if it rises over the sides of your tin, it won't spill
Bake and allow to cool:
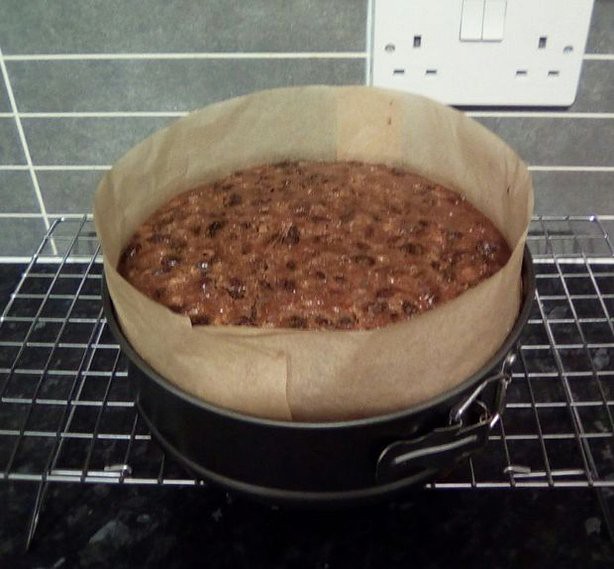
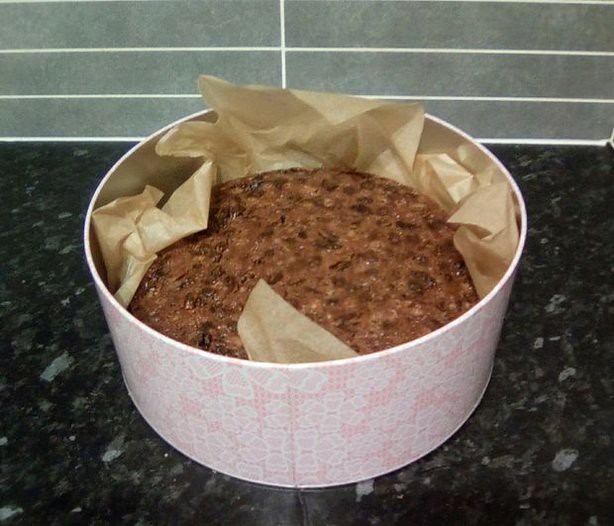
  • Bake in centre of the oven for 4 - 4.5hrs or until a skewer, inserted into the centre of the cake, comes out clean.
  • Once cooked, allow to cool in the tin, then turn out onto a wire rack
Storage:
  • Store, wrapped in a double layer of greaseproof paper and a layer of foil.
  • You can leave the foil if you have a tin to keep it in.
  • Store at room temperature or in the freezer.
  • Can be stored for up to six - eight weeks.
Feeding and maturing (optional):
  • If using alcohol, feed the cake with 1-2tbsp of Brandy every two weeks until it's decorated.
  • Do not feed the cake for the last week. This will give the surface a chance to dry before decorating.
  • Maturing is optional if not using alcohol.
Resizing your mix:
I will adjust the cake mixes using egg quantities as a guide. Amend and adjust the other ingredients to accommodate the eggs.
  • 10 inch cake - add 50% more - two eggs and adjust ingredients to match.
  • 8 inch cake - leave as recipe above.
  • 6 inch cake - reduce by 25%
  • 4 inch cake - reduce by 75%

Decorate (optional)
Decorate your cake for whatever celebration you desire or eat as is.

Thursday, 15 December 2016

Fondant Holly Wreath


Another of my Festive Fondant creations. 

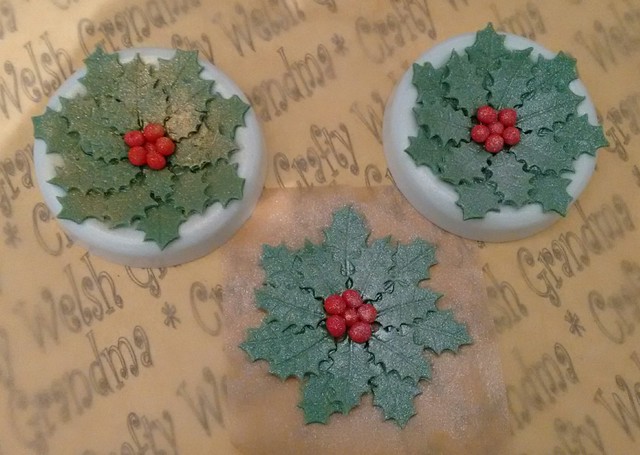
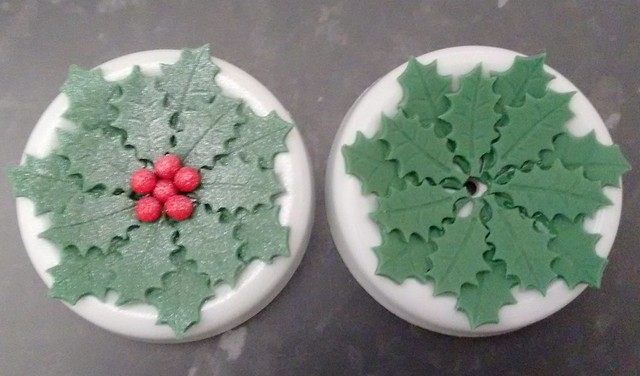
This little holly wreath can be used as a centre piece for your cake or as a cupcake topper. Can be made with, or without a forming cup and there are a mix of images from both methods here:

You will need:
  • Modelling fondant / paste in red and green or
  • Modelling fondant / paste in white if colouring your own
  • Colour pastes in red and green if colouring your own
  • 75mm Forming cup - optional
  • Water / edible glue
  • Paintbrush
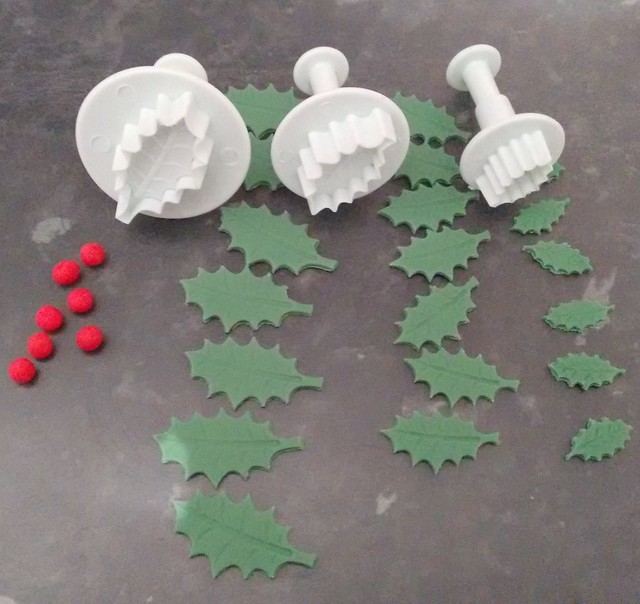
  • Small (optional), medium and large holly cutters
  • Rolling pin
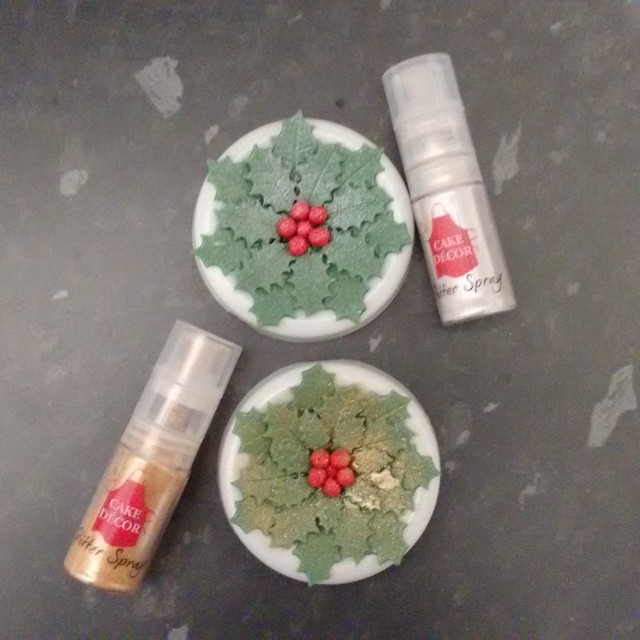
  • Edible silver and / or gold spray glitter (optional)

Prepare the following:


Roll out your fondant as thin as you can without it breaking, then:
  • Cut 7 Large holly leaves
  • Cut 7 Medium holly leaves
  • Cut 7 Small holly leaves (optional)
  • Roll about 6 small red balls for berries
Layer #1

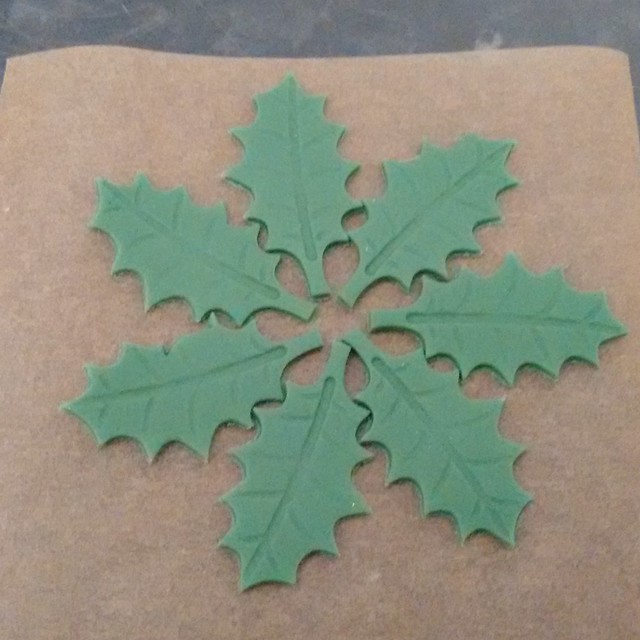
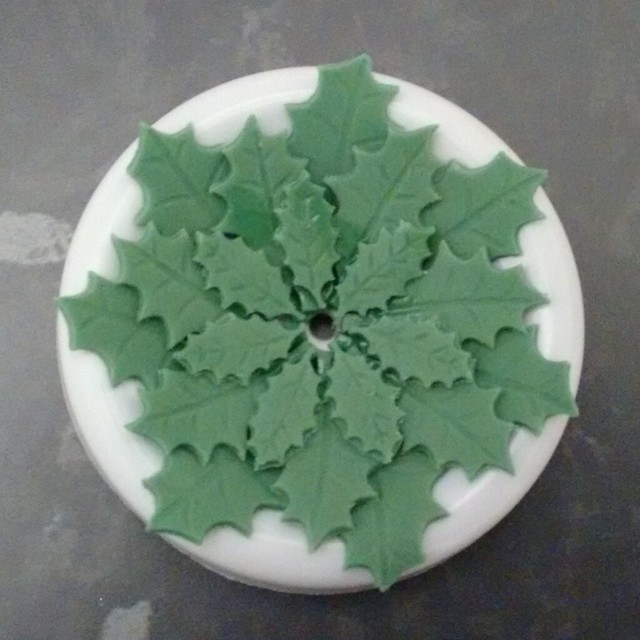
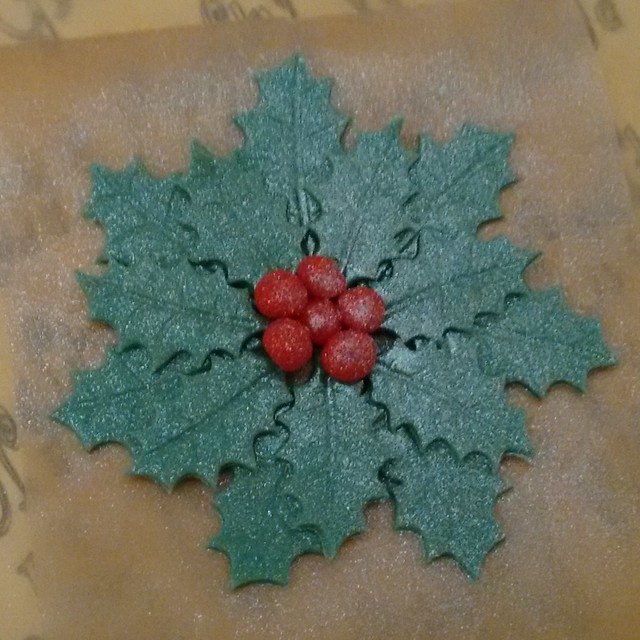
Because I want to show you that you don;t need the forming cups, this image shows the first layer without. If using forming cups, you won't need the greaseproof paper, but I strongly advise that you use some if you don't have a forming cup 


Lay seven holly leaves around in a circle and leave only a very small gap in the centre

Layer #2

Add some edible glue or water to each of the leaves, about 1/3 of the leaf and concentrate on the edges of the leaves more than the middle


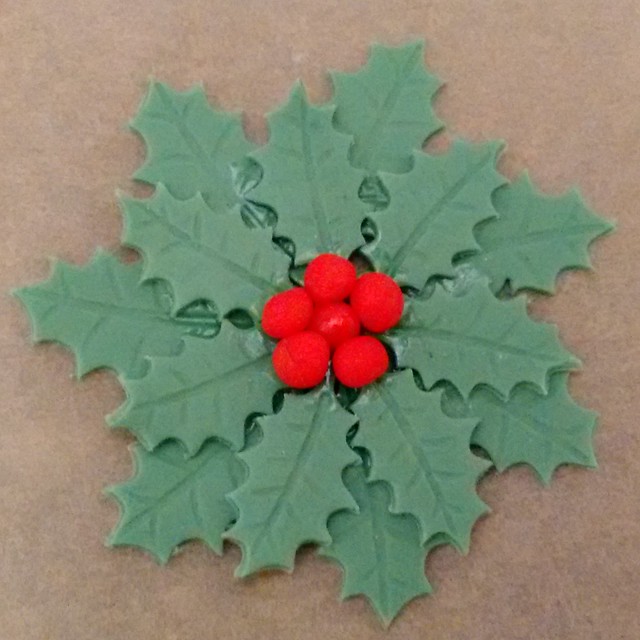
Add the medium sized leaves, as close to the centre of your project as possible, so they cover the join of the leaves from layer one.
At this point, you can stop adding layers and skip the next layer if you only wish to have two (image left)

Layer #3 (optional)

If you like just two layers, skip this step


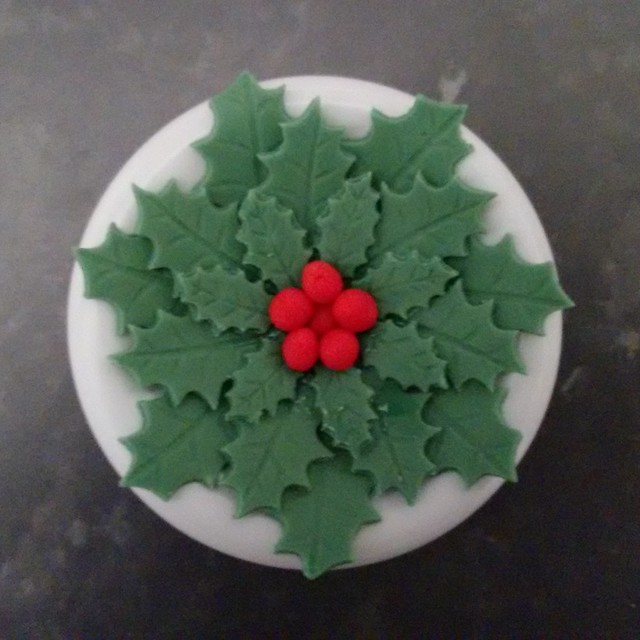
Add your third layer, again as close to the centre of your project as possible, using glue / water, place the smallest of your leaves on the joins of the medium leaves.

Add berries:


Start with the centre, glue your first berry on. Then, glue a further five on surrounding this first one.

Add some festive magic:


Otherwise known as edible glitter, add some festive magic to your creations.


Allow to dry and harden before topping the centre of your Christmas cake or festive cupcakes

Featured Post


Dandelion Honey


A homemade vegan alternative for honey. No bees involved! By definition, not a honey 

You will need:
  • 200 large dandelion heads or
  • 300 smaller dandelion heads
  • 1ltr of distilled water (about 1 3/4 pints)
  • 4 cups of sugar (about 900g)
  • 1 whole lemon (or 2 if you want to add to the jars later - optional)
  • A good, heavy 'jam' pan
  • Wooden spoon
  • Glass jars - sterilised

Do not use dandelions from the road sides and always collect from a number of sustainable sources.

How to:
  1. Separate the yellow heads from any green bits. A laborious task but worth the effort
  2. Rinse the heads and place in a mixing bowl (not plastic)
  3. Drain heads then boil the distilled water, then pour over the petals and soak them for a minimum of 12 hours. You can also grate the rind of one lemon and add to the mix (this is the lemon you will use the juice of later)
  4. Sieve and strain - keep the water, add the dandelion heads to the compost heap
  5. Squeeze the lemon
  6. Add sugar and lemon juice to the water
  7. On a low heat, bring to the boil, stirring gently all the time with a woodspoon
  8. When the spoon starts pulling 'strings' and the mixture become slightly tacky, take off the heat
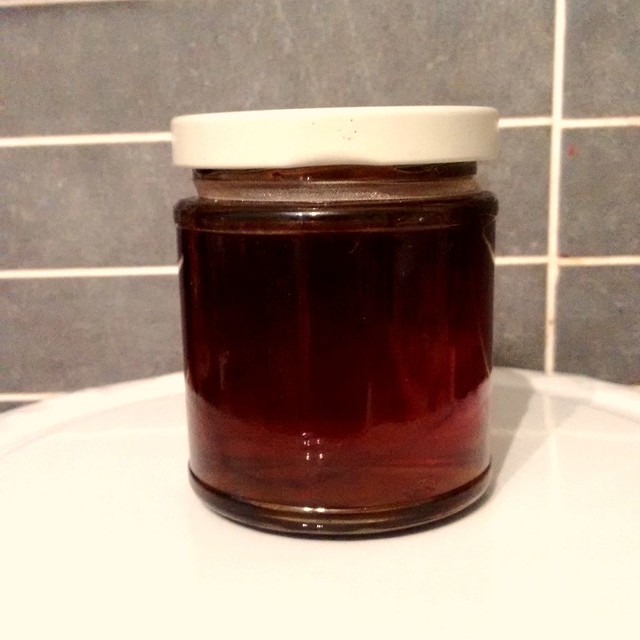
  9. Transfer to your sterilised glass jars*
* If you wish to use a second lemon, ensure it has been cleaned and pipped, then slice it and share the slices between your jars. Put the lemon slices in the jars before you fill them with the 'honey' mixture.
Can be used once cooled


Sunday, 11 December 2016

Belgian Waffles


For breakfast, brunch, afternoon tea with butter, fruit or just plain, they're delicious!
Of course, a true Belgian Waffle will have deeper indents / squares than mine but it matters not, you make the best wish what you have 
You will need:
For the Waffles:
  • 2 cups self raising flour
  • 3/4 cup sugar, I only use brown sugar
  • 3 1/2 teaspoons baking powder
  • 2 large eggs, separated
  • 1 1/2 cups milk
  • 1 cup melted butter
  • 1 teaspoon vanilla extract

Toppings - the lists can be endless:
  • Icing sugar for dusting
  • Maple syrup for drizzling
  • Whipped cream
  • Soft fruits eg strawberries, raspberries, blueberries etc
  • Or butter instead of fruits
  • Even jams or preserves like my homemade apple butter


Step 1: Combine the dry ingredients

  • Mix together the flour, sugar and baking powder and put to one side for a moment

Step 2: The wet ingredients:
  • Separate your eggs and beat the yolks.
  • Don't throw away the whites, we'll be using those shortly.
  • Mix together the milk, melted butter and vanilla.
  • Add the egg yolks and mix in.
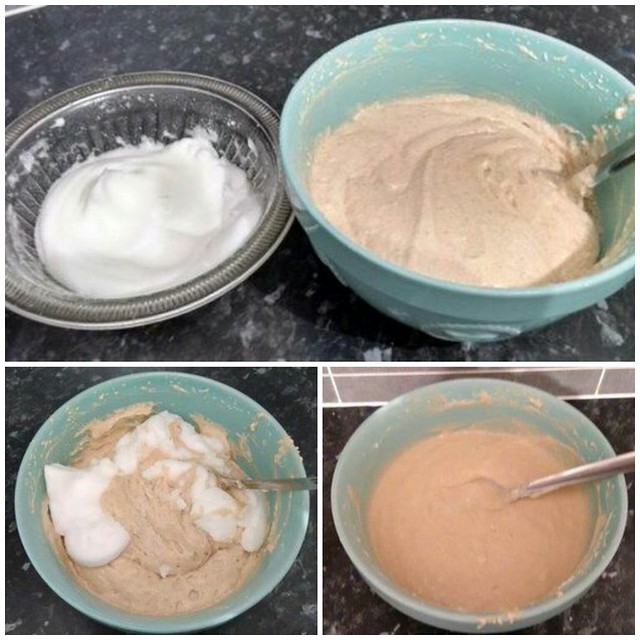
Step 3: Beat the egg whites and fold in

  • Beat the egg whites until stiff peaks form when you take out the whisk
  • Fold the egg whites, using a metal spoon, into your first mixture.
Step 4: Time to cook
  • Pour batter into the waffle maker and cook until golden brown.
  • Follow the instructions for the waffle maker
  • Allow to cool
Step 5: Serve and enjoy

Sprinkle with a little icing sugar, drizzle with maple syrup and add toppings.
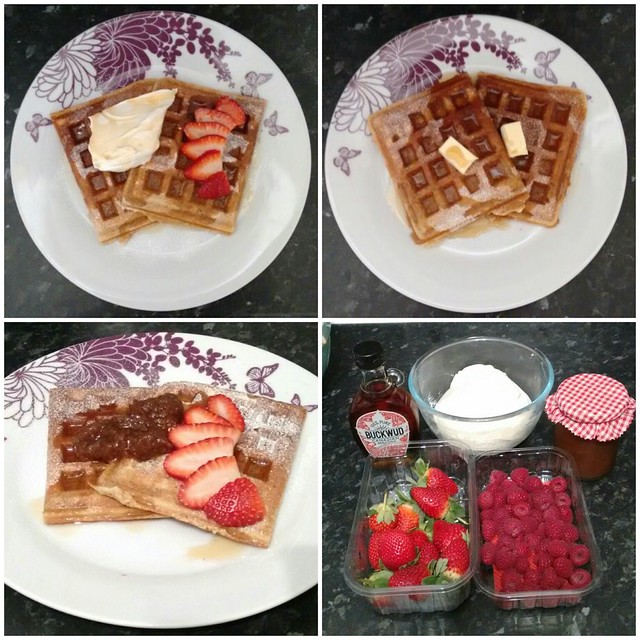
My toppings here are:
  • Top left: Fresh, whipped cream (or vegan alternative) and sliced strawberries
  • Top right: Butter
  • Bottom left: Apple butter and sliced strawberries
  • Bottom right: Raspberries were available but they weren't used
There are endless sweet toppings you can add.
I thoroughly enjoyed mine of strawberries and cream.
I hope you enjoy yours.

Featured post


Thursday, 8 December 2016

Christmas Cupcake Showcase

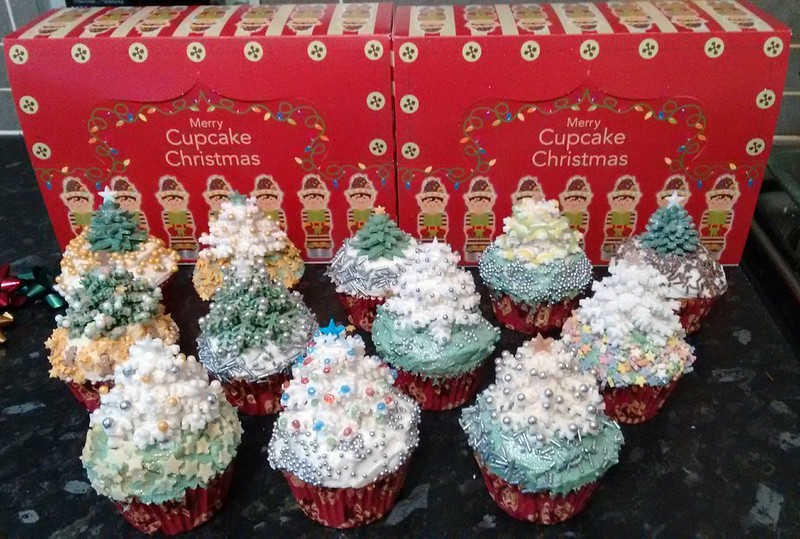
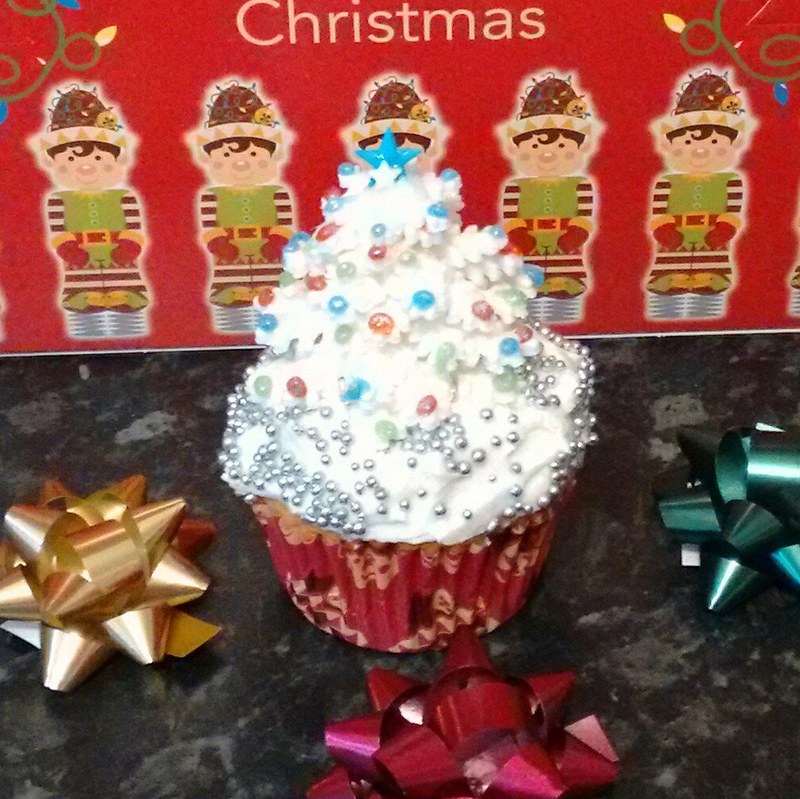
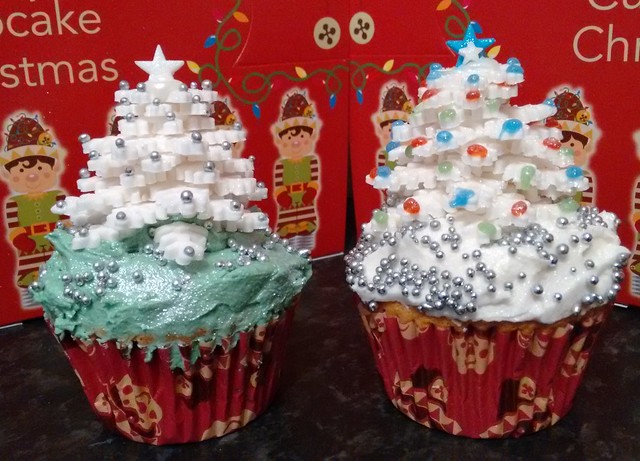
I'm taking this opportunity to show off my Christmas Cupcakes. I used a standard Victoria Sponge mix and added Butterless Buttercream and my festive fondant makes. Check out the links to make your own


Festive Fondant using:
Daisy Cutters

Snowflake cutters

Daisy cutters

Star cutters

With green frosting for when there's no snow.
With white frosting for when there is snow.

Saturday, 3 December 2016

Homemade Pumpkin Spice


A warming, deliciously aromatic homemade blend of ground spices. Ok, so it's not a cake, but it can be used to spice up a cake and give it that Auntumnal taste.
You will need:

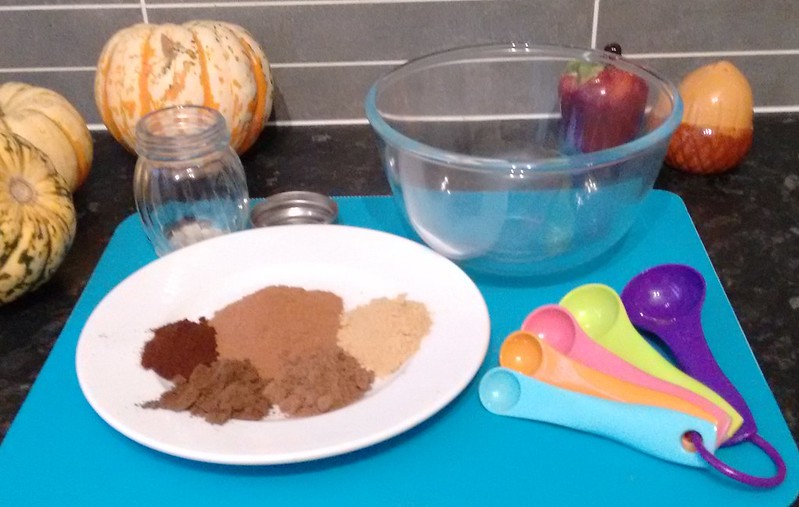
Ground spices in the following combination:
  • 3 tablespoons of ground cinnamon
  • 2 teaspoons of ground ginger
  • 2 teaspoons of nutmeg
  • 1 1/2 teaspoons of ground all spice
  • 1 1/2 teaspoons of ground cloves
A small mixing bowl
Measuring spoons
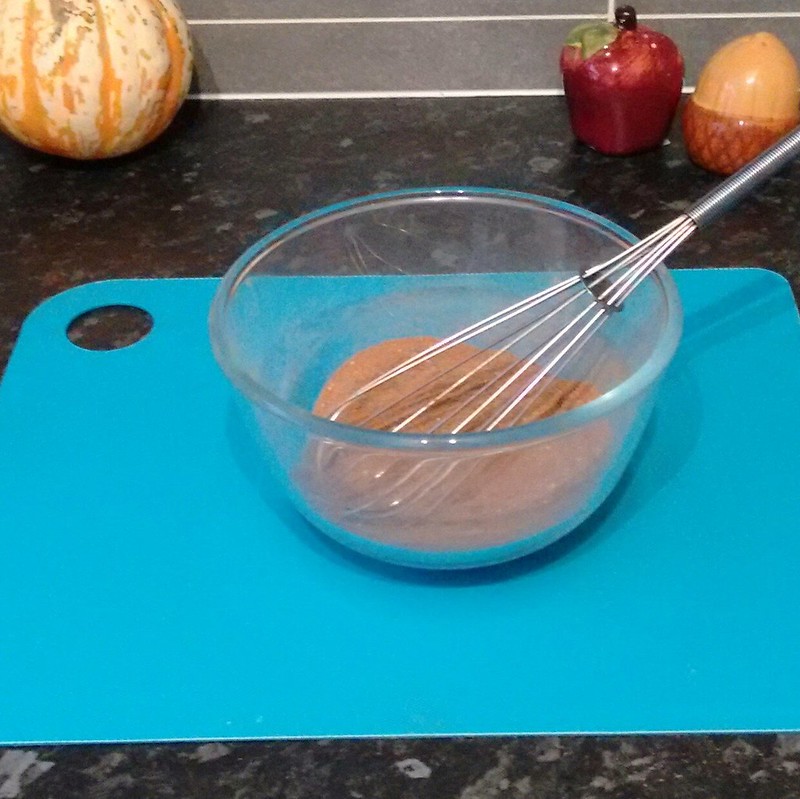
A whisk or a spoon for mixing
An airtight storage jar

Blend:

Place all the spices in your bowl and mix

Jar up, it's ready!

Put the mixed spices in an airtight jar.
I didn't have an airtight jar, so I put some sticky tape over the holes of a clean shaker jar
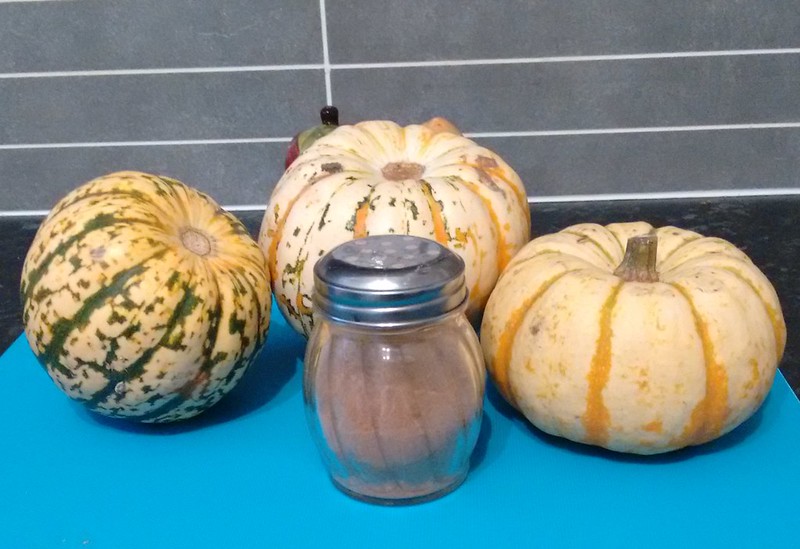
Note: The little pumpkins in the images are for decoration only, you don't need them

Also a featured post on Instructables
Click image above


Friday, 2 December 2016

Apple Butter


Can I interest you in any Apple Butter?

Check out my easy to follow instructions here

You'll be glad you did

Featured Post

Related Posts Plugin for WordPress, Blogger...