I love it when I'm asked to make a football cake - for a girl! And this young lady has no idea that she's even having a party, let alone a cake :-)
She's a bit on a Cardiff City fan, but a small cake, like the
Bluebirds one, would simply not do. I seem to be making quite a few football cakes, there's ...
- The Liverpool one
- The Bluebirds one
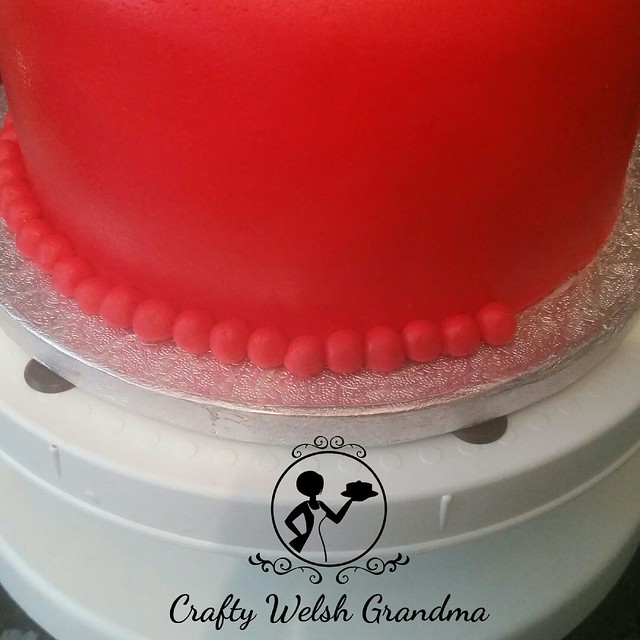
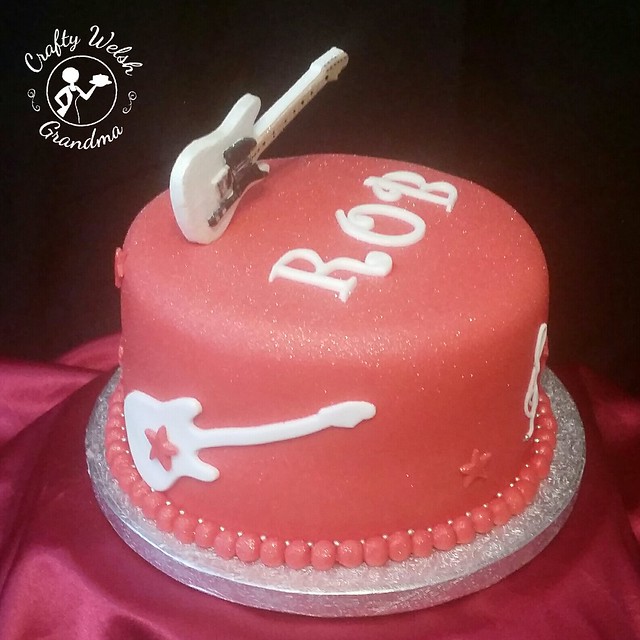
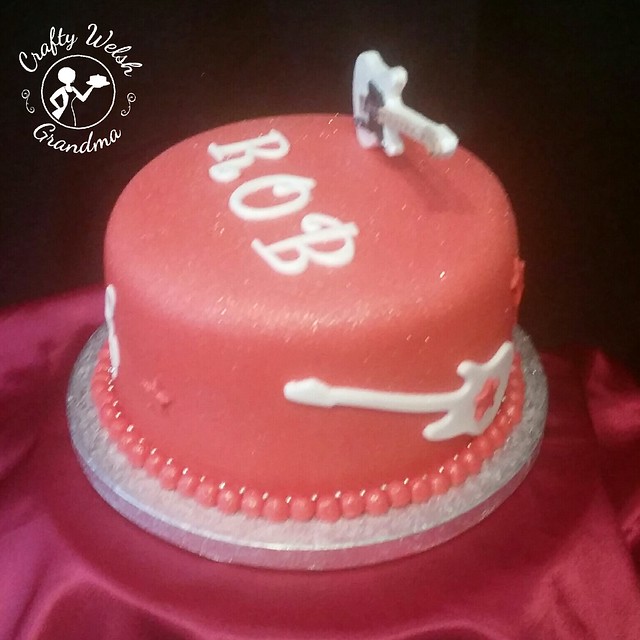
- The Red one
- And now this one
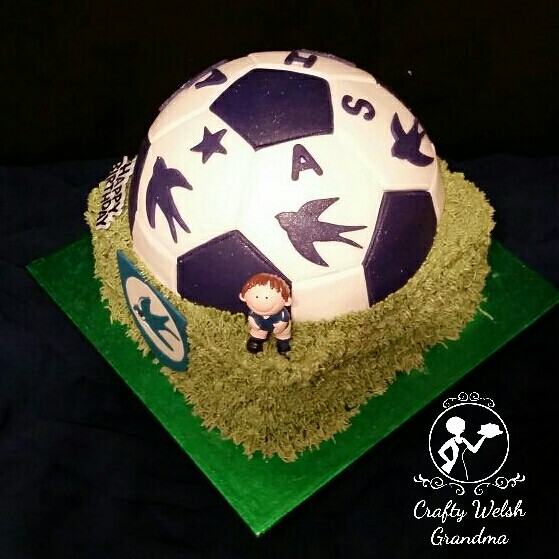
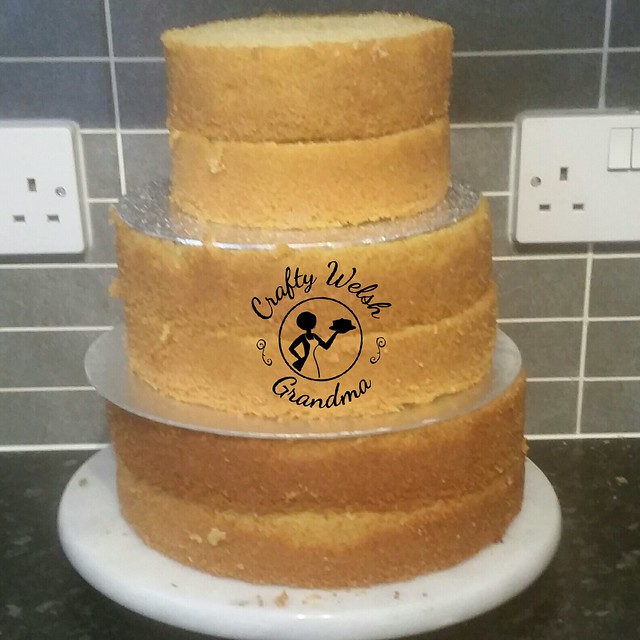
Once again, this was two separate cakes, only brought together for the final decoration. Using my faithful
sponge mix, with Trex for the top and Stork for the bottom, I cooked two layers for the grass and one large dome for the top. Inside the dome top is a yummy surprise for the recipient.
Due to some technical issues, again with the fridge, even though I had soaked the sponges in the
simple syrup, the top seemed to have turn out quite hard. I hope it softens up by the time of the party.
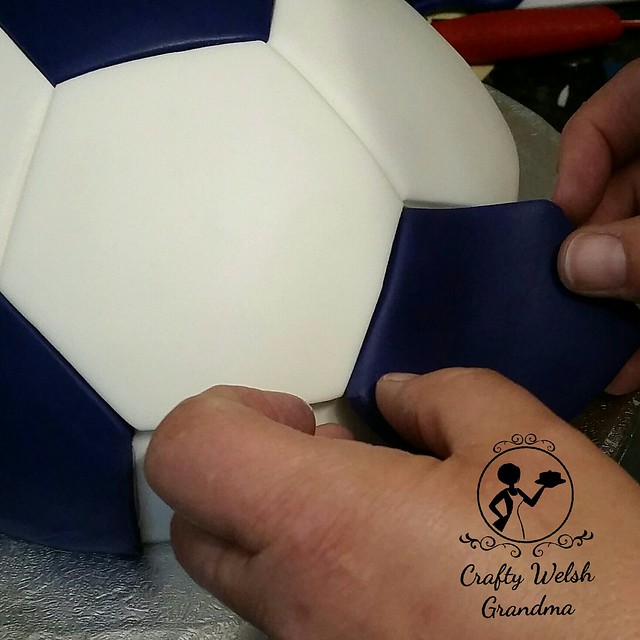
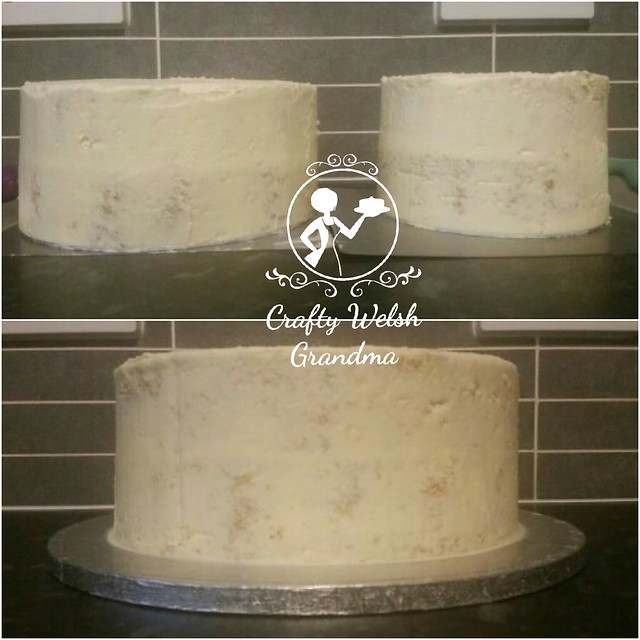
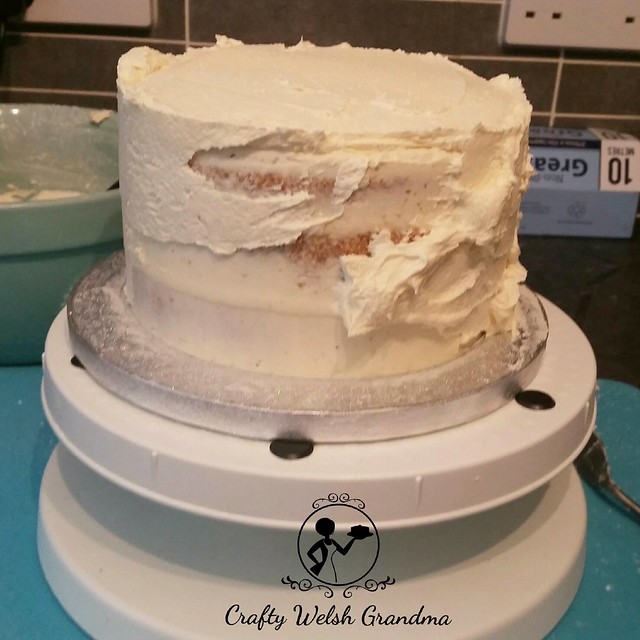
The top sponge was placed on it's own cake card, then crumb coated, chilled and covered in white fondant ...
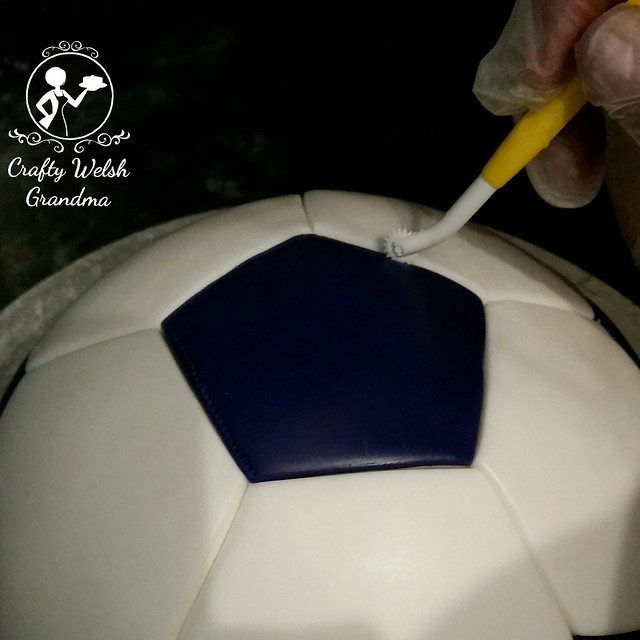
Each white and blue piece was individually cut, using a template I had made myself, then fixed to the cake, using a little water as glue ...
... And trimmed down to fit.
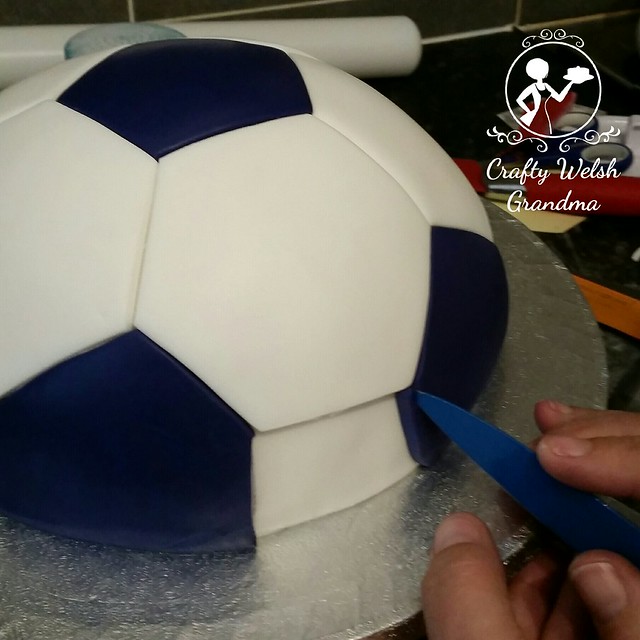
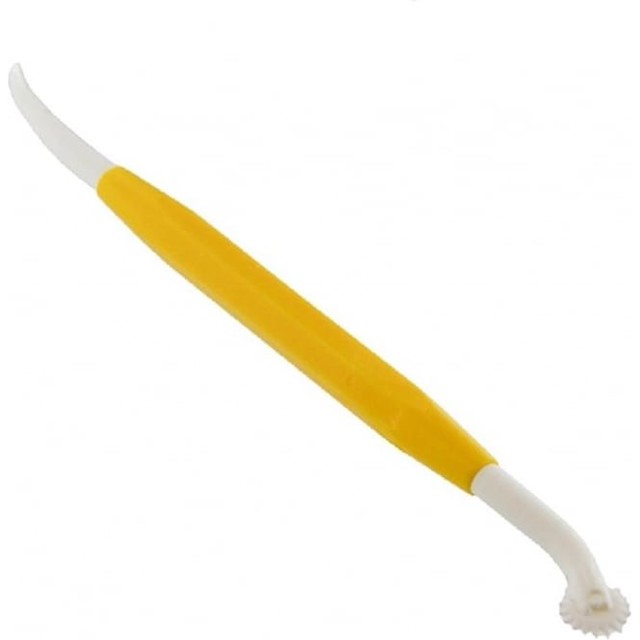
The next step was to add some stitching. Using a quilting tool, I ran a simple line at the edge of each section of the ball.
Once this was completed, nine stabilising dowels (bubble straws) were used in the bottom layer to prevent the tops shifting and squashing the bottom layer. The top is rather heavy.
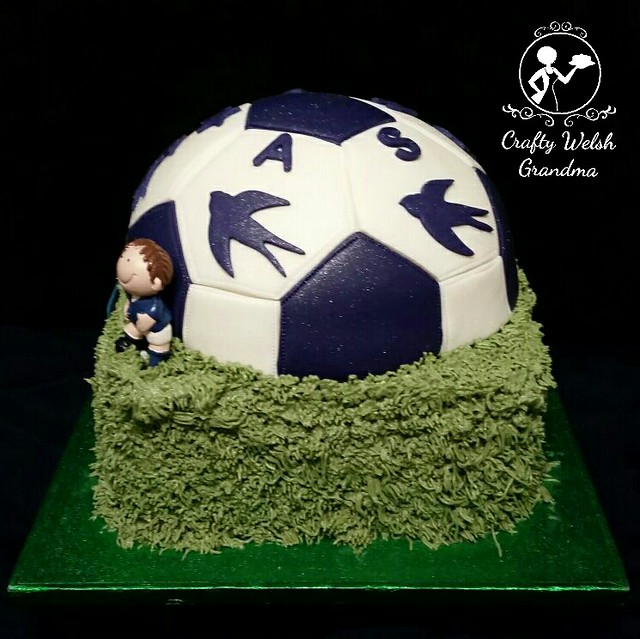
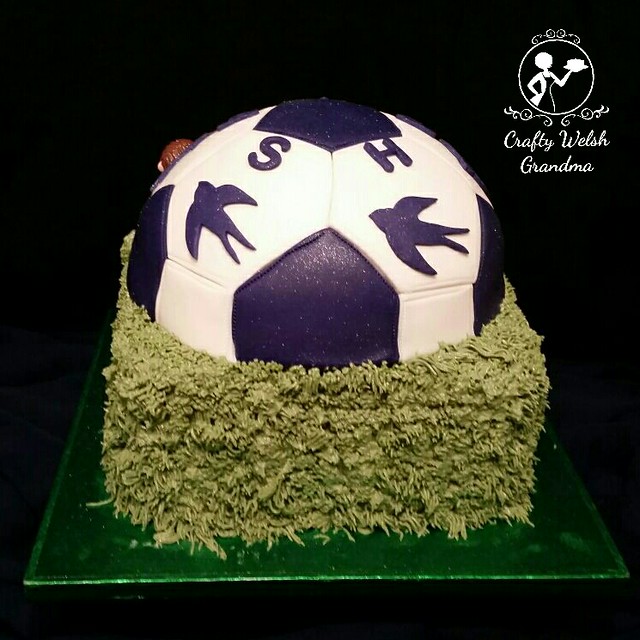
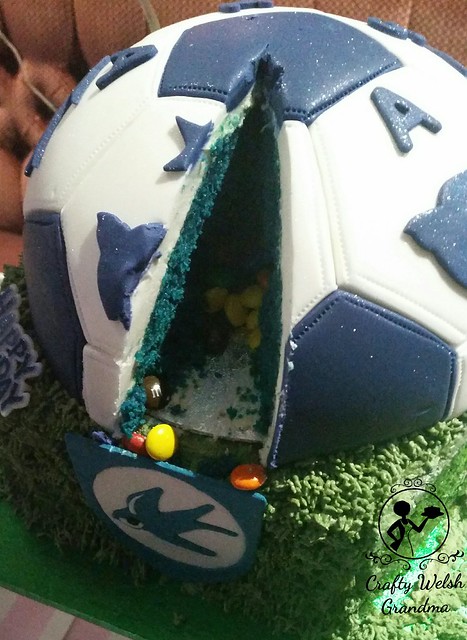
The sponge for the top is coloured in blue, to match the theme for the cake - blue and white, not the standard black and white football.
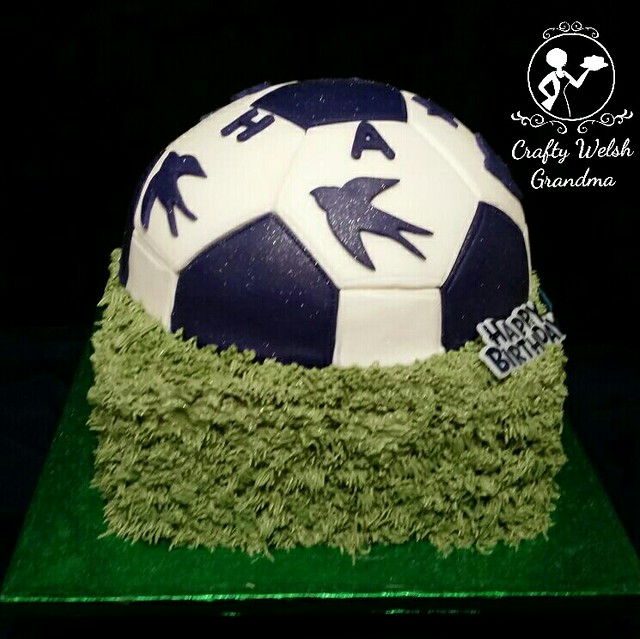
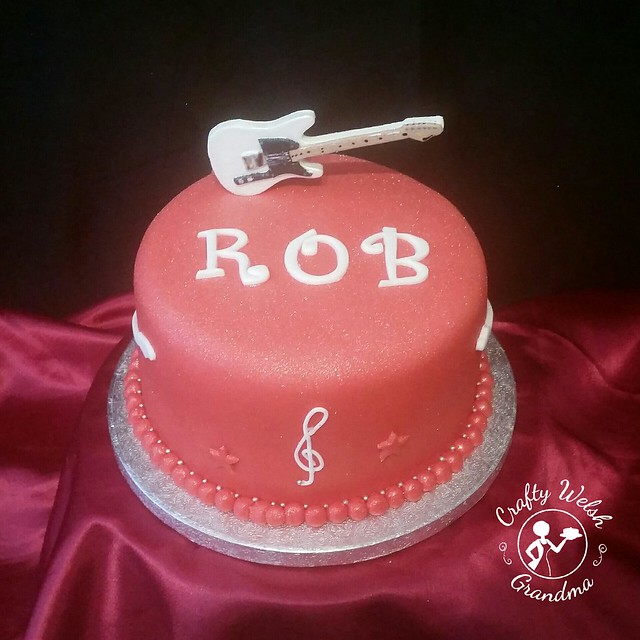
Below the recipient's name on the cake is a bluebird and a CCFC logo (made previously) has been added to the one side. This portion of the cake has been pipped in the same colour green as the sponge is made with.
Surprise inside the cake ... Chocolate M&Ms