Thursday, 8 June 2017

Wedding Cake - June 2017


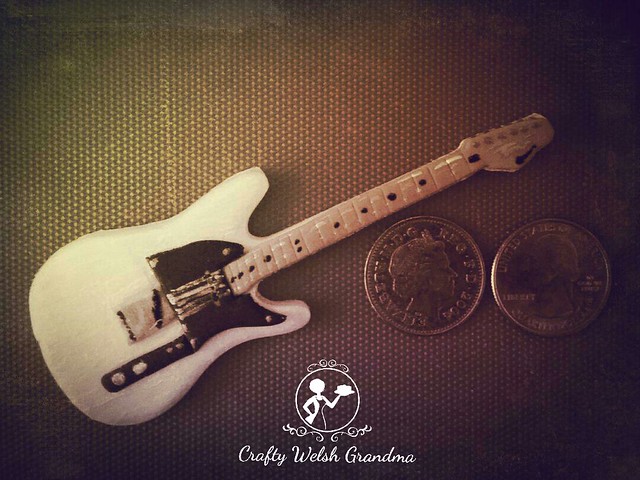
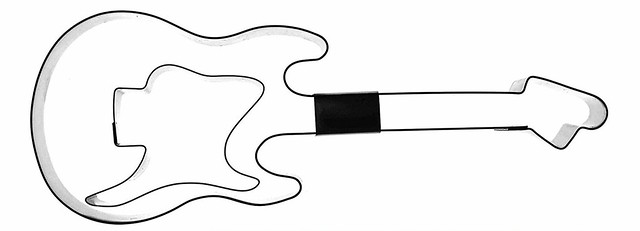
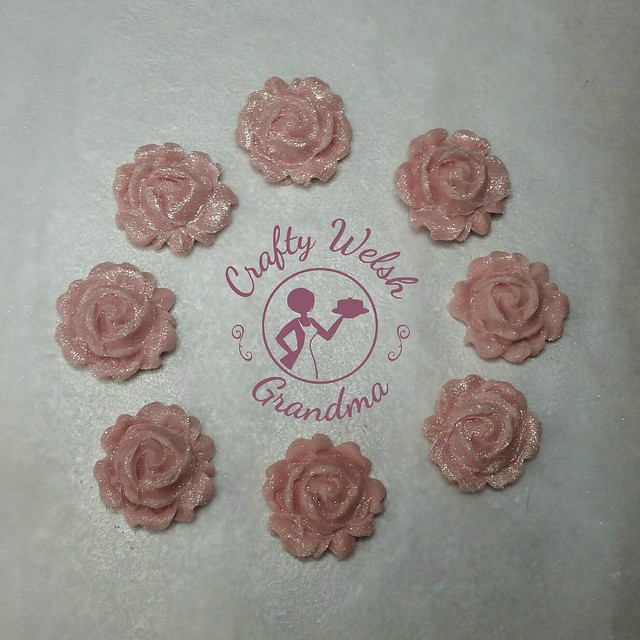
This cake has been months in the making, yet nothing had started to be made until three days before the actual wedding day!  The bride-to-be wanted a sponge cake and on an extremely tight budget.  The cake topper, however, was made a few weeks in advance.

I only have a small oven, and it's not fan-assisted, so it took me about nine hours to bake, including stopping for lunch.  Each of the six mixes that would make up the three tiers had to be cooked one at a time.


I measured the mixes by the quantity of eggs and were as follows:
  • Tier #1 - A 6" sandwiched sponge required six eggs
  • Tier #2 - An 8" sandwiched sponge required 12 eggs
  • Tier #3 - A 10" sandwiched sponge required 16 eggs
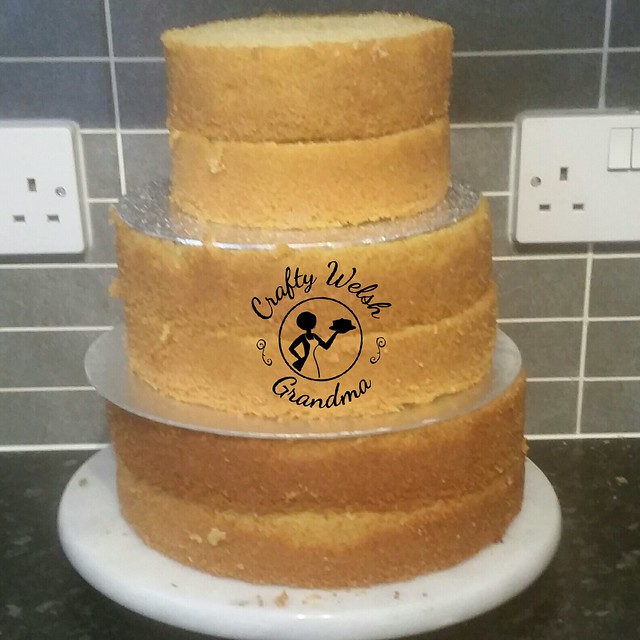
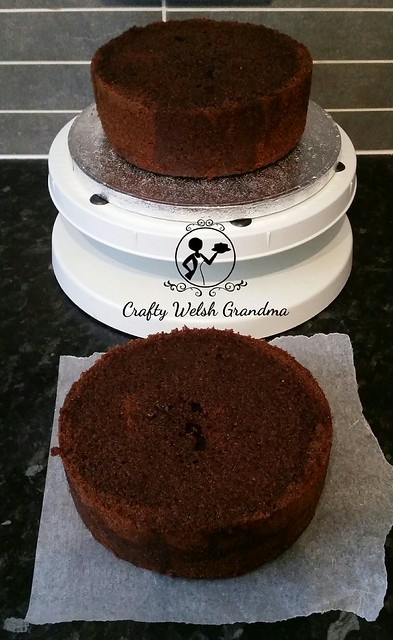
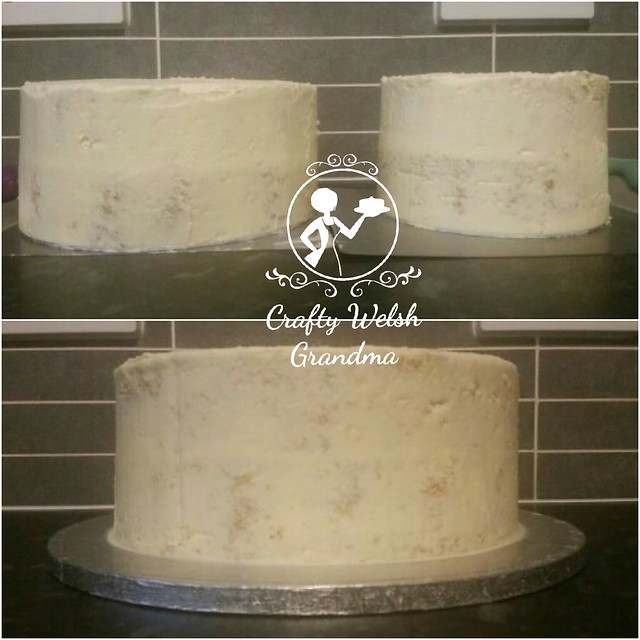
Three stacked tiers, for measure

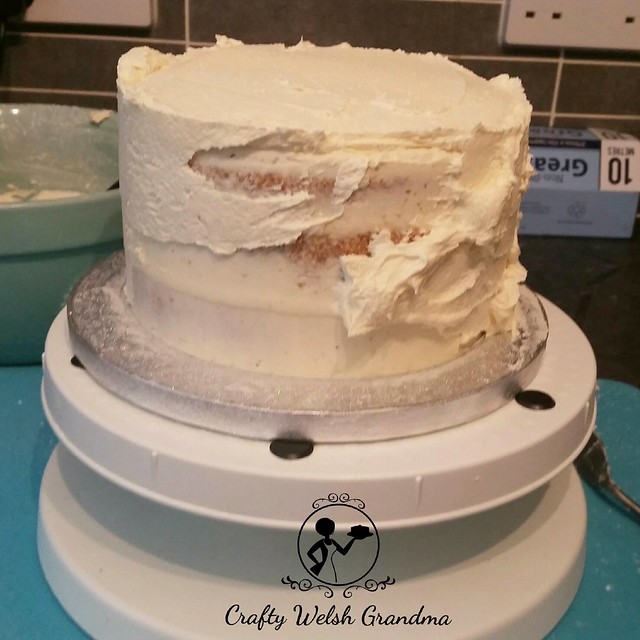
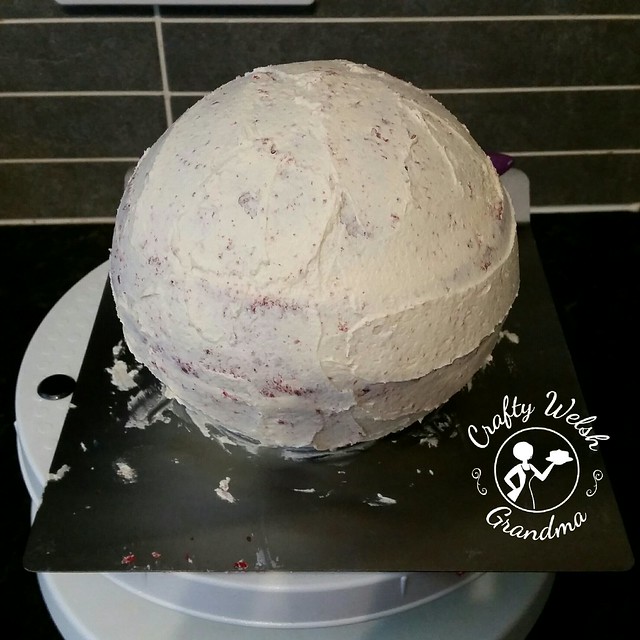
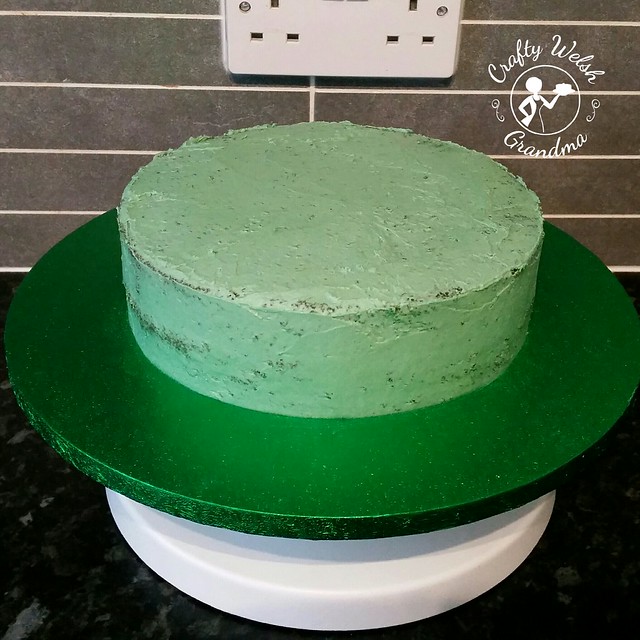
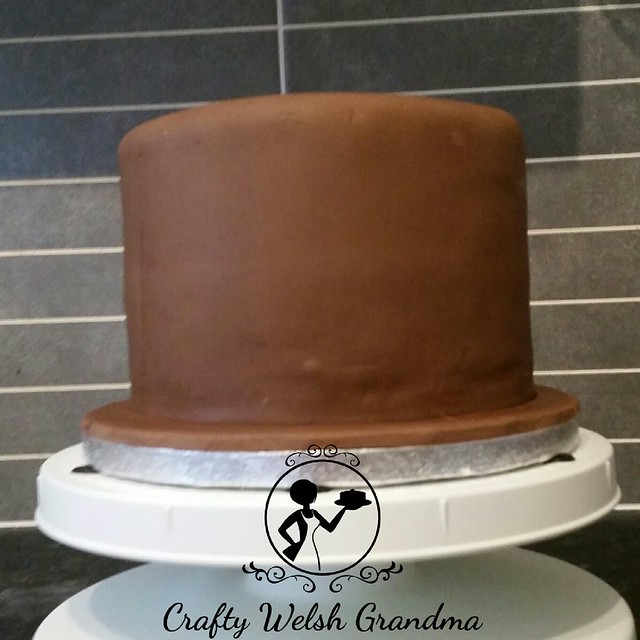
Each sponge was delicately flavoured with vanilla and sandwiched together and crumbcoated using a complimenting buttercream.


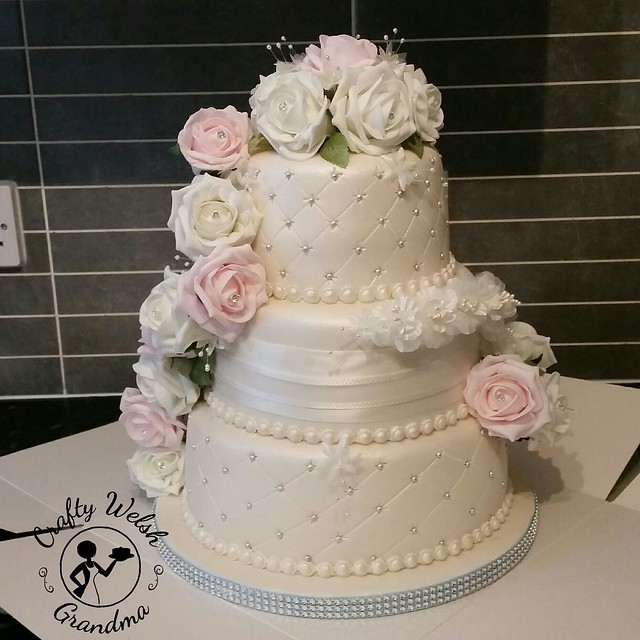
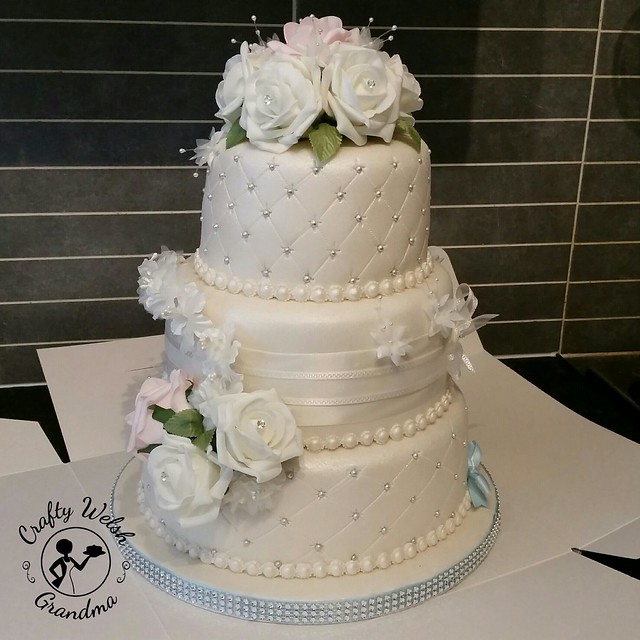
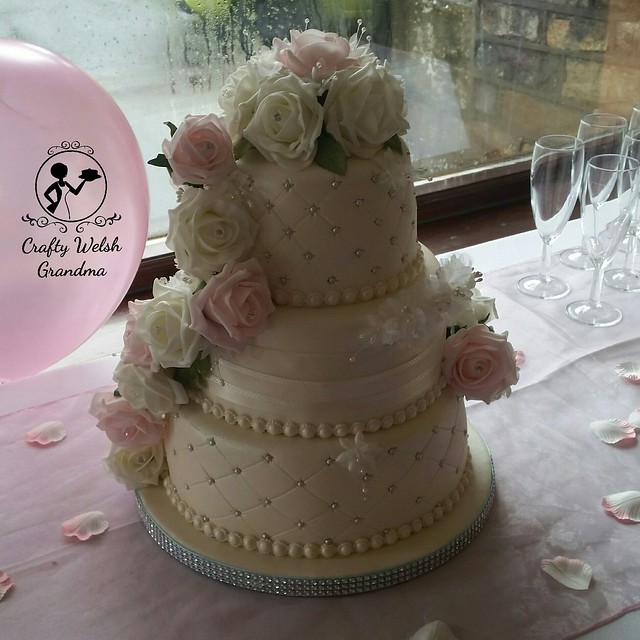
Tier #1 (top) - 6" Cake
This tier has a quilted effect with silver balls in each part of the pattern where the lines cross.
To do this I needed mark the cake into equal sections and place markers. Next I had to ensure that the bottom marker is directly below the top marker. Marks were made from the bottom marker on a slant to the marker two points away.
Image from public domain

With a steady hand, a ruler for be sure, a quilting tool was used to simulate stitching. Using the other side of the quilting tool, small star bursts were added to simulate creased material ready for the 'buttons' aka silver balls - the silver balls were then added where the lines cross.

Tier #2 (middle) - 8" Cake
This layer is not quilted, to ensure the quilting does not overpower the cake, I successfully convinced the bride-to-be that a simple lace layer would look far better. Now that it's done, I quite agree with my decision.

Tier #3 (bottom) - 10" Cake
This layer was also quilted, in the same way as tier #1.

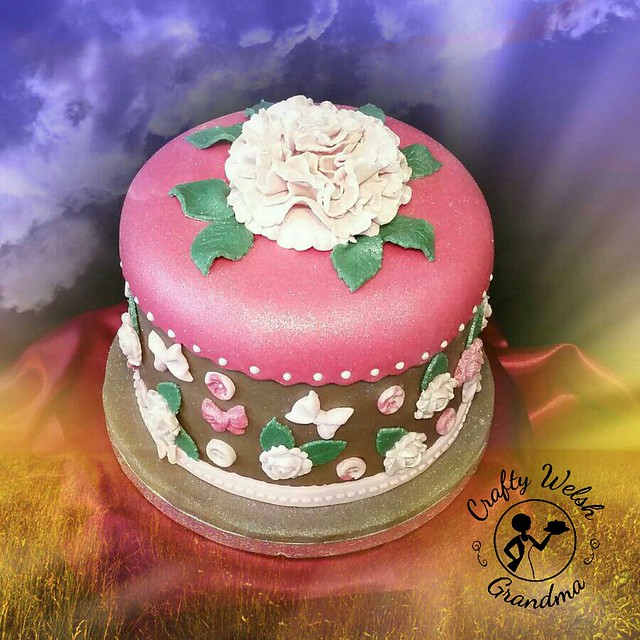
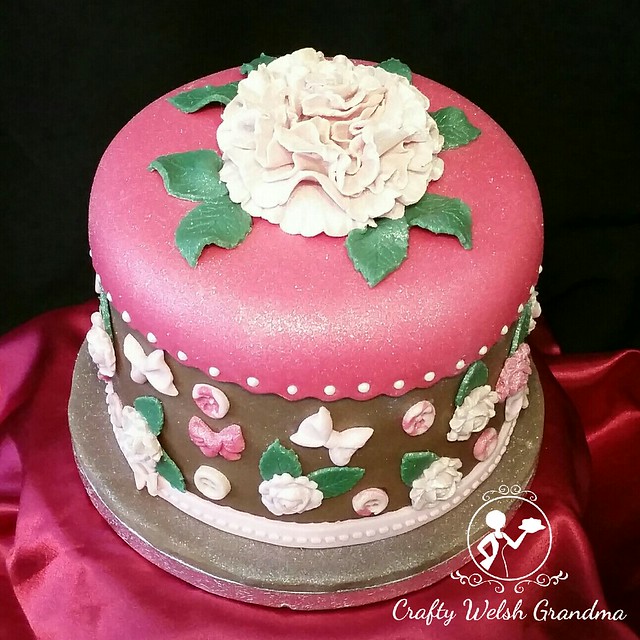
A significant amount of hours was spent on decorating this beauty. The day started at 11am and it ended at around 5.30pm - on my birthday too lol.

The cake has been decorated with a designated back and front, but no actual centre-front. The whole front is the front and designed to look it's best from all three, relatively front facing 'sides'.

Delivering the cake was a two-man job, or in this case, two women. But we managed it with such ease, I have no idea what all the worrying was all about.


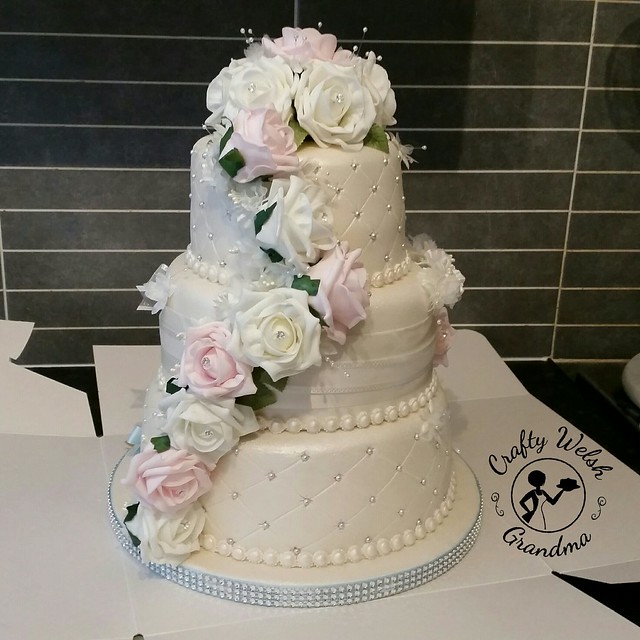
All that's left for me to say is ...

Good luck to the Bride and Groom

Floral Cake Topper


I was tasked with a commission a little out of my comfort zone, making a cake topper to compliment / match a bride's bouquet for the wedding cake I have also been commissioned for.

Issues to overcome were:
  1. I can't make bouquets
  2. I had to match the artificial roses in her bouquet, exactly!
The best way for me to go was delegate the task to my faithful topper maker, whose crowning glory finished off the Naked Engagement Cake I made for a family member back in April.

Below is an image of the bridal bouquet ...


It's a simple, yet elegant bouquet. For the topper, it was not possible to use the blue 'glitter' pieces as it wasn't possible to find food safe ones where the glitter wouldn't fall onto the cake.

I sent my topper maker off to source and purchase, on a strict budget, the artificial roses that exactly match the bridal bouquet. Full credit and thanks to them for doing such a perfect job and sourcing the perfect match, if not exact same ones.

As the bouquet topper's assistant, I simply made suggestions and took pictures to check back on later, blow is an image of one of the suggestions / ideas that we had ...


I'd promised the bride-to-be some pearls, but the ones I wanted did not look the best when in the bouquet, so I chose small flower and pearl pieces. I think it looks quite nice!

The bride-to-be's cake is to be ivory (by request) with silver balls in the quilted design on the top and bottom tier, with that in mind, we added some diamante pins.  These would compliment both the cake and the bouquet.

The finished topper (image at top of this blog post) will crown the wedding cake that I am making for the June wedding.

I would like to take this chance to thank my faithful topper maker for another wonderful crowning glory. Without their help, what would I do to compliment my cakes? The toppers make the whole thing perfect.

Monday, 5 June 2017

Guitar Cake


This cake had shrunk and changed shape, dramatically, from the original idea. At the request stage, no size was given, just a carved electric guitar shaped cake was required. A small carved cake would have been looked completely out of proportion, so I opted for one to fit on a 20" board but, alas, following some discussion, it transpired that the cake was only for six servings.  I suggested this smaller cake with a fondant guitar topper

The sponge was a simple vanilla one from my faithful recipe book, sandwiched together with vanilla buttercream


As with all my cakes I guess, this one was not without it's trials! As this is only my hobby, I don't have a professional kitchen.  Baking a three tier sponge cake at the same time as you're trying to crumbcoat, chill and decorate a cake is not helpful. The kitchen was simply far too warm and both the buttercream and fondant became very sticky. At one stage, almost at the end, the fondant peeled off onto my paddle! But I managed!

That was all day #1, I got it ready for day #2 and this happened ...


Having stripped the cake, I recovered it. My kitchen was much cooler so I had some success!


I mostly cover every board, but I wanted to try something different. So I made individual fondant balls (later to have silver balls between each) to fix to the cake and board.

The cake was chilled again, to prevent a repeat of day #1, then the guitar was fixed on using cocktail sticks as dowels. Silver balls were fixed in between each fondant red ball. As the cake looked a little plain I cut two white guitar silhouettes, affixed them to either side, added some stars and a hand made treble clef to the front, made by using an extruder and some very thin fondant.


Monday, 29 May 2017

Fondant Guitar Cake Topper


This cake topper deserves a blog post of it's own, even though it's due to adorn a cake shortly.

It's a simple piece, all-be-it rather fiddly due to its small size.


I purchased a cutter and simply copied off one of the recipient's own guitars from his collection. The two cocktail sticks you can see in the main image will be used to affix this to the cake so it will stand up.

I used a 50/50 mix of white modelling fondant and standard fondant. The additional decoration, that have been to overlay details, is made from all modelling fondant.

As the neck of the guitar was so unstable, before I decorated it, I had to insert an internal stabiliser. This was a blunted cocktail stick because this was the smallest stabilising item I could think of.

All I can do now is wait to bake the cake and hope it works as well as planned.

Sunday, 21 May 2017

Cupcake Day 2017 #1


With the end of May creeping up fast, and all my work done for this month, I'm starting my preparations for #CupcakeDay 2017 already.  

Thursday, 15th June 2017 is Cupcake Day!

If you're interested in attending, and you're on my personal Facebook page, please feel free to bring a friend along to. 

If you are unable to attend but would still like to make a donation to the Alzheimer's Society, please follow the JustGiving link below.


Don't forget to 
Making your donation go further

If you'd like to host your own event, why not find out more on the official Alzheimer's Society Cupcake Day page by clicking the image below.


All ingredients and time is freely donated, I do not take or make one penny from this charity event!
Which means, you cannot buy these cupcakes. 
You can, however, have cupcakes in exchange for a donation to the Alzheimer's Society

Friday, 19 May 2017

Football Cake - Red


This year, the Grandson didn't give me any ideas for a theme for his cake. I know he's a Liverpool supporter, so a football on a "field" of luscious green "grass" seemed a good idea.  But the football's inside will be red!

This one cake is to be made from two, seperate cakes, then joined together with inedible internal supports.

As he was amazed by the blue sponge of last year's Sonic the Hedgehog cake, it goes without saying that I'm going to try and amaze him again this year.

Cake scraps, but what a wonderful colour.

The football is a lovely red sponge, using Trex as a substitute for butter, this will ensure a vibrant red sponge rather than the yellow of the Stork taking away it's brilliant colour. For this portion of the cake, I used the Wilton 3D Sports Ball pan set.

Green sponge before buttercream and de-caramelising

The sponge for the green "field of grass" will also be made using Trex, for the same reason as the red spinge and coloured green. For this portion of the cake, I used a standard 8" round pan and two mixes of this recipe for the sponge.


The red ball was crumbcoated in white buttercream which was rather difficult. I'd never crumbcoated a ball before. I have read that, using a piece of acetate helps as it curves around the ball, but I didn't have any.


The green part was much easier. This will not be having fondant top coat, it will have green buttercream, made to look like grass.

Each football decoration has been hand moulded and hand painted with black food colouring. To make these, you could use the Jem Easy Pop Football Moulds.

Football decorations, work in progress.

I had big plans for this football! But I forgot! The black bits were supposed to have been in red. It just totally slipped my mind. But black and white with the red decorations is cool.

There is one thing I am seriously annoyed about! I had six inch pans and the fondant cutters, for the football detail, were designed for a six inch spherical cake. As you can see, they did a terrible job on the bottom half. Tried as I did, and it was a lot, they just would not have it! My next football bake will have me cutting them by hand at this rate.


Having said that! My Grandson is a happy chappy and I just know he's going to love it - and be amazed by it too. To me, that's all that matters.

He loved it!
My biggest challenge was ...

... not having a refrigerator all day!
As I needed a new one, which was delivered, damaged and not fit for use the previous day, I had to wait for a replacement to be delivered.
This meant, my old one was taken away the day before, for recycling, and I was left with nothing.
Working without a refrigerator was difficult, but not impossible. To chill I had to place the cake under netting with a box fan blowing on it. It was not possible to chill the buttercream enough too.
Which meant that the sponge wasn't strong enough to maintain its correct shape and the buttercream "grass" slid and fell off in places.
But I think it still all worked out in the end, if a little uneven in places.

Friday, 5 May 2017

Buttons and Bows


"All things lively must be used."  

I love it when I get the chance of a cake with full artistic licence! This is one of those. Small, but perfectly formed and decorated it buttons, bows and flowers!  

It started off as two 6" chocolate sponges, both of which contained one full mix each, I wanted a taller cake but only two layers, which were dowsed in some simple syrup.


Sandwiched together with delicious chocolate buttercream, crumb coated in the same and allowed to chill before a generous coating of the chocolate buttercream, then ... chilled once more! 

Oh I do love chocolate buttercream. As it was only a small cake, it only needed one mix of the recipe.


Once this scrumptiously smelling chocolateness was completely chilled, it was time to cover in, well, what else but chocolate flavoured fondant.


This Renshaws Chocolate Fondant is not without its trials. If you haven't used it before and your first time is dawning, here's a tip for you:

Tip: Use in a cool kitchen, wear food grade gloves and 'polish' your smoothing paddles when working with it. It has a tendency to be stickier than 'standard' fondant. Stick with it (if you pardon the pun)


Once covered, I topped this cake off with fuchsia pink! What a wonderful contrast. I needed the topping to look like a table cloth and didn't want it to be on the top looking absolutely perfect, that would spoil it. So I scalloped the edges before I put it on the top - off centred! Then little sugar balls were added to each scallop.

The bottom ribbon was made of a pale pink standard fondant, which was made at the time of decoration to ensure it wouldn't crack and break when fixing it to the bottom of the cake.


A few days in advance, I made fondant roses, buttons and bows, again from standard fondant and allowed them to dry out. Allowing these creations to have a day or more to dry out makes life easier on the day of decorating. They're obviously harder and much, much easier to handle without distorting the shape.  

The topper is a ruffle flower or fondant carnation. This was made from standard fondant, not modelling paste (as my instructions tell you here), with CMC / Tylose powder added. Adding this will increase elasticity and durability and will also allow it to harden more than standard fondant. Having said this, the creation made using CMC and standard fondant will still mean your creation is delicate and not a robust as a creation made using modelling paste. Which means ... It can be cut when the cake is being cut and softer than modelling paste when eaten.

Usually you'd dust your mould with some icing sugar or cornstarch to enable the release of your creation, but as I wanted my flowers to have a little bling, I dusted the mould with edible glitter. I think it worked perfectly.


Randomly add the buttons, bows and roses to the sides, with leaves made on the day of decoration, add some sparkle (using edible lustre dust) and voila! There you have it! Small, sweet and beautiful!


All that's left for me to say is "Happy Birthday Louise!"
Related Posts Plugin for WordPress, Blogger...