Saturday 19 May 2018

Wedding Cake


This is only the fourth wedding cake I've made in my life and the biggest cake project I've ever made! The whole project was a family affair team effort.

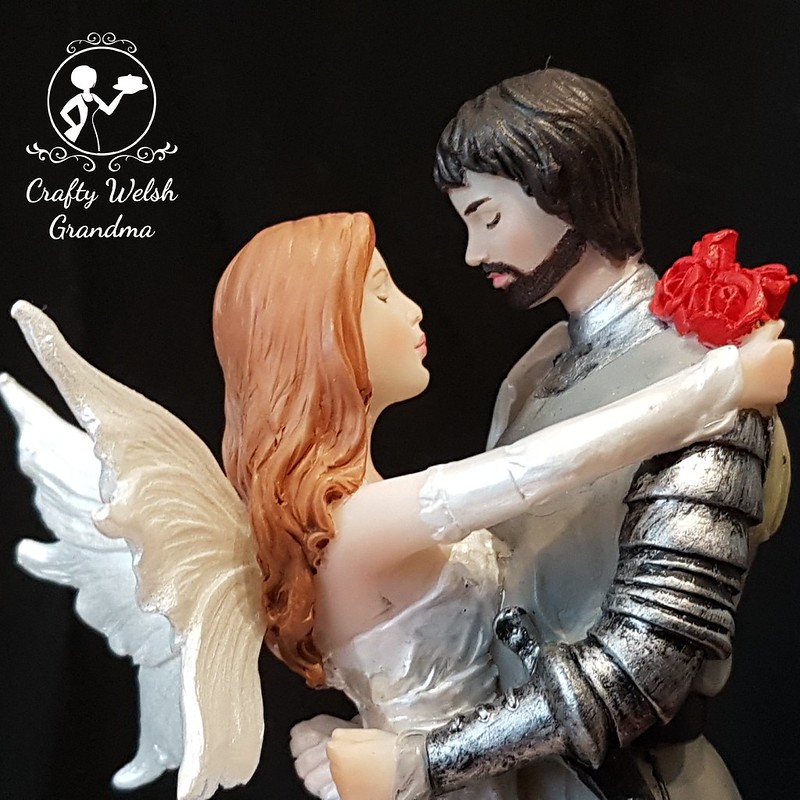
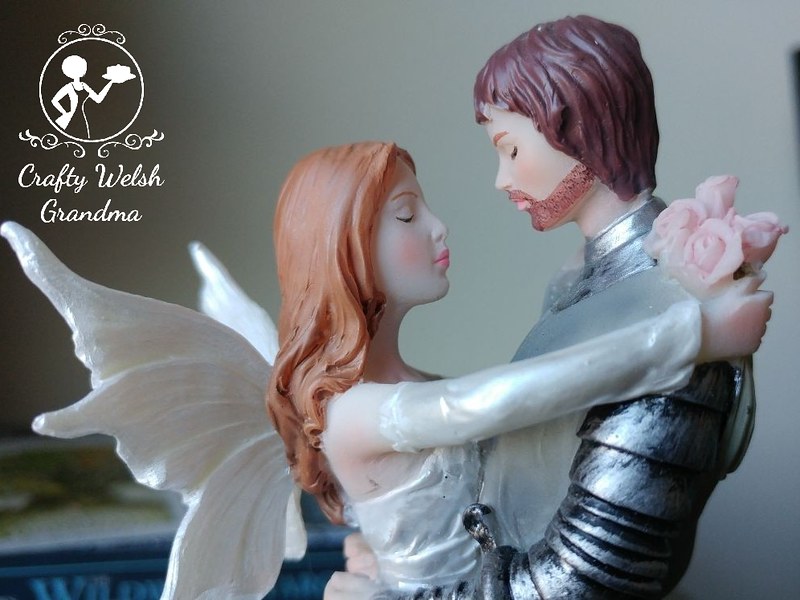
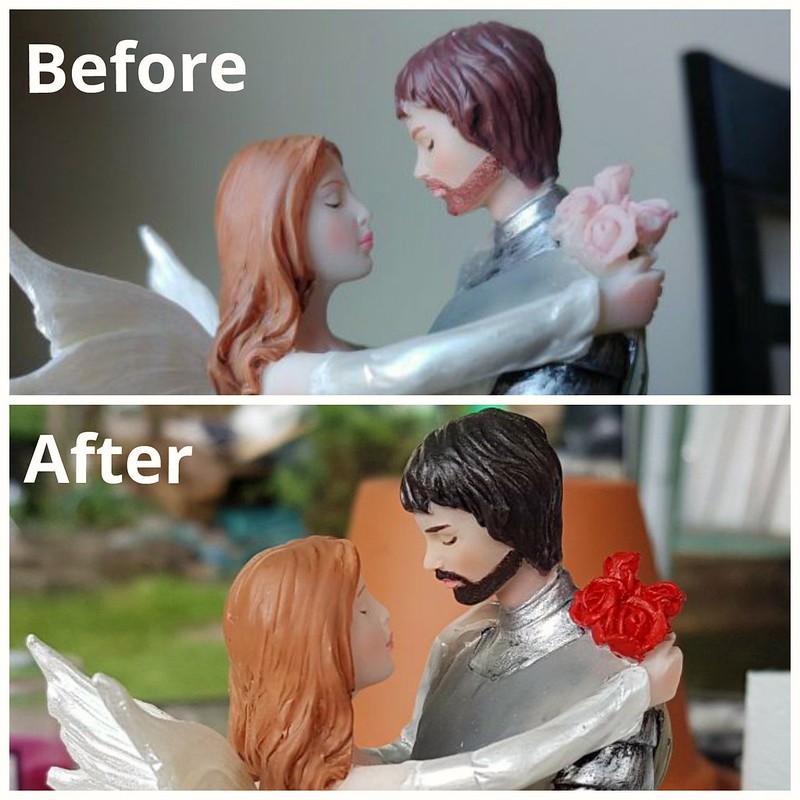
  • The topper was brought over from America, by my other son and is a gift for his big brother from him and my daughter-in-law.
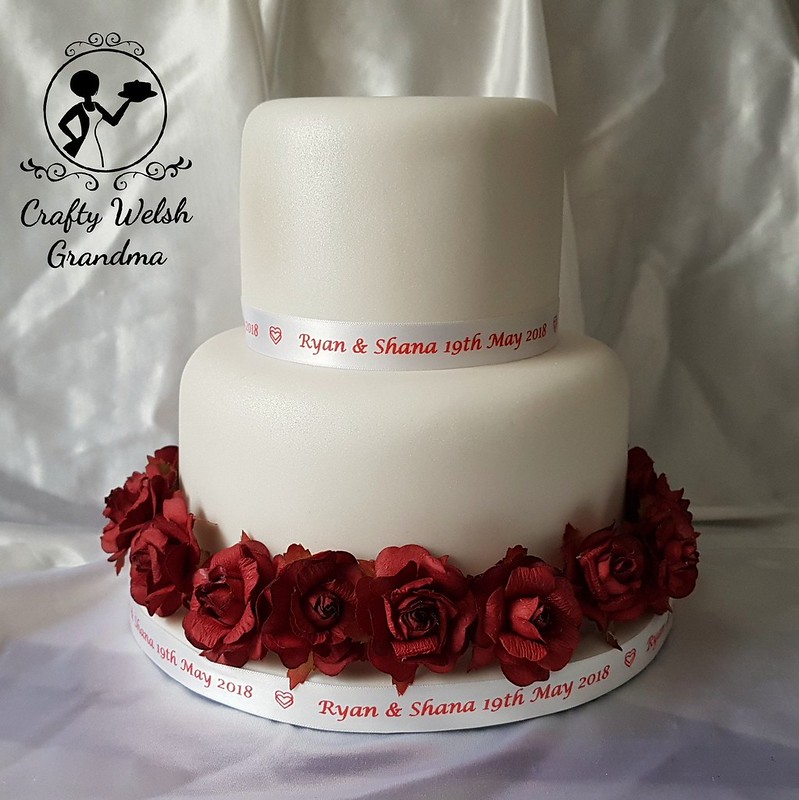
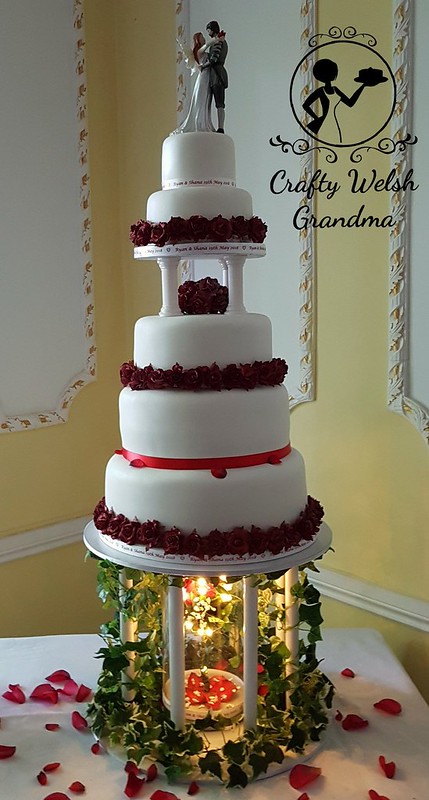
  • It has five tiers - 12 inches, 10 inches, 8 inches, 6 inches and 4 inches.
  • The bottom three tiers are made from Red Velvet sponge (tier one and three) and classic vanilla sponge sandwiched in between (tier two).
  • The top two tiers are dummy cakes because of the weightiness of them on the sponges below.
  • Then we have the three 'side' cakes:
    • A rich fruit, brandy soaked, six-inch cake - which was too heavy to sit on the main cake
    • A red velvet, six-inch cake, that is fondant free and decorated in buttercream only (the groom's little brother, the best man, doesn't like fondant)
    • And then a gluten-free six inch, red velvet cake, for the dietary requirements of the couple's friend and guest
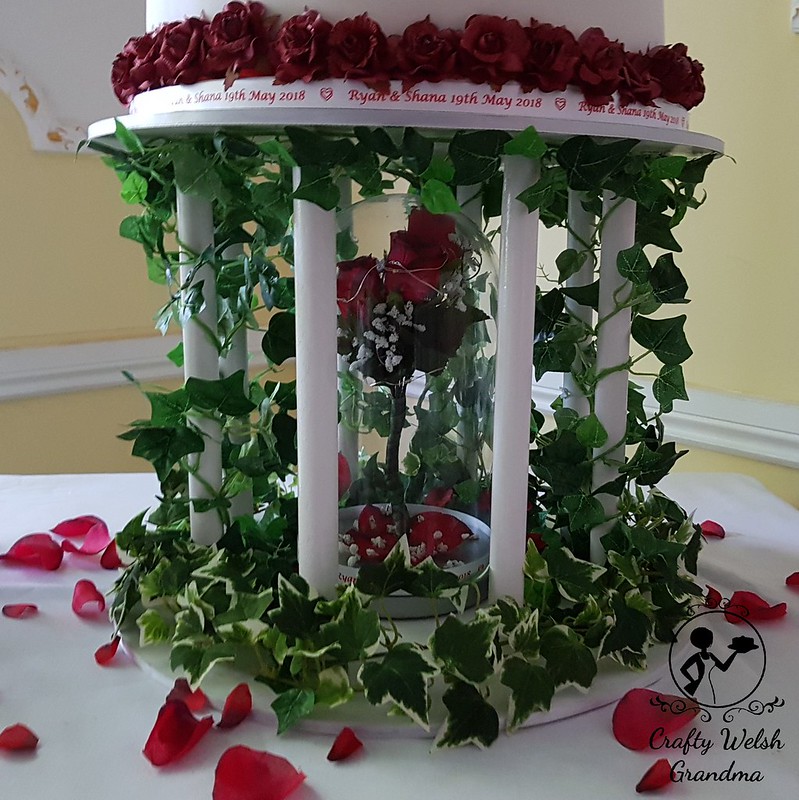
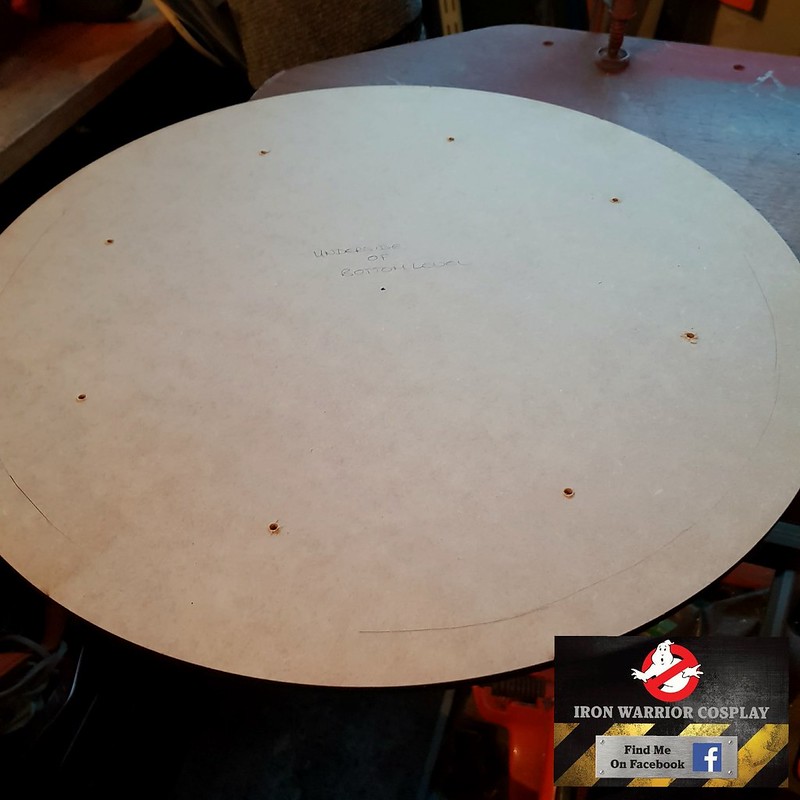
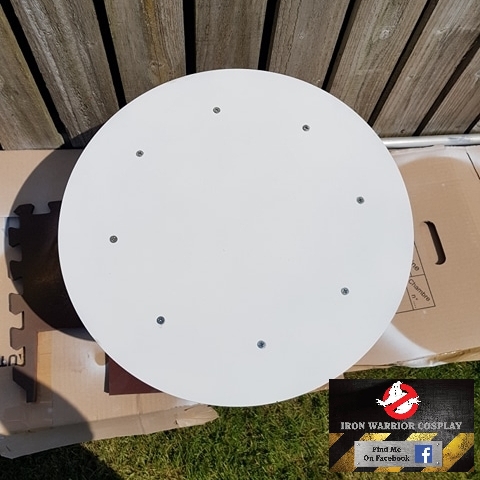
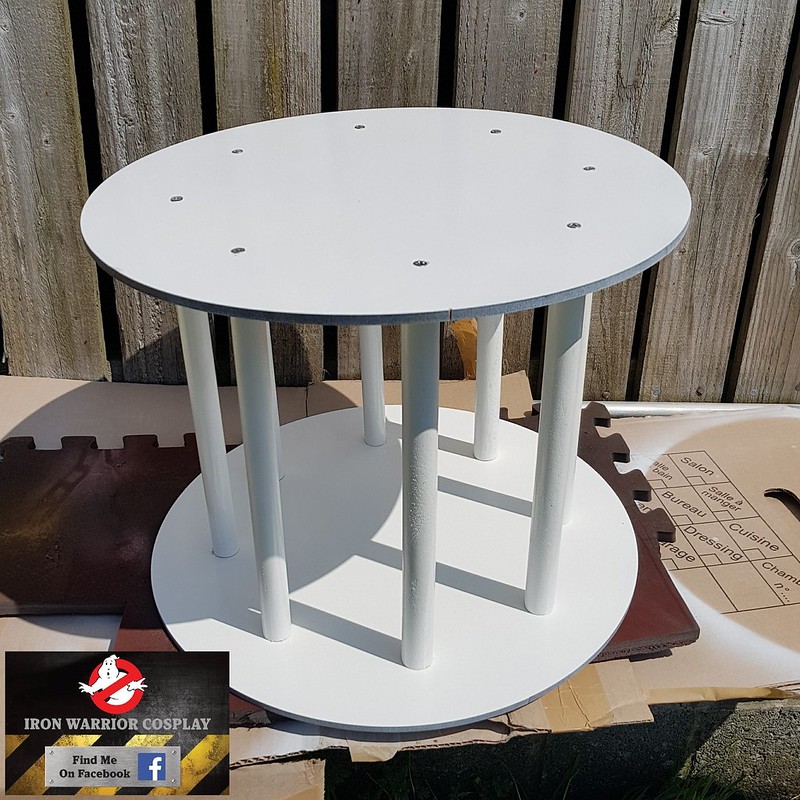
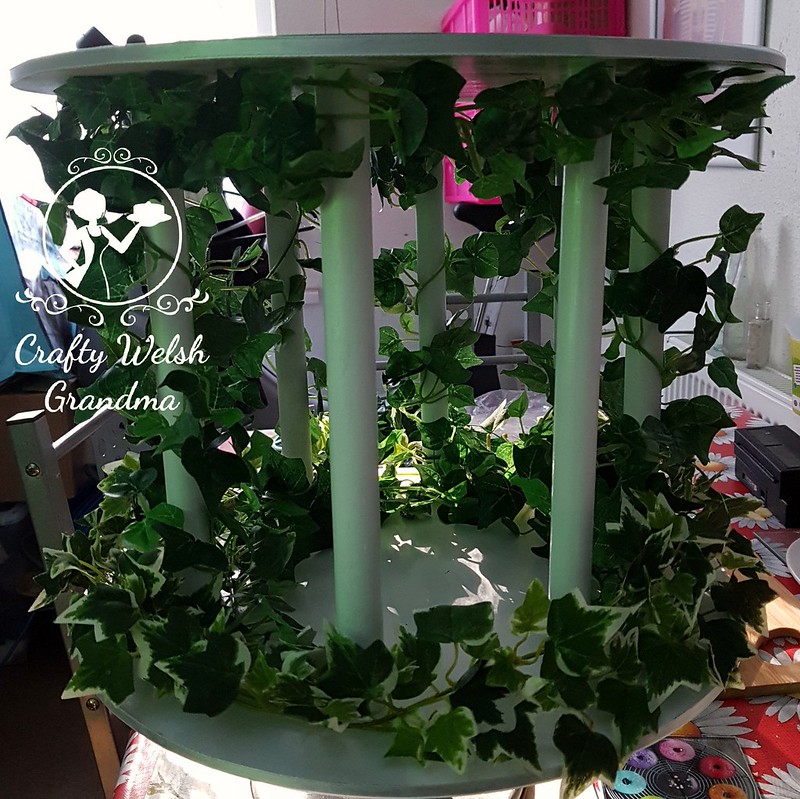
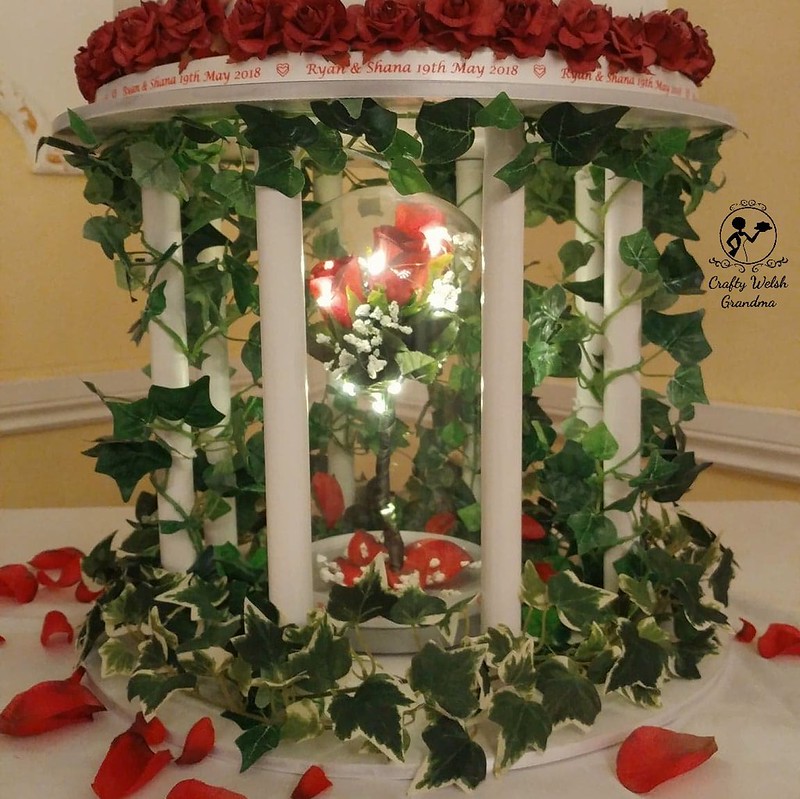
  • The monumental cake stand was handcrafted, by my daughter's boyfriend, to fit over the handcrafted rose dome, which was a specially commissioned gift for my son and daughter-in-law from my sister and her family.
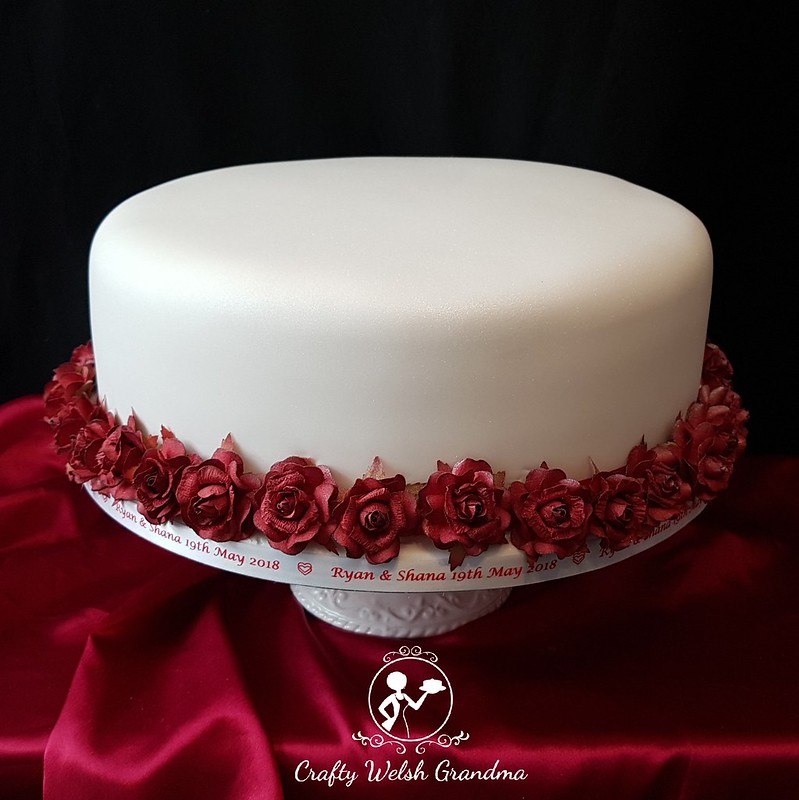
  • Rose garlands, chosen by the bride and groom and handcrafted by Centre of Attention in Brecon, Powys
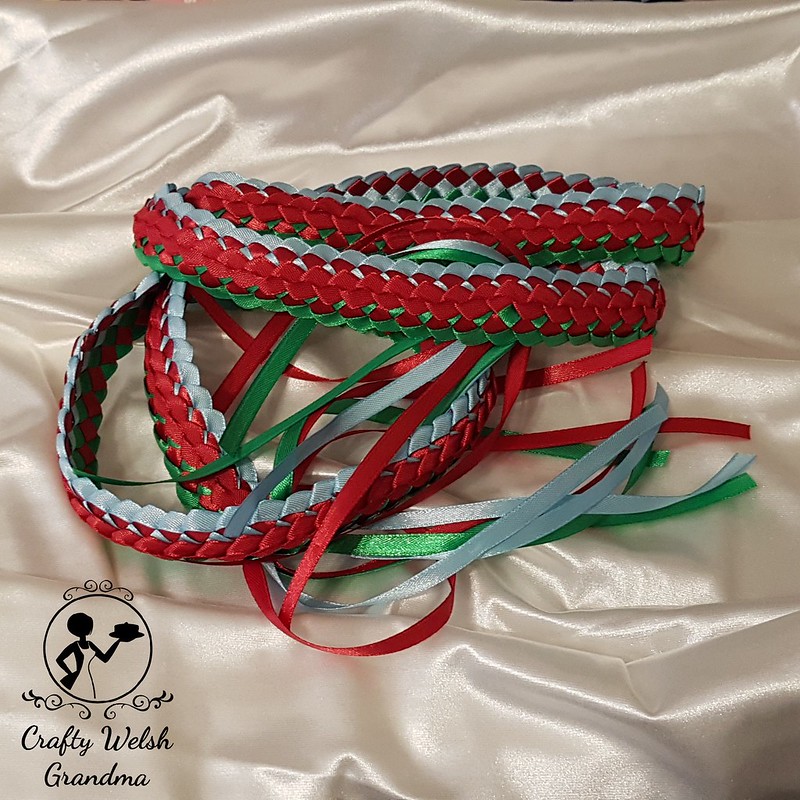
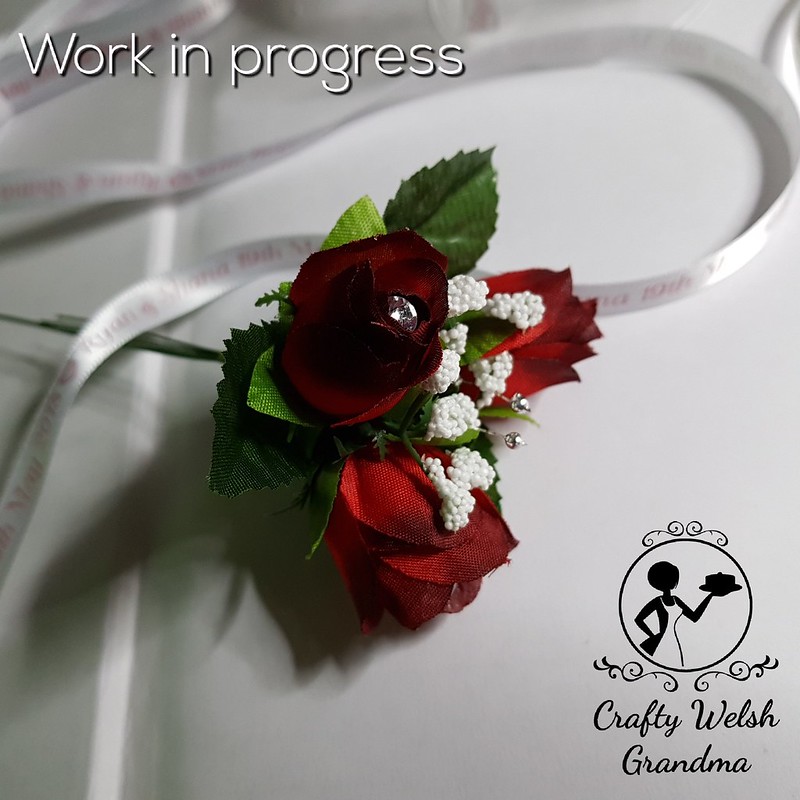
  • Then there's the personalised ribbon, commissioned from The Radiant Ribbon Co, via their eBay shop.
  • But let's not forget the other team projects that have gone into making this wedding and complimenting the wedding cake:
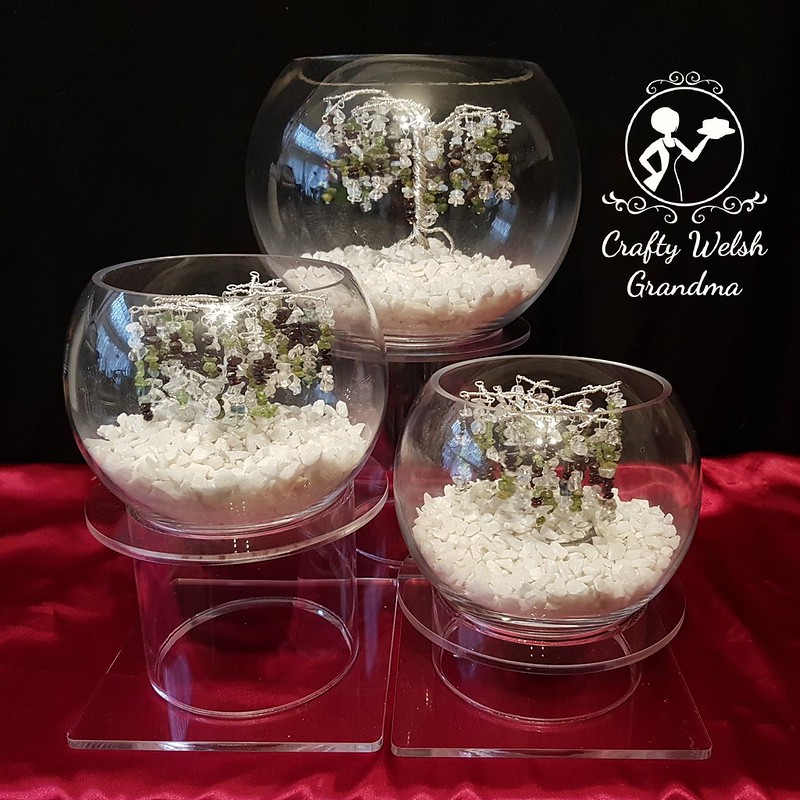
    • The wrapped wire tree sculptures in glass bowls, table decorations handcrafted by my daughter, the groom's sister
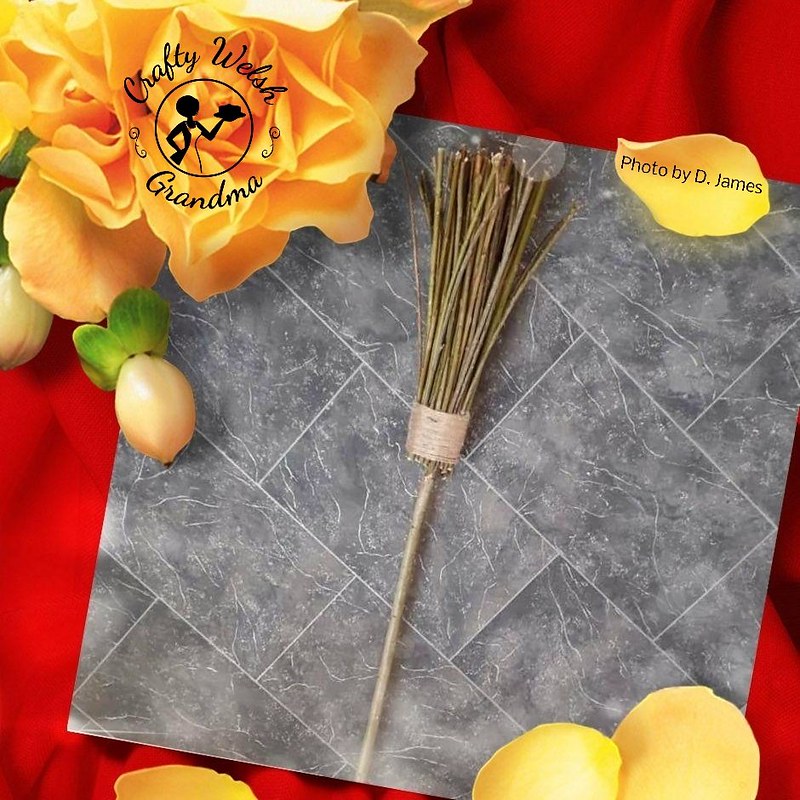
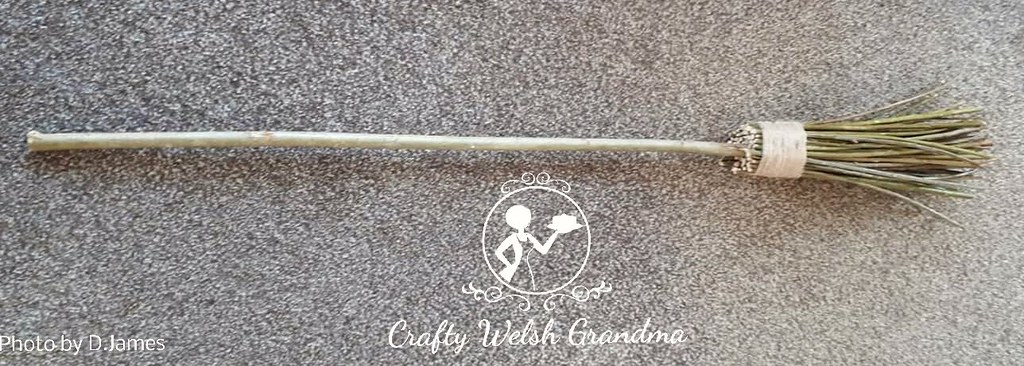
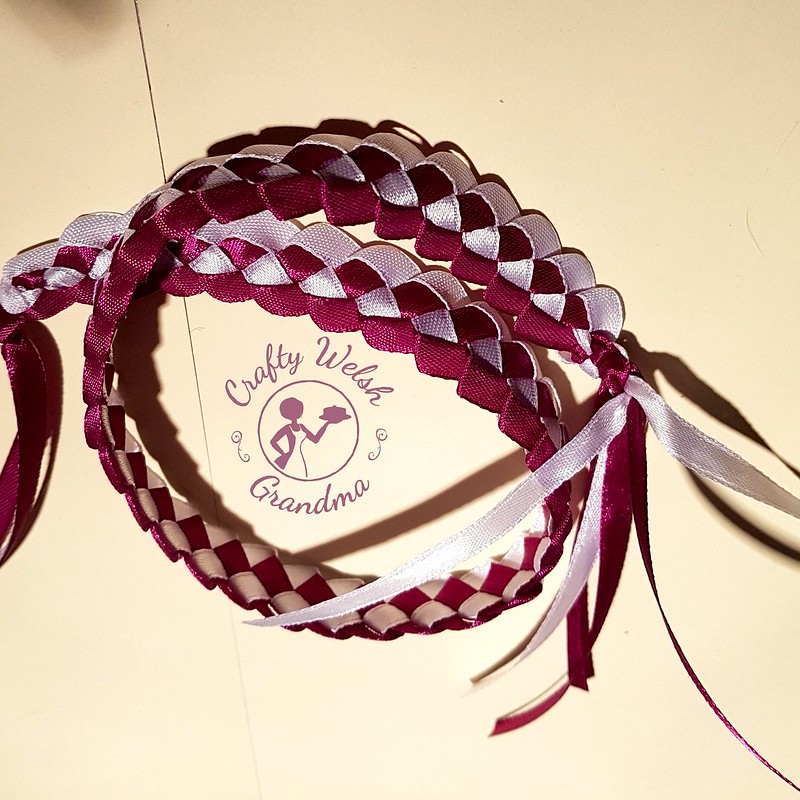
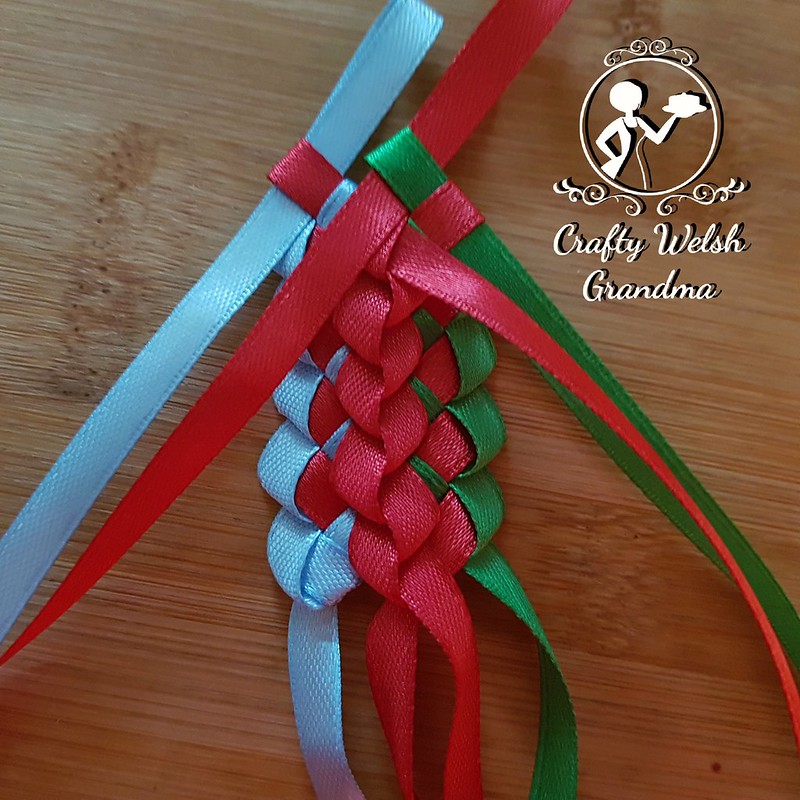
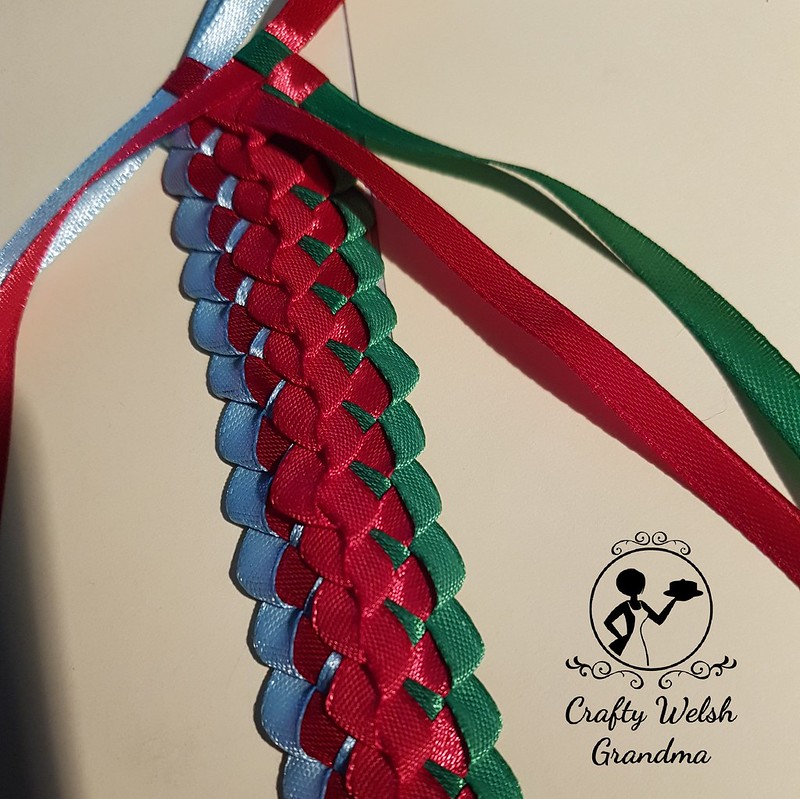
    • The handfasting ribbon lei, made by me.
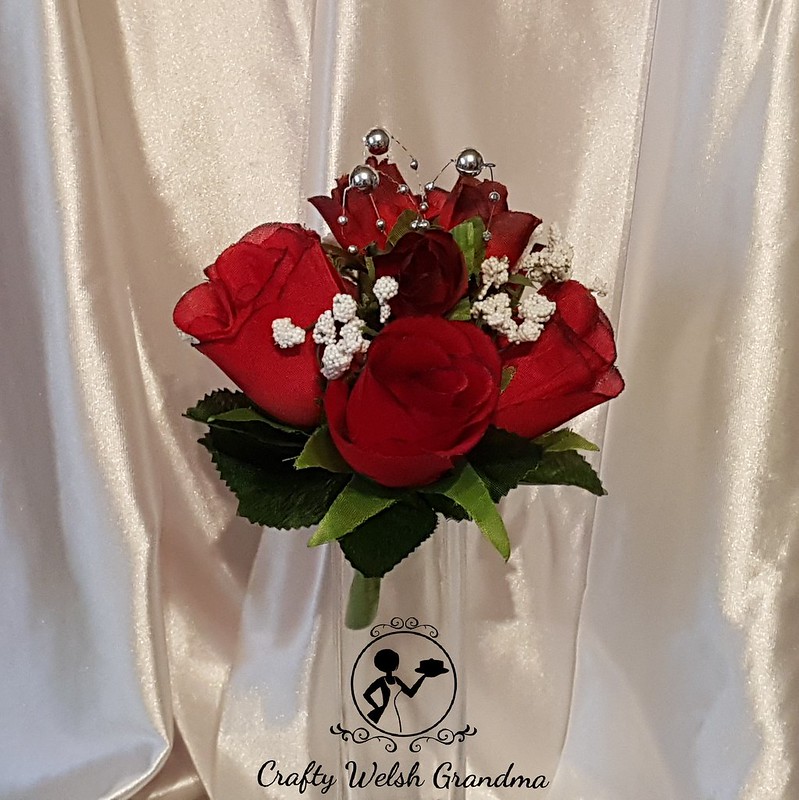
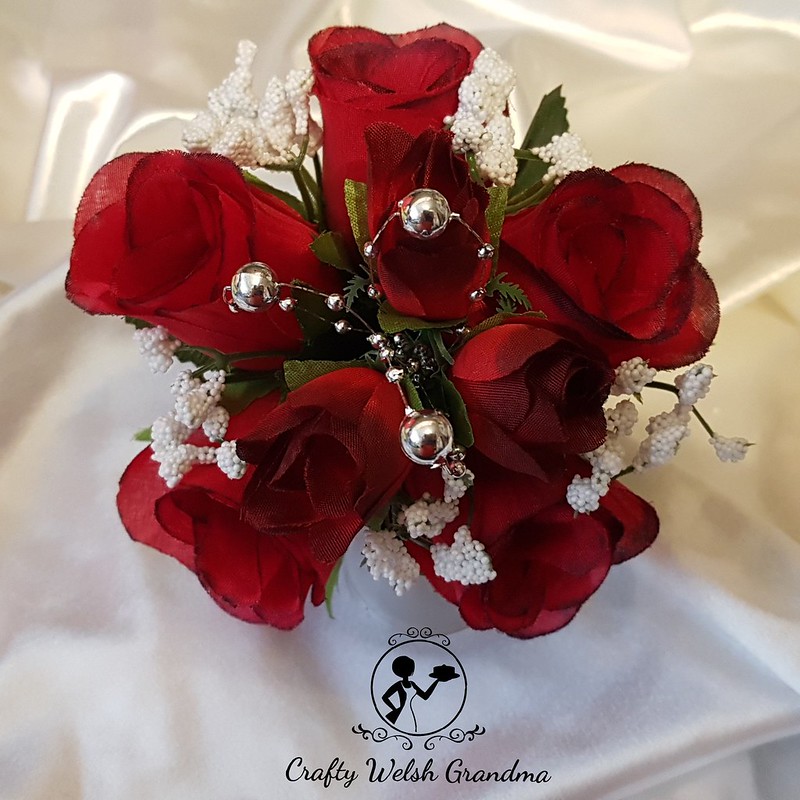
    • The rose posy cake toppers, for two of the smaller cakes, made by my sister, the groom's aunt. 
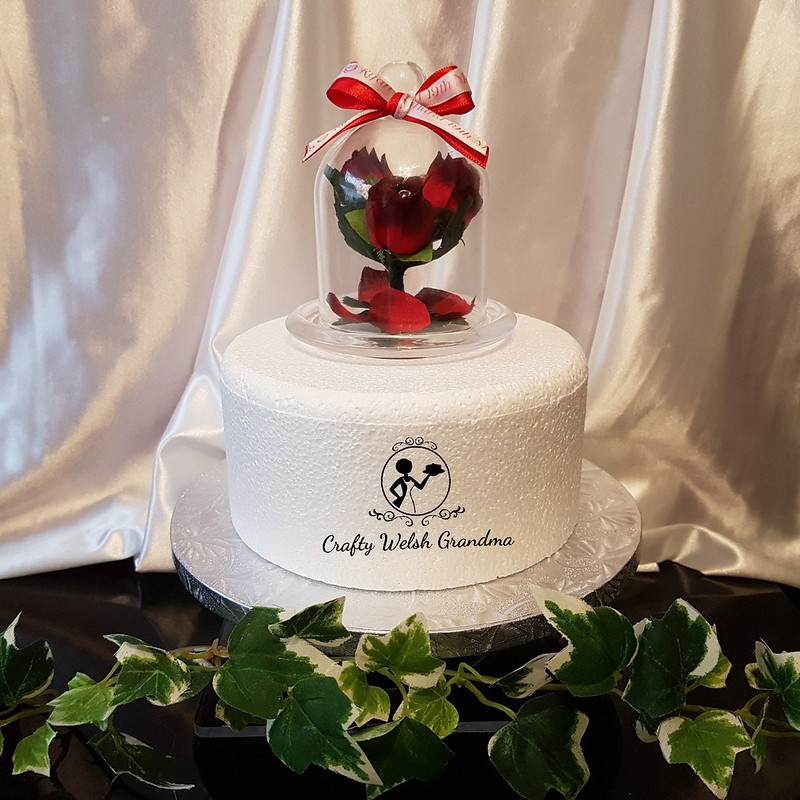
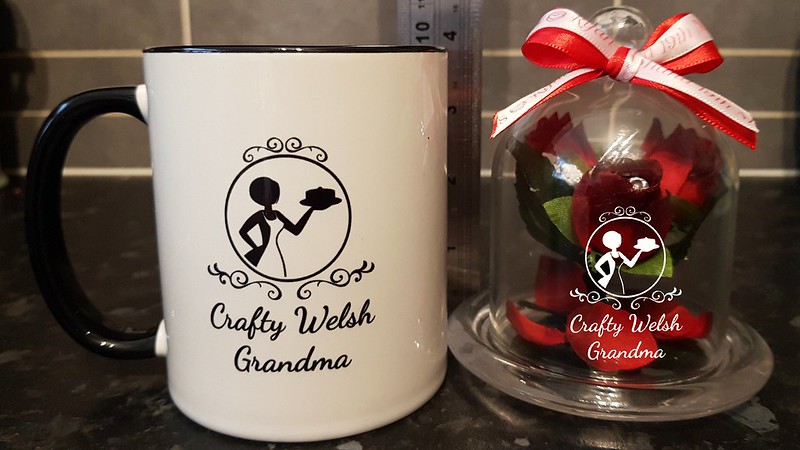
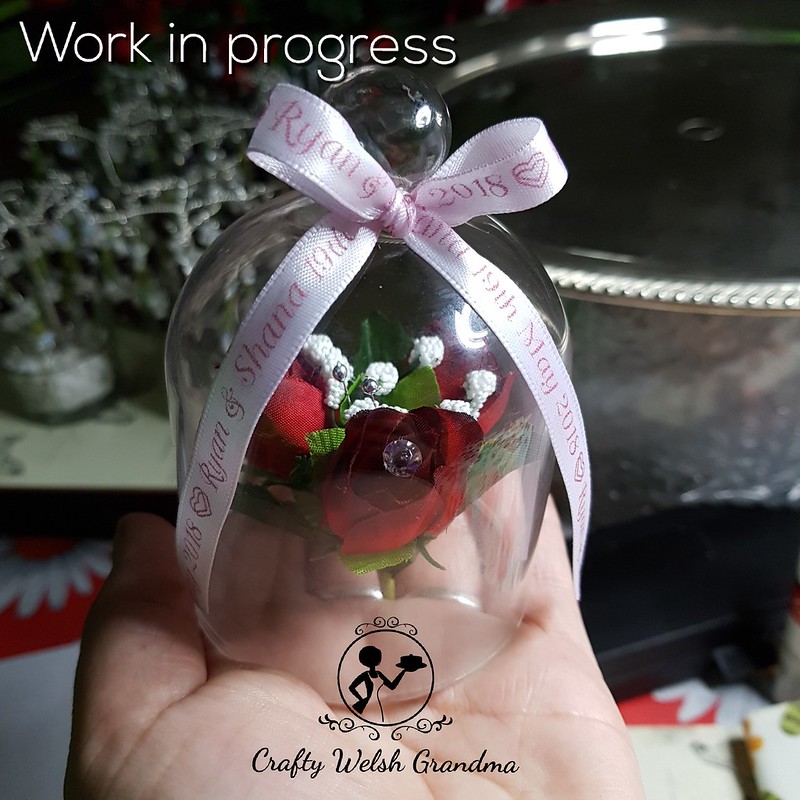
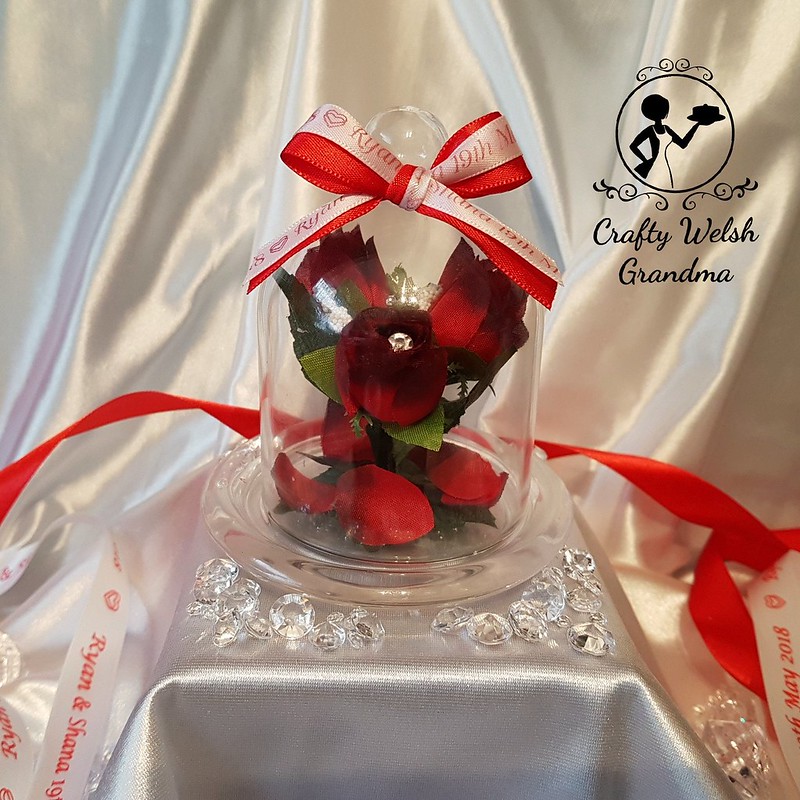
    • The small glass rose dome topper, on the third smaller cake, the dome purchased by the groom and the rose decoration inside also made by my sister. She usually doesn't like public credit, but today, she's getting some!
  • And then! And absolutely then! The whole project was transported from the Welsh Valleys, all the way to Suffolk for the wedding!
But let's not forget the other people involved here:
  • My daughter-in-law, for helping me put all this together at the venue the night before. We had already spent almost seven hours traveling, due to traffic etc, but I'm glad we did ... We were there until about midnight.
  • My significant other, for driving us all there with care, and getting this stuff there without incident.
  • Three members of the Facebook group RCT Rocks, who painted three wonderful rocks to commemorate the day, which will be hidden for people to find out and about and share on the group, then re-hide them for others. And then ...
  • The Wedding venue staff at The Grange Country House Hotel for pulling it all together for us on the day
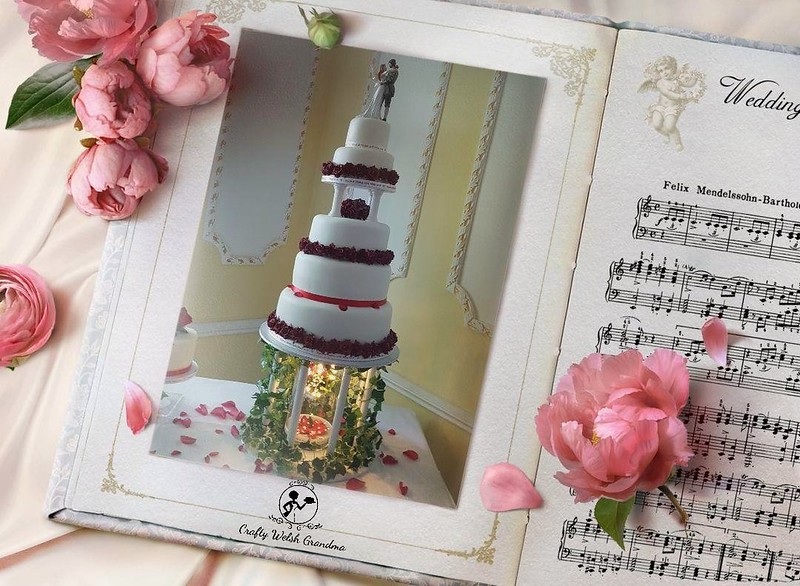
For the rest of this blog entry, what I'm going to do is, show the completed piece (above) followed by the separate pieces, layer by layer.  If you'd like to see the individual blog entries for each tier, click the link below each image further down the page, and for all the individual projects, click the big red button at the bottom of this entry.

I might be a Crafty Welsh Grandma on this blog, but after this, I'm definitely a Proud Welsh Mam!
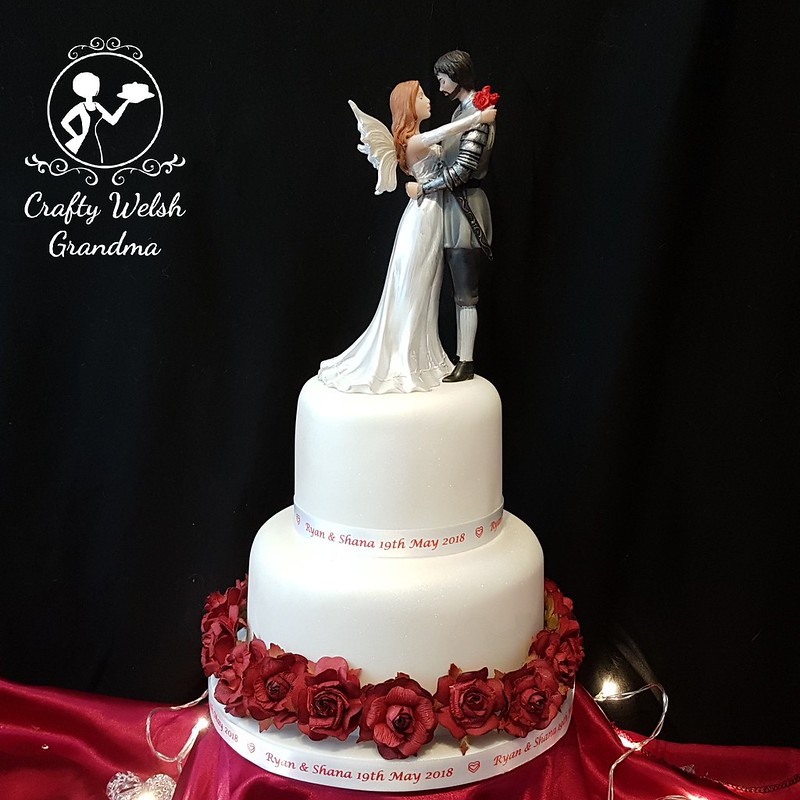


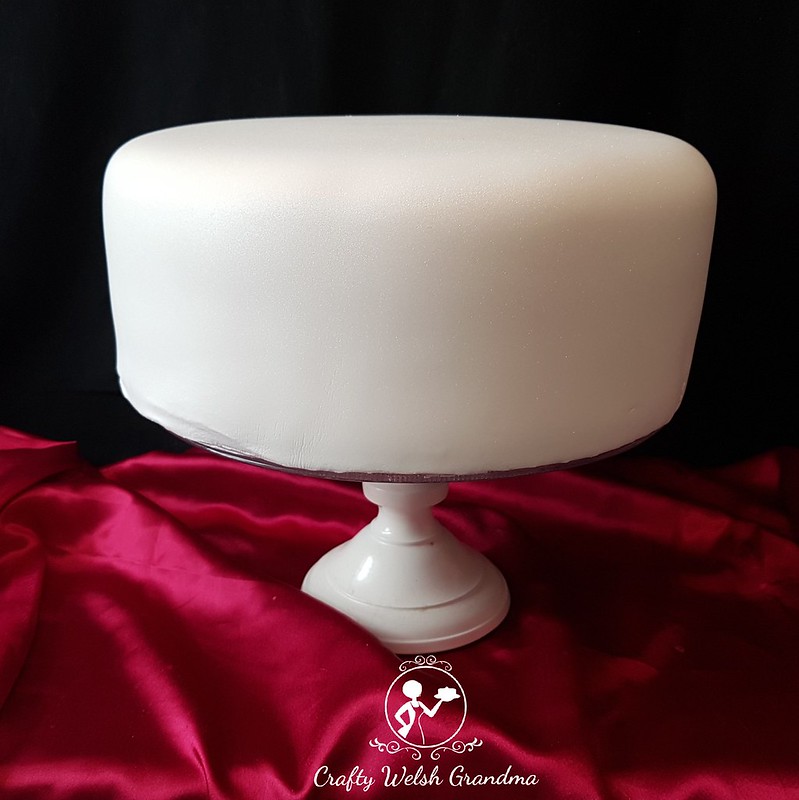
Having gone through two taster sessions, one session using cupcakes for taste only, and the second session to trial different frostings and how the cake would taste after it had been frozen, prior to the final fondant coat, I think we cracked it. 

Check out the link to the wedding magazine article:


May Wedding Cake - Tiers 4 & 5 (6 & 4 Inch)


This two tier portion of the cake will adorn the top, resting on four pillars.  Due to the weight of what cakes would be, these two tiers are dummy cakes and decorated to match the rest of the project.

The four inch top tier is the perfect resting place for the amazing topper that has been brought over from America.


May Wedding Cake - Tier 3 (8 inch)


The uppermost portion of the main cake, before you get to the pillars, more tiers and the topper.  This is an eight inch red velvet cake.

The only decoration that this will be traveling with is the handmade rose posy, which will nestle under the pillars when the cake decorations are completed at the wedding venue.

This tier will have four pillars with support rods reaching from the underside of the tier on top and down to the cake board that this cake sits on.  The pillars hide these dowels, so all you see is the nice bits.


May Wedding Cake - Tier 2 (10 inch)


This ten-inch vanilla sponge tier will nestle in between two red velvet tiers.

This one caused me a number of issues. The main issue being, the sponges kept sinking! I have no idea why, as they were prepared and baked in exactly the same way as the other tiers.

To rectify this, a further two sin inch vanilla sponges were baked, this time by my daughter in law, Amber, then fitted into the hole I cut to remove the sunken portion.

No, you can't tell, but I'm guessing the game will be up when the cake is cut.  In addition to the laters already in this cake, two further full-size layers were given over to the bird table because fatigue had set in, after all, it was gone midnight, and I made stupid yet classic 'school girl' errors.

But it turned out ok in the end.

This rather plain layer will be decorated once at the venue but will be traveling with its internal support dowels


May Wedding Cake - Bottom Tier (12 inch)


Of all the layers and cakes I made for this project, this was the one that I dreaded the most! Probably because it's the biggest one I've ever baked and it only just fitted in my oven.  It seems crazy that you can't get a 12-inch tin in the oven.

This cake rests on a 14" board and is surrounded by a handcrafted rose garland, chosen by the bride and groom.

I will be traveling with its internal dowels that will be used to support the rest of the cake 


Cake Topper Repaint


This beautiful cake topper, which was brought over from America by the groom's brother as a gift, was in need of a little touch up.


From the "Before" image, you can see that, not only did the hair a beard of the knight / groom not match, but it didn't exactly correspond to the groom himself.


An artist, but the name of Paul, who specialises in miniature dioramas in the most fantastic detail, accepted the task of recolouring the hair, beard and eyebrows of the groom as well as the rose posy of the bride.

This gift and it's touch up work, makes a perfect crowning glory of the cake.


I know these projects for the wedding are not exactly cake, or even edible, but they are so very worthy of a blog entry because, without them and all those involved, this wedding cake and the decorations would not have been possible.


Handcrafted Wedding Cake Stand


The stand, about 12 - 13" tall, approx, by 16" wide, was made for this wedding by Iron Warrior Cosplay (IWC). This young man, who is an MC, Space Marine and a Ghostbuster on the Cosplay circuit was inadvertently volunteered, by me, for the job. He graciously accepted and did me very proud.


I told him what I needed, he advised me what I could have and what he suggested in order to make the unit for sturdy.  I marked out what I needed and gave him measurements. The drilling, cutting, and construction were all done by IWC.

Here are some works in progress images. 

Drilled and cut


Assembly and painting

Ivy decoration trial

My daughter and daughter-in-law (who flew in from America for the wedding) worked on the ivy garlands. We tied them on and then hot glued them so they'd stay on during transport.

You will notice that the stand is white, but in some of my own images, specifically the ivy trial, it has a green hue. I think this was due to the intense lighting of my rather large fish tank coupled up with the green ivy reflection. In person, it's still white though.


Besom / Broom


A traditional, handcrafted besom / broom was used during the handfasting ceremony at the wedding of my eldest son.

Jumping the broom is a time-honored wedding tradition where the bride and groom jump over a broom / besom. The act symbolises new beginnings and sweeping away the past and can also signify the joining of the two families whilst offering a respectful nod to family ancestors.

It is my belief that a new broom / besom should be used for each ceremony as to ensure that nothing negative is brought to the ceremony from a one used before.

The broom would usually be hung over the doorway as a reminder of the ceremony.

There is some debate as to when the couple should participate in this, some say straight after the handfasting, some say before the first dance ... but as long as it's done, then all is good. Some also suggest that all the guests should jump over the broom too, but I'm unsure is I agree with this.

A besom is constructed using a good, stout pole and twigs. These twigs are fastened around the central pole to give it the round look, instead of being flat.

This particular besom was crafted specifically for the handfasting ceremony from White Willow.  The willow tree is known by many folk names, including Tree of Enchantment, White Willow, WItches Asprin, Pussy Willow, Withe or Withy and many others.

The Willow tree, Salix alba, has long been associated with Wicca and WItchcraft figures in folklore and mythology of many cultures.  

The botanical name, Salix, comes from the Celtic word sal, meaning near and lis meaning water.

As the Alder Tree is known as "The King of the Waters" the Willow is known as its "Queen" and is closely associated with the Moon. All types of artisans sat among these trees to gain eloquence and inspiration.

The branch and twigs were collected by my daughter and I when walking along the river on a peaceful evening. When I brought them home, I allowed them to rest overnight, then trimmed all I needed. 

Due to a tendon issue, my daughter completed the construction for me.


The completed besom was gifted to the Groom's family to the Bride's mother and family following the handcrafting ceremony.

Image credits, Dianne


Handfasting Ribbon


This beautiful, five foot long double braided ribbon lei / handfasting ribbon will be used for the handfasting ceremony portion of the May wedding.  Although not legally binding, that part of the wedding will be done earlier, the couple wanted this traditional, Pagan ritual to be carried out at the end of the legal part of the wedding,  in order to unite them in the ways of the groom's family tradition.


The handfasting will be carried out by a Hedgewitch Elder.

The Bride and Groom chose three colours, that were of significance to them.  


I could have left them as they were, lose ribbons, for the couple to have tied together on the day, but I wanted something far more memorable for them and decided that, twined together prior to the handfasting knot being tied, would be far more special.

I could also have simply plaited them together as there were three colours, but again, I wanted something more special for the bride and groom, and to ensure they had a wonderful keepsake.

Single braided ribbon lei

I decided, with the blessing of the bride and groom, to create a long lei from their ribbons. I had only ever made one from two lengths of ribbon, but needed to incorporate all three ribbons. Their significant colour for them was red. So I had one length of blue, one length of green and two lengths of red.

Now, all that was left for me to do was ... find out how to complete a double braided ribbon lei. I searched for instructional videos, but could not find one that made it easy for me. I eventually did! (Links below)

I used approximately 20 to 25 feet of each colour of 6mm ribbon (doubled up for the red centre) 


Starting off was a nightmare for me and I undid it many times. I did not want it to be made with frustration, I wanted it made with peace and calmness.

Double braided ribbon lei - work in progress

Once I successfully passed the start and got going, it was as easy as I had hoped and, before you know it, the lei was 60 inches long! Perfect!

I could write a blog on how to make one of these, but, instead, I'm going to give a shout out to the instructional videos that helped me.

Full instructions, with images and very helpful videos, can be found on The Artisan Life website.
All that's left to do now is, add some embellishments to the ends of the ribbon and cleanse it in time for the handfasting.


Wire Wrapped Tree Sculptures - Table Centrepieces


These wonderful tree sculptures were commissioned, by the groom and crafted by Yvil CosplaysThere are 10 of the smaller ones, front left and right, and one of the larger ones, back centre. 

Each tree was individually wrapped from 0.8mm jewellery wire and each branch has been embellished using crystals for the leaves, these crystals included: 
  • Garnet - Red
  • Quartz - Clear
  • Opalite - Misty white
  • Peridot - Green
  • Rainbow Flourite - Green

Yve has many talents and is currently concentrating on her cosplay outfits but took time out to create these for her big brother's wedding.

I think she has done an amazing job on all of these, which will be centre of attention on each of the tables, whilst the larger one will adorn the top table, where the bride and groom will be seated.


Rose Posy Cake Toppers


This sweet little posy will adorn an six inch 'additional' cake, which will form part of the wedding cake table. There will be two of them, one for the fondant free cake, and one for the gluten free cake.  

I needed this 'tall' but 'narrow' to give these little cakes some presence at the cake table next to, what will surely be a monumental wedding cake.

It has been made using the same roses that are in the large, glass dome under the main cake as well as the roses used in the mini glass dome on the right fruit cake, this way, they all tie in together.  The bride and groom wanted to 'glitz' on this cake, but these little toppers were a bit understated without the silver centre piece, I think they're amazing!


These were made by my fabulous cake topper maker, the same one that made the Floral Cake Topper for the Wedding Cake back in June 2017. She's not keen on public credit, so I won't be adding her name here. I will keep that for the day of the wedding when I give the 'Mother of the Groom Speech.'


Small Rose Dome Wedding Cake Topper


This, small, rose dome cake topper is to adorn the top of a six inch rich fruit cake. This cake will form part of the wedding cake table and is in addition to the main wedding cake.  


As you can see from the images above, and below, just how small this little sweetie is! It was tried for size on a dummy six inch cake, above and placed next to a standard sized coffee mug, below. 


The small cloche was purchased by the groom specifically for this purpose and the rose decorations inside have been made by my sister.


You will notice from the 'Work in Progress' images and the final image, in the header and below, that the ribbon has been changed.


This is because the small 6mm ribbon initially used was simply too small on its own, so it was backed up with a 10mm piece of red satin ribbon.


Related Posts Plugin for WordPress, Blogger...