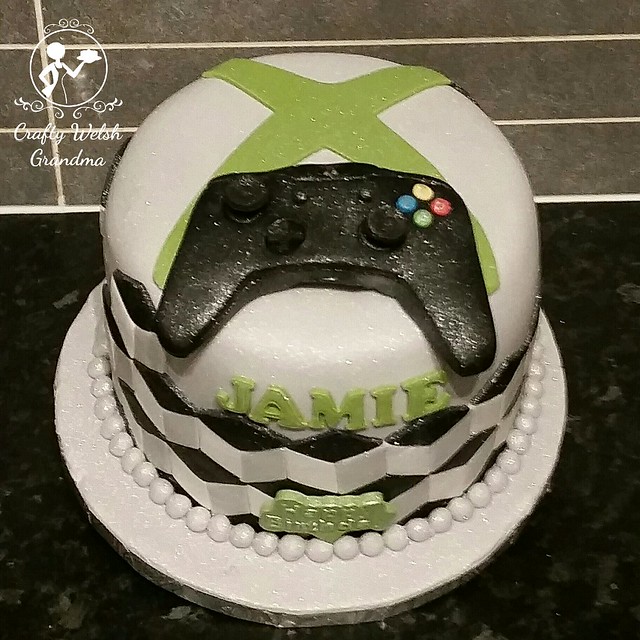
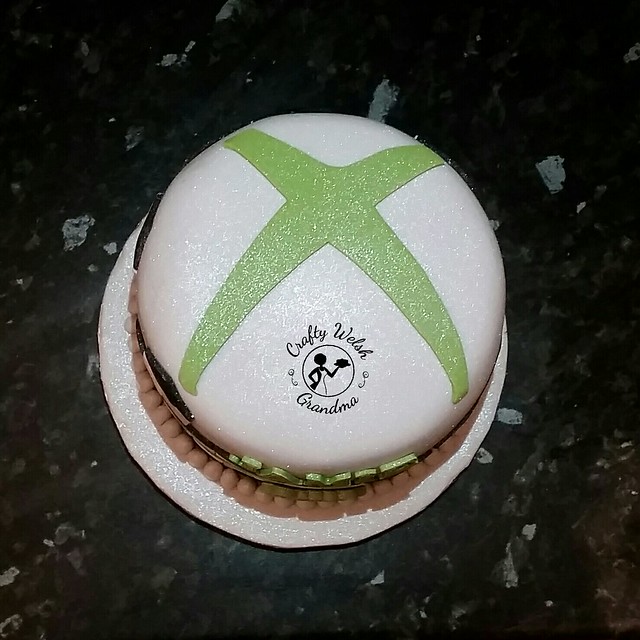
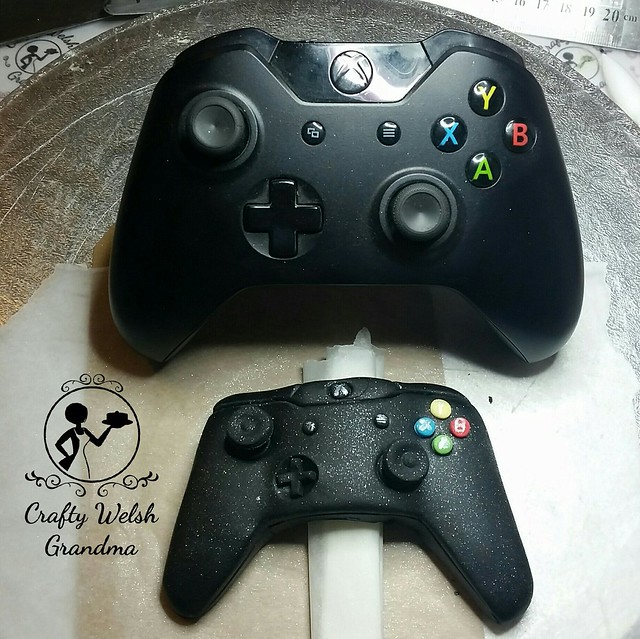
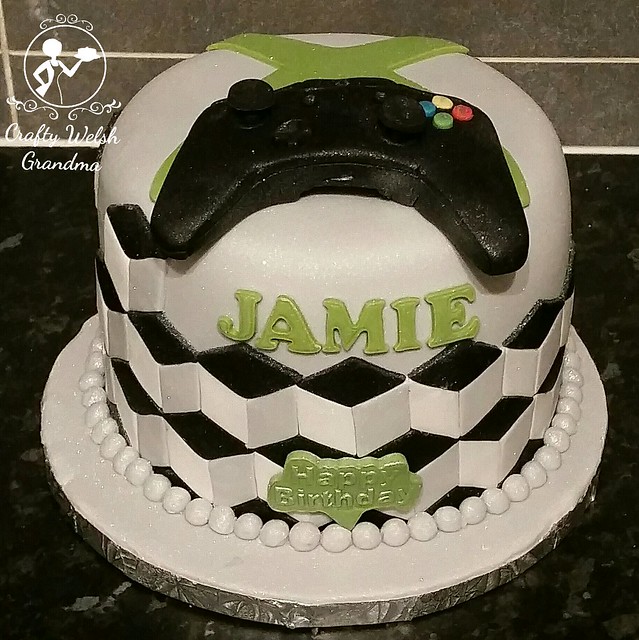
Not being an XBox user, I had a lot of advice and feedback from those that are. I borrowed a controller to copy and downloaded the "X" logo, printed it, then used it as a template. The process I used for this was exactly the same process as the DIY Character Faces for the PJ Masks cake.
The young chappie that will be receiving this cake, loves my cupcake recipe, which just so happens to be my simple, basic vanilla sponge mix, it's so versatile! The sponge was then crumb coated and covered in my vanilla basic buttercream mix before adding the fondant.
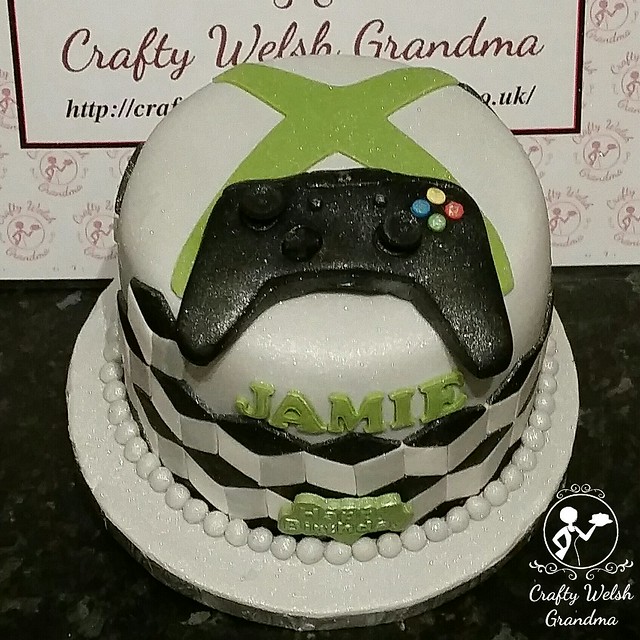
The fondant controller decoration was made, by me, by comparing a real one for reference. I was not able to get it exact because this is less than half the size. After all, this is only a six-inch cake.
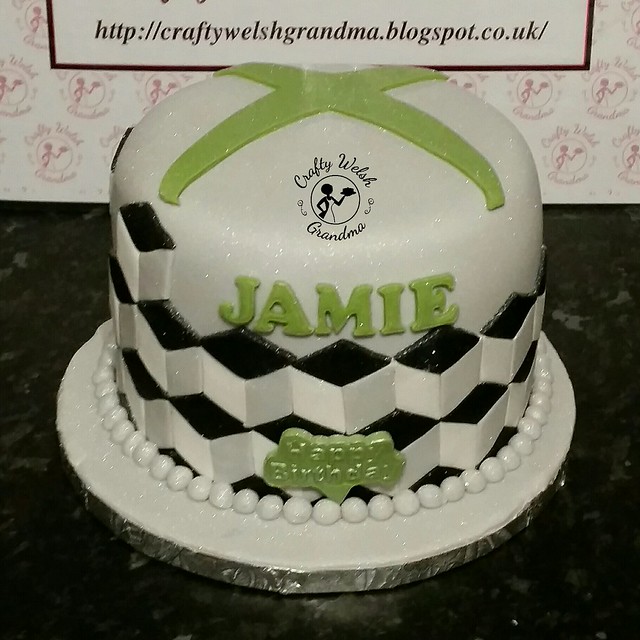
Prior to adding all the embellishments like the name, the 'Happy Birthday' sign and the controller, I added geometric shapes, one by one, around the cake in white, black and the same shade of grey I had made for the cake itself.
Once this was complete, it was doused with some birthday cheer - silver glitter - and boxed up ready to go to the lucky birthday box.
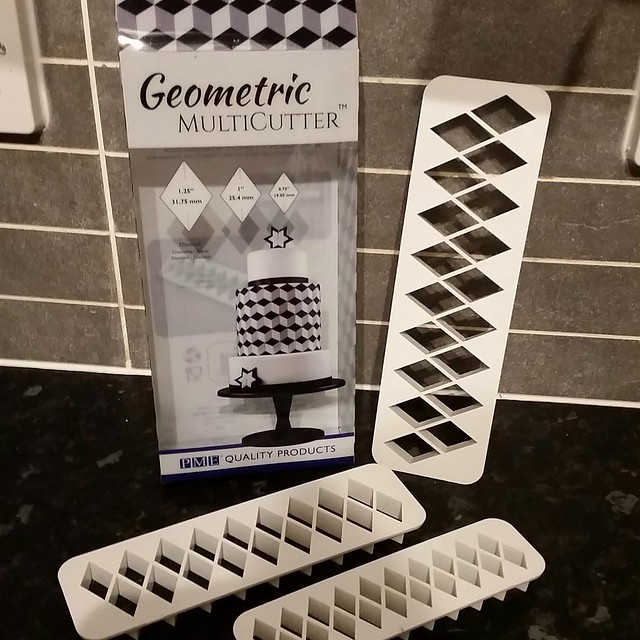
There are a few different shapes of these cutters available by PME, these ones are the diamond cutters. Whilst I purchased mine from my local cake supply shop, the whole range can be seen and purchased here on Amazon.
I have every intention of collecting them all, but for now, I just have the diamonds and squares. The squares will be used for a Minecraft cake for my grandson next May I hope - unless Minecraft falls out of favour!

6223C1846D
ReplyDeleteBeğeni Satın Al
Havale ile Takipçi
Takipçi Fiyatları
01F396A439
ReplyDeleteTakipçi Satın Al
Steam Cüzdan Kodu
Takipçi Hilesi