
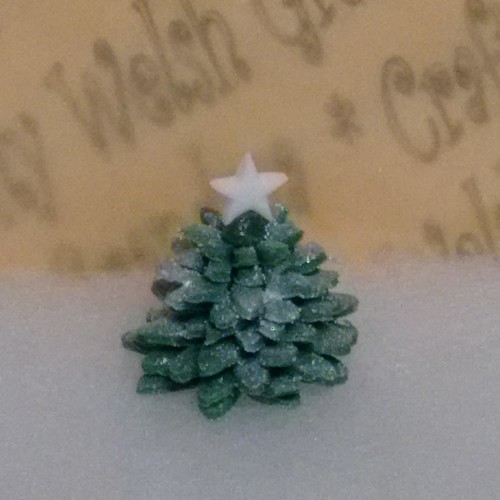
A step-by-step picture guide on how to make a fondant
Christmas tree cupcake topper
using a daisy cutter
This tree is pretty much exactly the same as making the one with Star Cutters, see here, but I will post is as an alternative to the previous one
For this you will need:
- Green fondant
- White fondant star
- Glitter spray
- A cocktail stick
- Small / Medium daisy cutters in three sizes
Note: Add a dab of water / edible glue to each star before adding the next one
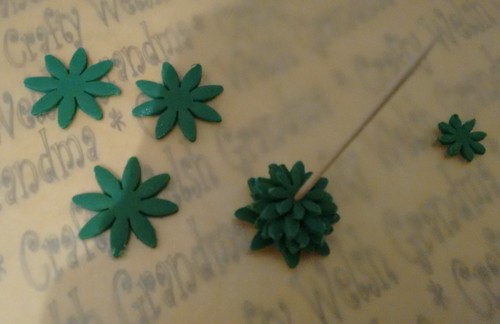
Step 1: Cut out your daisies

4No Large
4No Medium
2 No Small
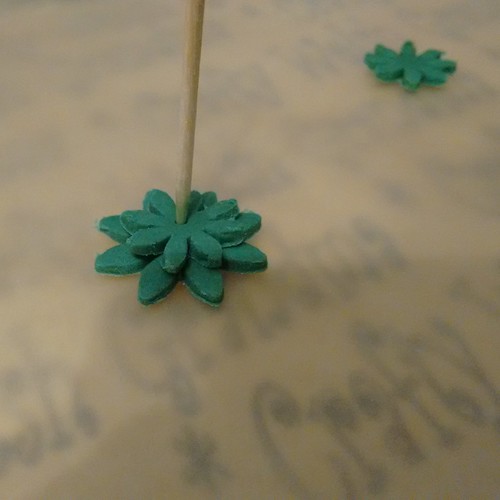
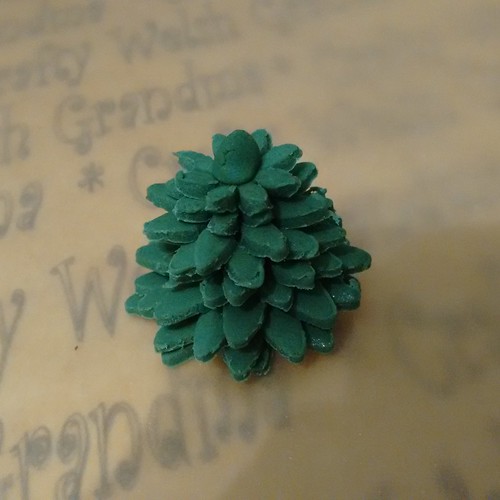
Step 2: Start stacking
Using your cocktail stick, start stacking your daisies, in reverse order - always keep cocktail stick in the centre of each piece. Keep one small star until the end.

Start with the smallest star and place cocktail stick in centre
Once you have added the small daisy, move onto the medium ones
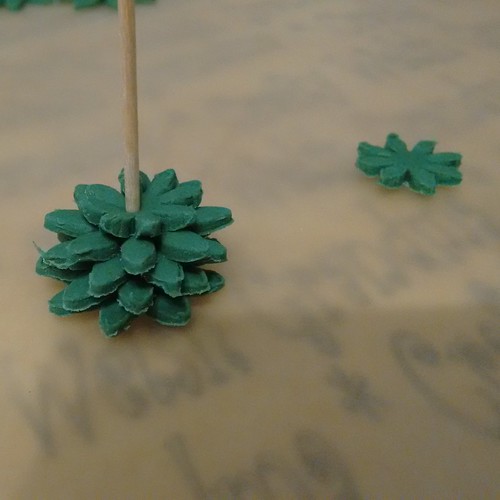
Keep stacking the medium shapes
Then move onto the largest of the daisy shapes

Step 3: Time for the topper
- Place your work onto the surface that you will be drying it out on, with a little parchment paper.
- Gently remove the cocktail stick using a twisting motion.
- Add a dab of water and then add your final small daisy to the top.

- Using a little extra green fondant, make a small, flat-bottomed cone to top off the tree
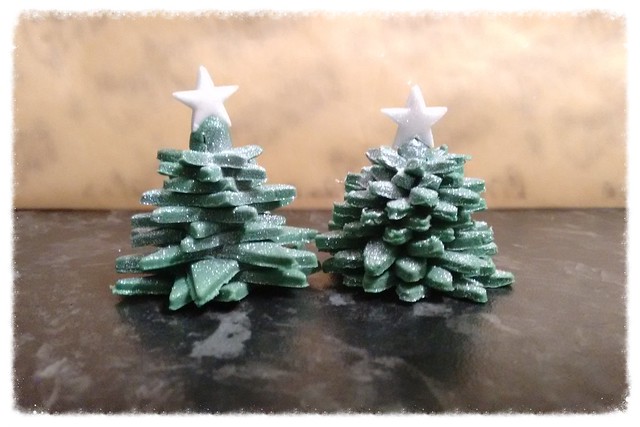
Step 4: Add your small star and sprinkle with some festive magic
Or in this case, a little edible glitter


Once again, I'd like to thank my niece, Sadie,
for helping me with the picture above
Also a featured post on Instructables
Click image above


2F0E7E6B
ReplyDeleteagoda güvenilir mi
agoda güvenilir mi
agoda güvenilir mi