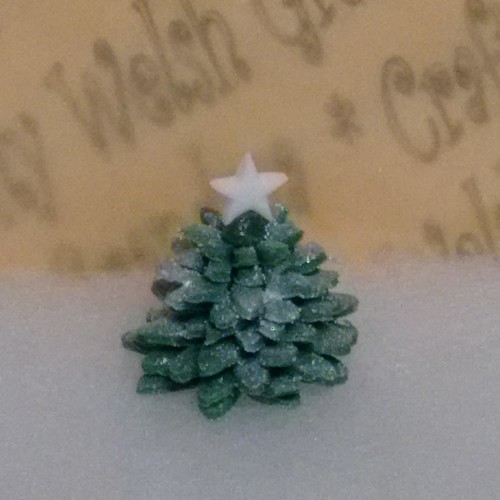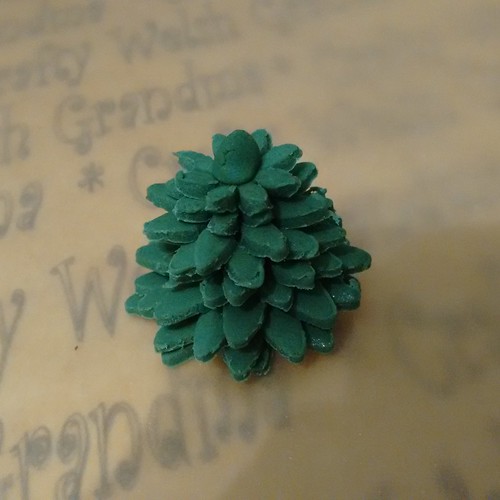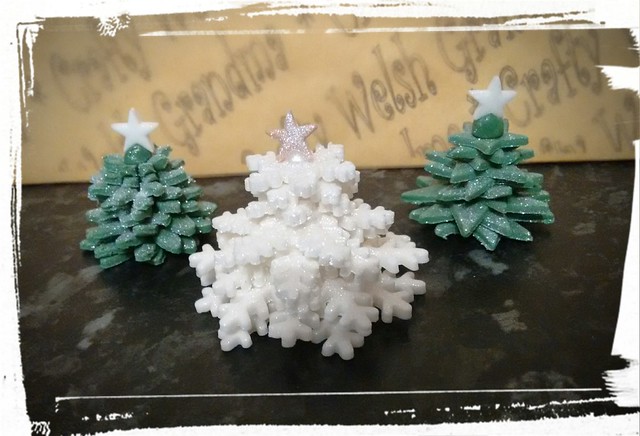
A step-by-step picture guide on how to make a fondant
Christmas tree cupcake topper (centre)
using a snowflake cutter
For this you will need:
- White fondant
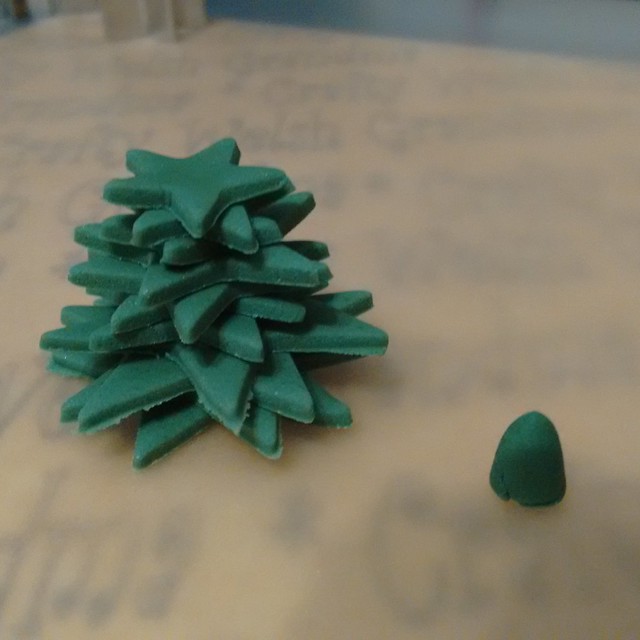
- A small fondant star
- Glitter spray
- A cocktail stick
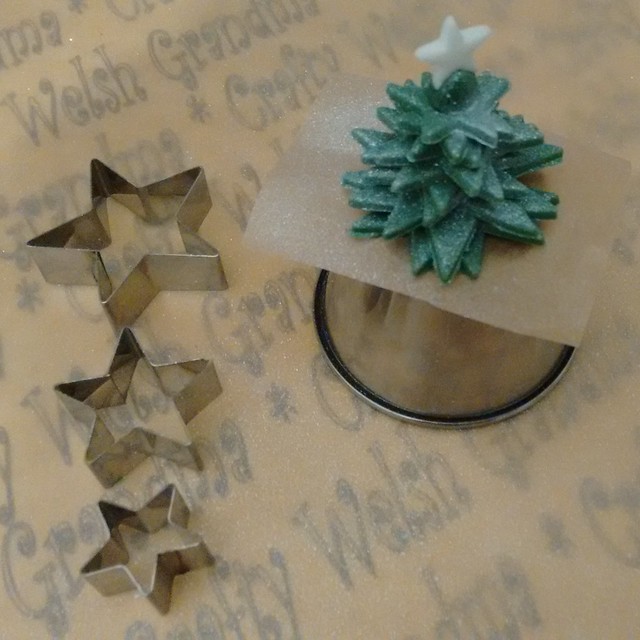
- Set of snowflake cutters in three sizes
- Icing sugar / Fondant icing sugar
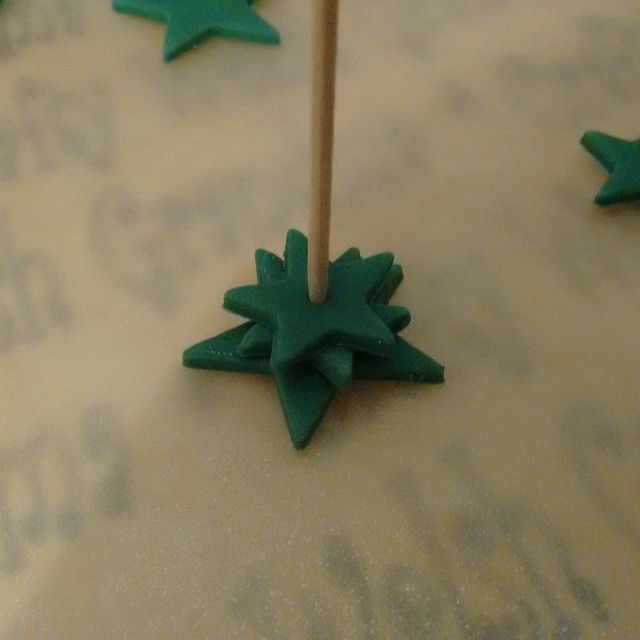
Note: Add a dab of thick, piped fondant icing to each star before adding the next one
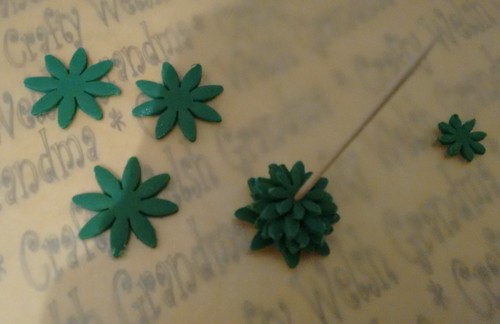
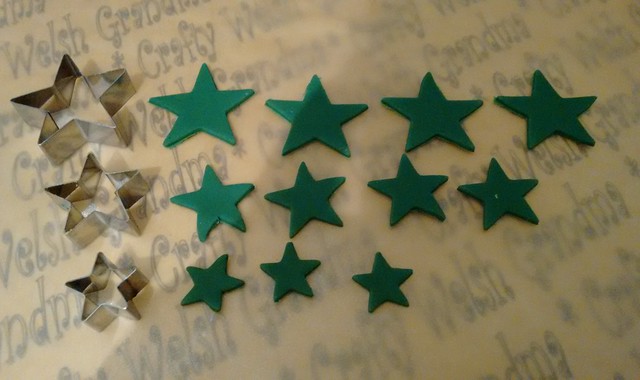
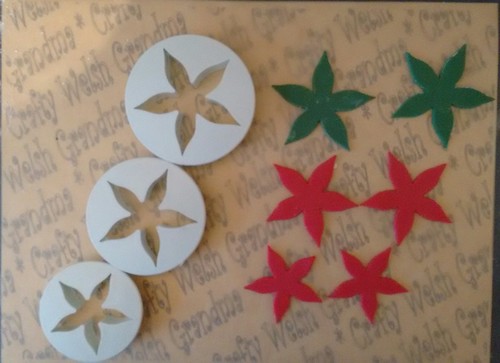
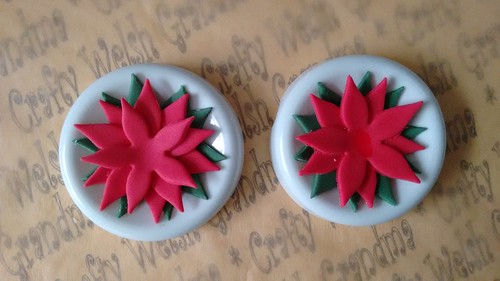
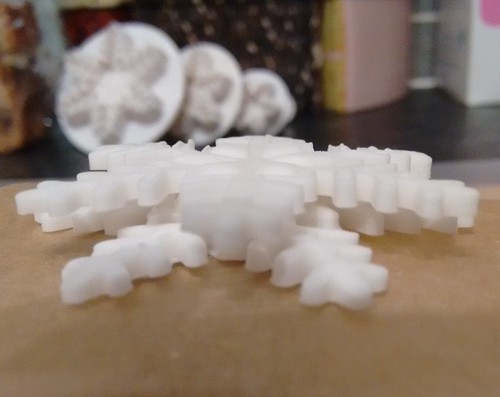
Step 1: Cut out your snowflakes
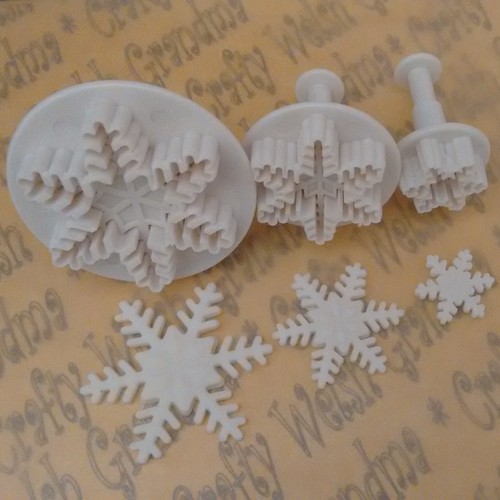
3No Large
3No Medium
3No Small
Allow to dry a little so they become easier to handle
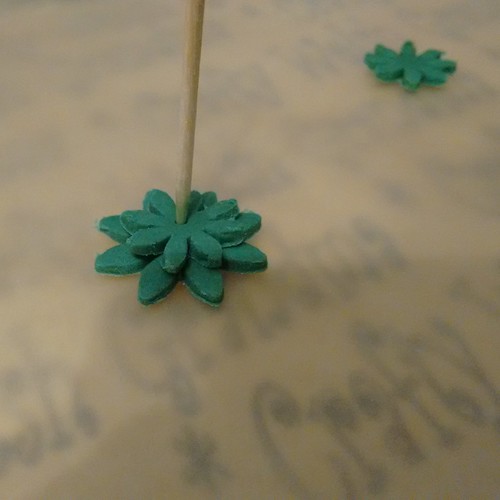
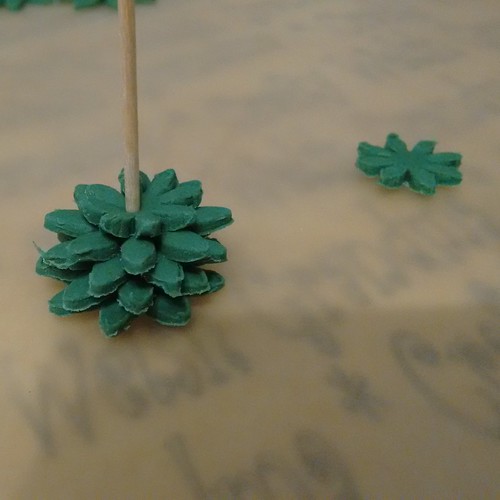
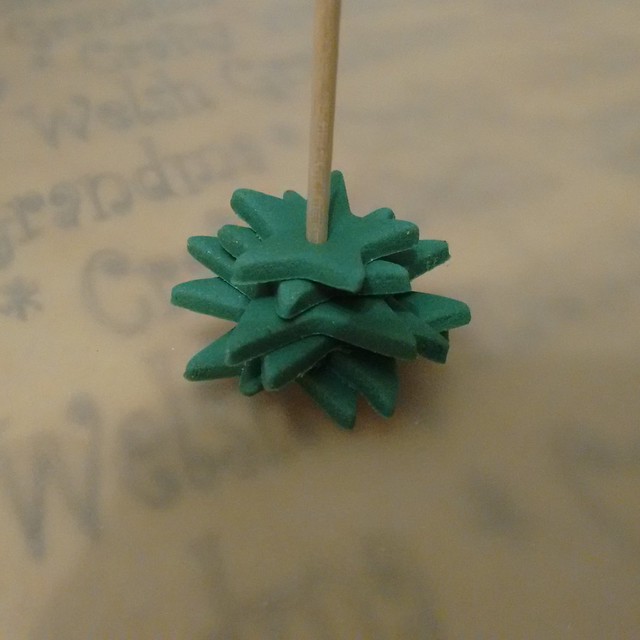
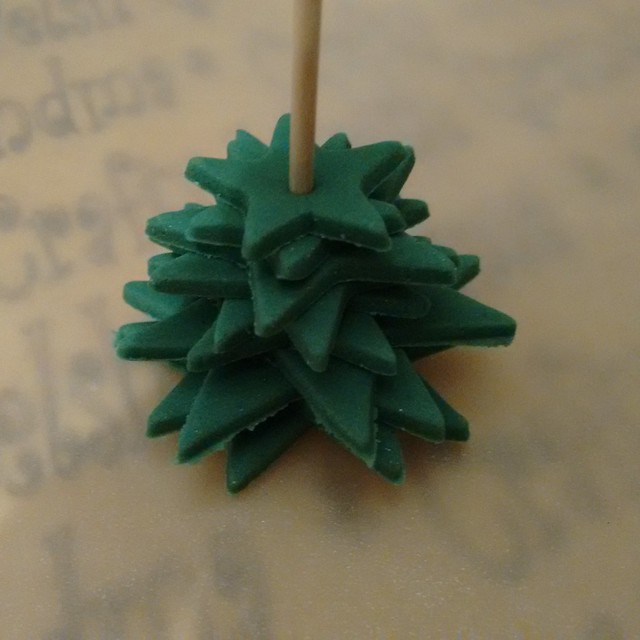
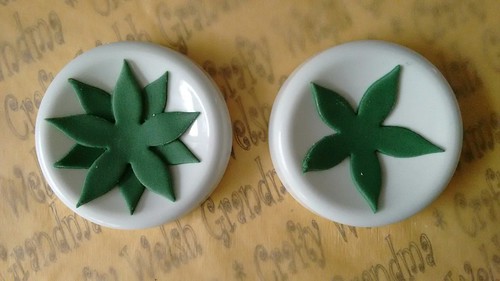
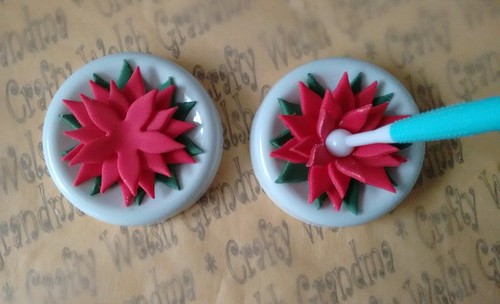
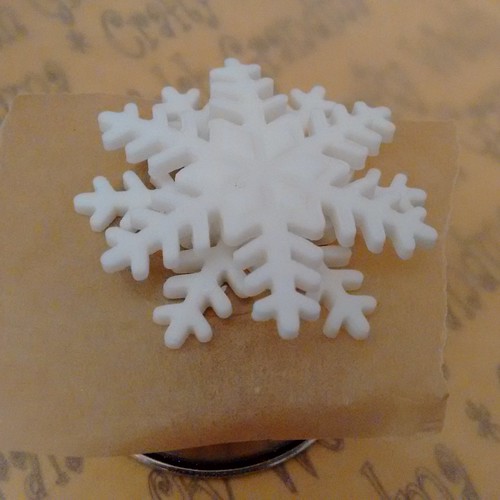
Step 2: Start stacking
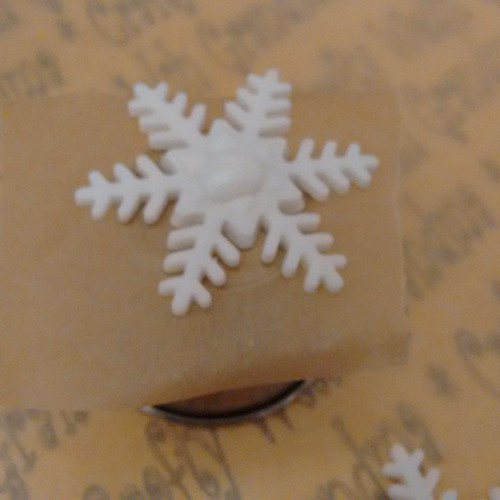
Starting at the bottom and with the largest snowflake, place a dab of piped fondant then stack each snowflake on top of each other in size order.

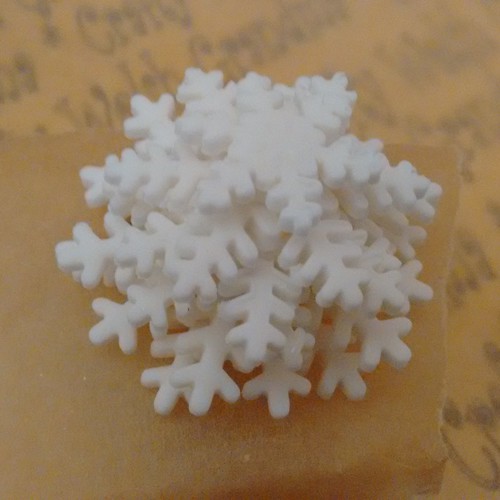
It was at this point that I dropped my project :-(
so I hope this will still look OK in the images after this
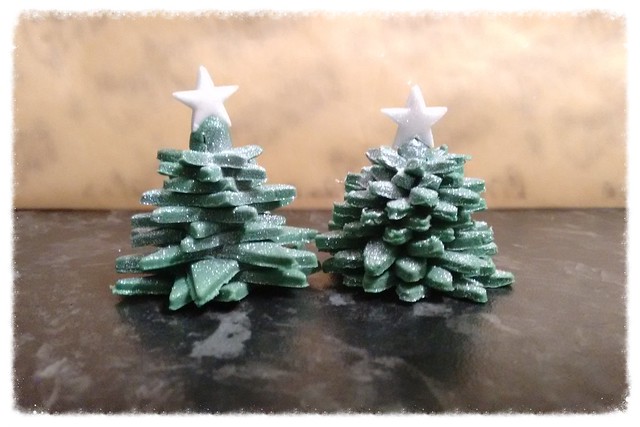
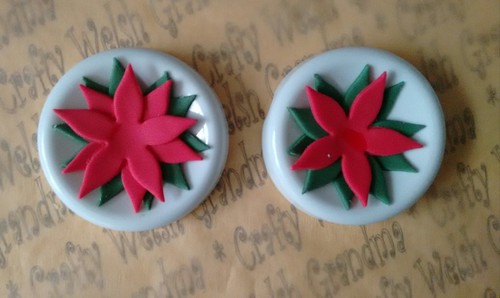
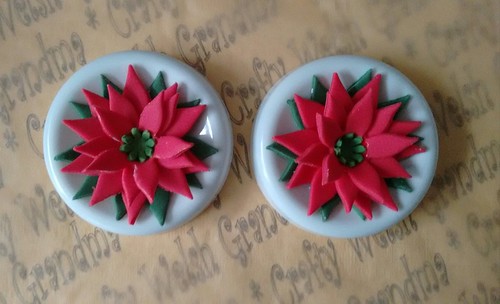
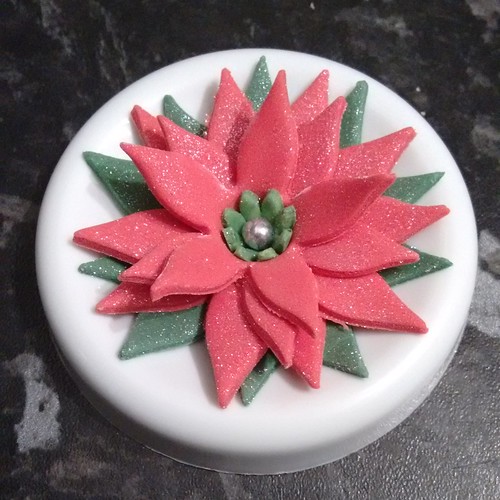
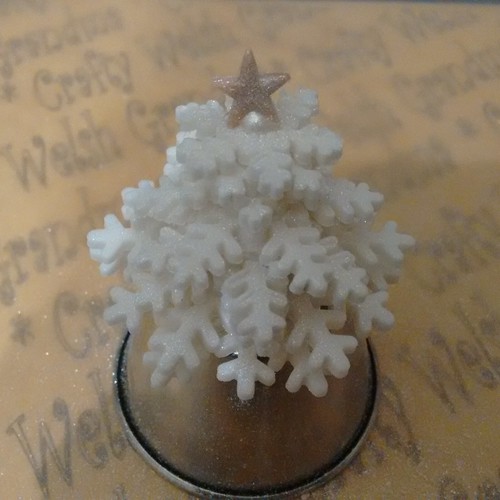
Step 3: Add your small star and sprinkle with some festive magic
Or in this case, a little edible glitter

A featured post on Instructables
Click image above