Monday, 6 April 2026

All change for 2026

Hi everyone,

It's time for change. I made the decision some years ago to retire from caking. 

As I write this, I am downsizing, no, donating, all my equipment to anyone who will put it to good use.

Whilst I am leaving this blog here and keeping the Crafty Welsh Grandma domain name for as long as I can, it's not going to have any new, regular, posts, unless I redirect it to a new project, but that's unlikely any time soon.

I want to take this opportunity to thank all my viewers, readers, recipients and family for all their support over the years.

Crafty Welsh Grandma still remains, but in another guise.

Take care of you! Stay Craftsy.

With love

Niki aka CWG

Sunday, 22 December 2019

Wonderful Winter Scene


This cake is a 'tuition' cake and made by my Padawan (apprentice). It was a last minute decision cake, but still needed the time and care like the other ones.

To help him gain confidence, my Padawan was given instruction on his first task, the christmas tree below and then I let him run with it. This is what he came up with. All this will little intervention from me.


Whilst that was drying, the cake was baked and, if I'm honest, I'm completely envious as to how this turned out! Far better than my first ever rich fruit cake!


For the decorating, my Padawan set to decorating this beauty with a green side and snow-draped effect fondant for the top. Nothing like being thrown in at the deep end for this learning experience.

Once the topping was complete, the rope decoration was created for the bottom edge as he didn't want or need to use ribbon on this one.


Next came the addition of snowflakes and then ...


Painstakingly adding little silver candy balls in the blank areas, glued in one-by-one. No doubt, I will be sweeping these up from the floor for days to come! They get everywhere when you drop them and you can never get them all at once.


Due to time constraints, the decorations for the top were purchased ready made, except the tree of course, then added. Additional handcrafted snowballs were made and added to soften the edges of the premade decorations on the top of the cake.

I think my days are numbered here! But "Crafty Welsh Grandad" is not going to be a 'thing' for many, many moons yet. Any why? Well, this wonderful trainee is my son.

The process, with all its trials and tribulations, was a fantastic experience, for me at least. I hope it was for him too.

Wednesday, 18 December 2019

Christmas Tree


Using about 1/3 of the mixture for the recipe for a rich fruit cake, this little four inch cake was made for my neighbour.

He's been getting a little cake from me for the last few years now, I hope he likes this one.

Sweet Snowman


This is my own cake for my festive table! He is a little six inch cake made with about 3/4 of the recipe for my rich fruit cake

As with my previous two cakes today, the DIY Character Faces process was used, only very loosely in this one.  I didn't have use for the whole of the process, just the general idea.

Two, flattened balls for the body and head, cut a little away so the head can fit into the body shape, cut his scarf and wrap it around.

The hat was created by using thinly rolled green fondant, laid on the head and trimmed, the same too for the fur of the bobble hat.

Stunning Santa


The 'trouble', dare I say, with these sculpted cakes is you have to do them on the day. There's no preparing in advance for these little beauties. This can be a daunting thought, especially if you have no back up. You have to be prepared 'mentally' and have confidence in your abilities.

The rich fruit cake was the second (of three) of my eight inch rich fruit cakes this year. The face was created using the same process previously published on the DIY Character Faces.

Happy Gnome


This eight inch rich fruit cake was decorated using the same process as the PJ Masks character faces. I love these little gnomes that you can't quite see.

The beard was hand painted in an edible pearl paint, topped with some festive glitter and awaiting his collection, I hope they like him.

Polar Bear on Ice


Using about 1/3 of the mixture for the recipe for a rich fruit cake, this little four inch cake was made for someone without the passion for fondant as some.

I used a basic buttercream to cover this one in peaks to represent snow or ice, and, to ensure it 'keeps' it will be kept chilled until needed.

I think the little polar bear looks so cute just sitting there on his icing-berg.

Thursday, 12 December 2019

Santa Hat Cupcakes


These simple little cupcakes can be made to look very festive with the addition of some creative frosting!

Using my basic cake mix, you can add some festive flavours if you wish, the same too for the basic buttercream frosting.

Once baked and cooled, pipe some red frosting swirls. Pipe them so the are just short of touching the sides of the cupcake case.

Leave them to form a 'crispy' coat, then soften the peak on the top and pipe some white frosting. 

Next, using a smaller piping nozzle, pipe a white ring around where there's the gap between the cupcake case and the red frosting.

Add some decorations, and you're done!

Simple 

Friday, 10 May 2019

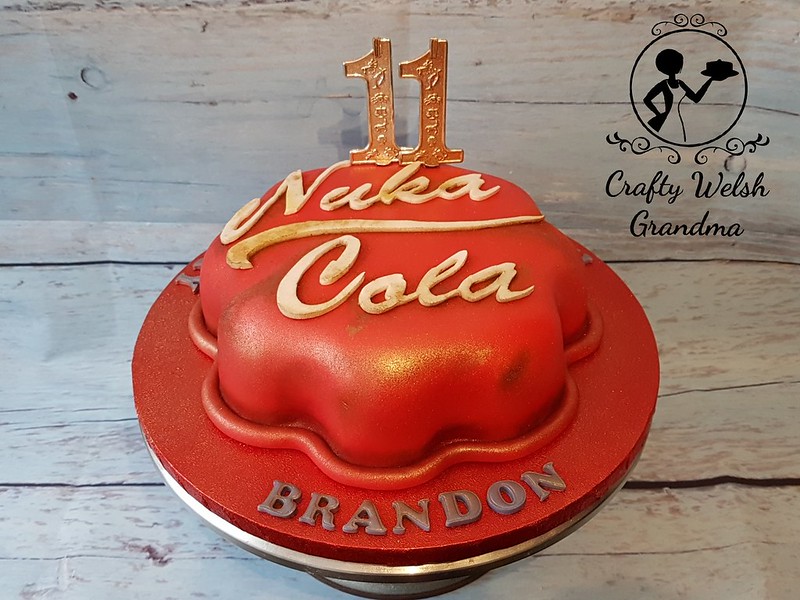
Battered 'Nuka-Cola' Bottle Top Cake


This year, as is always the case, my Grandson changes his likes from video game to video game or this like to that like and so on. This year, it's Fallout!

In the past we've seen cakes for him that have been:

The cake, a delicious, rich red velvet cake with cream cheese frosting is hidden under this beaten up look bottle top cake.

I cut half rings out using a circle cutter before crumb coating, frosting and covering in thick, red fondant.

My daughter printed out the Nuka-Cola logo and set about hand cutting the letters before she hand cut the logo from modeling fondant.


It had that very flat, "too new", look. We allowed the red fondant to dry and the water, used as the 'glue' to stick the logo on. 

Once dry, she set about using brown, antique gold and silver petal dust to give it that rusty, beaten up look.


I'm giving my daughter far more freedom with my cakes these days, she finds it fun and I enjoy watching her work. Not only that, my eyes are getting old (well, that's my excuse lol).

I hope he enjoys it, but then, what kid doesn't like chocolate cake?

Drumstick & Refreshers Cupcakes


Cupcakes can become a little 'samey' after a while, which is why you haven't heard from me for while, my work has been mainly cupcakes.

These ones, however, are a little different.

As you know, I make all my cakes, frosting etc from scratch, with very few exceptions, and this is one of them.

At my local supermarket, I found Drumstick Duo frosting ...


As well as Refreshers frosting ...

And, unashamedly, I faked the frosting on top of these classic vanilla flavoured cupcakes for my Grandson's birthday party tomorrow.

If there is anything new you're fancying for your cupcakes, then you have to try this stuff. It's yummy. You may need to add a spoonful of water to get it to some sort of piping consistency first.

Saturday, 16 March 2019

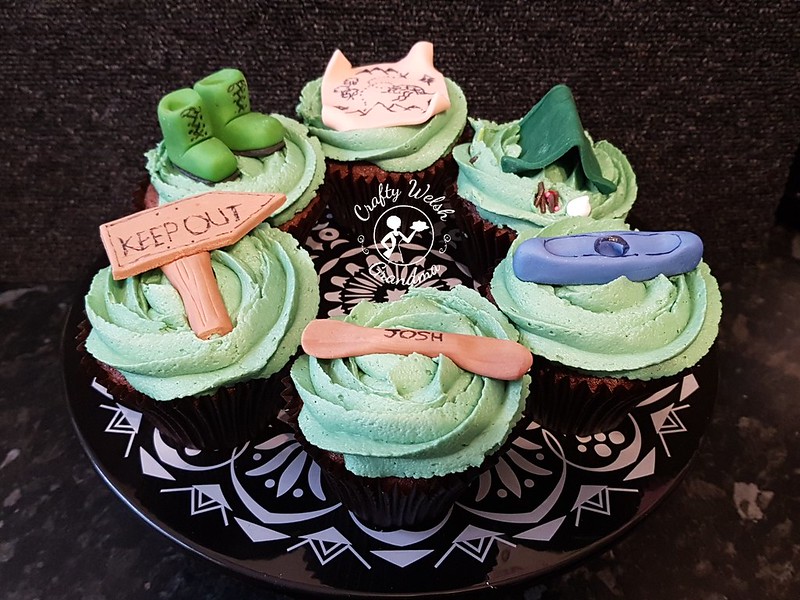
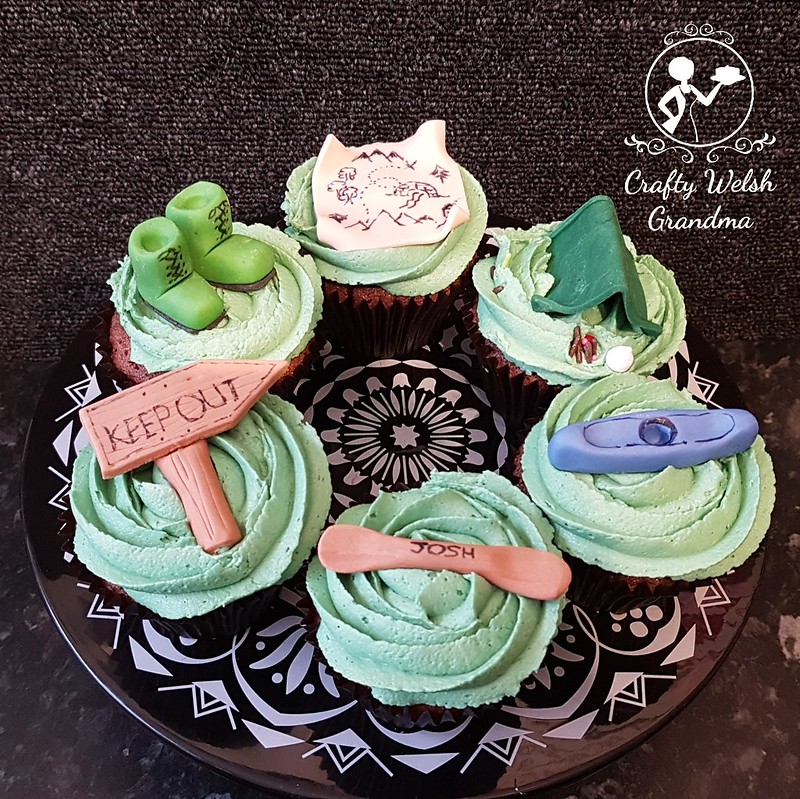
Outdoors Themed Cupcakes


These wonderful batch of birthday cupcakes were made with a brilliant idea for a theme. I'm going to be honest and tell you, this was not my idea, it was the gifter's idea as the lucky recipient works outdoors.

There's not much I can say about these apart from, the chocolate sponge mix was prepared, in a masterclass, with a student and the toppers were handmade on the day.

The toppers include (from top centre and clockwise):
  • A map
  • A tent with a campfire out front
  • A kayak/canoe 
  • A personalised paddle
  • Absolutely a 'Keep Out' sign
  • And a pair of green walking boots


I hope they'll be enjoyed!


Saturday, 2 March 2019

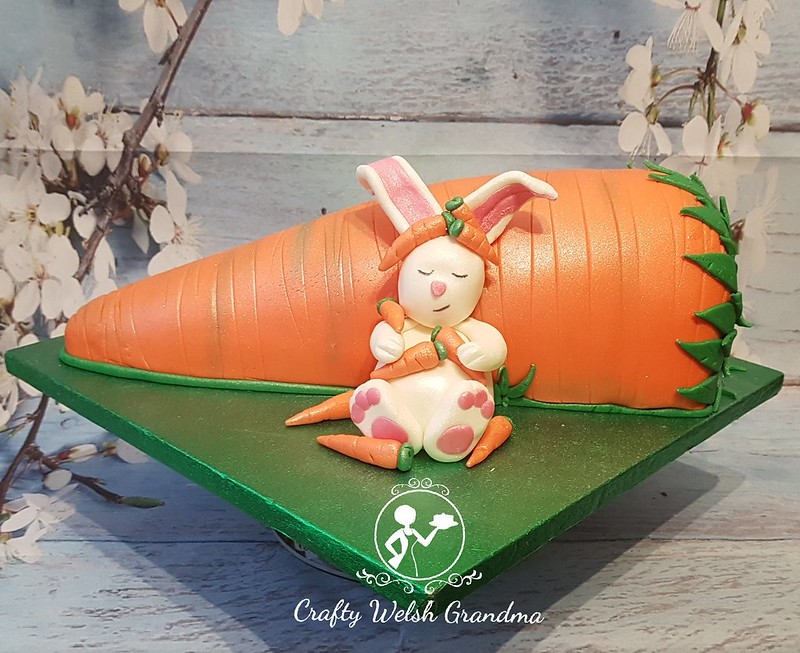
Birthday Carrot Cake


The day will come when I shall run out of ideas for carrot themed carrot cake lol. But it's not this year!  

My son loves my carrot cake and, when the chance comes for him to have a birthday cake, he 'needs' it to be ... carrot cake! 

His previous carrot 'manifestations' have included this brilliant little Kawaii Carrot Cake and this rather interesting Carrot Cake Plant Pot. He's also received a 24 Carrot Gold Cake. All made from my utterly simple Carrot Cake recipe.

I made three six-inch cakes and two four-inch cakes from two mixes of the recipe but added about 25% more to each mix. 

Once I have de-humped them, I turned them on their sides and trimmed down one side so they were no longer round cakes. I'd say I trimmed off about 25%, but this never goes to waste in my house. 

Once firmly chilled, as this is quite a moist cake if done correctly, I sandwiched each layer together using my basic buttercream recipe. The reason I have not used the conventional carrot cake frosting is that I find it does not travel well. As this one needs to travel a few hundred miles this weekend, I wanted stability.

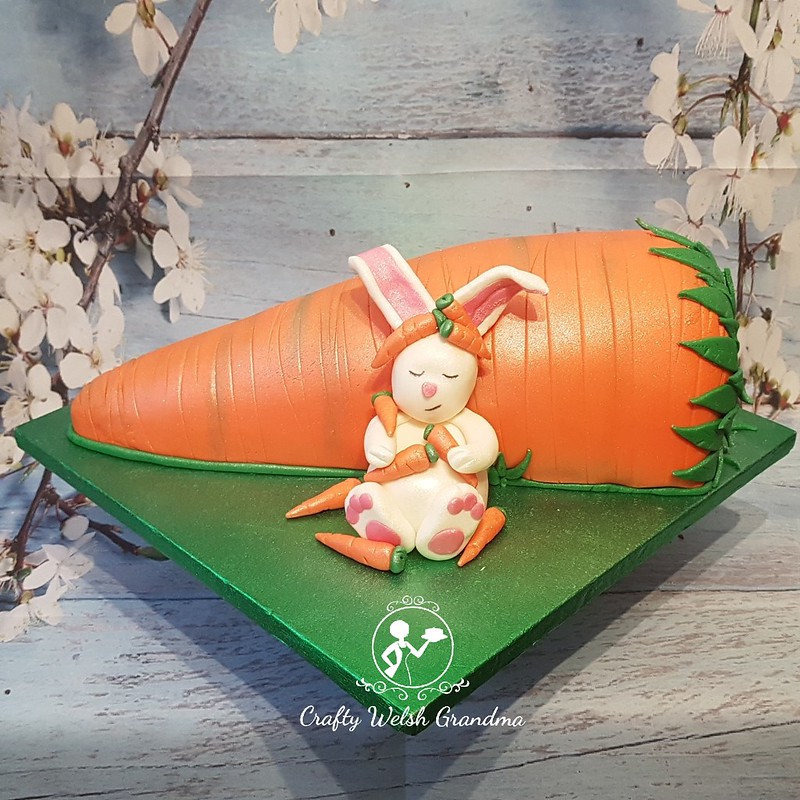
After another chill in the refrigerator, I carved it to a basic carrot shape. It's ok if it's not perfect, after all, wonky veg need love too! Gave it a crumb coat, chilled again, then final coated it and, yes, you guessed it, chilled again, then covered it in orange coloured fondant.

Sitting at the side of the carrot cake is a sweet little snoozing bunny, who has just eaten a load of carrots and is still covered in the carrots he has not eaten. 


Regrettably, I did not take step-by-step images of this bunny in progress, but if you check out this teddy bear tutorial I did some time back and add big ears and massive bunny feet, I don't think you'll go far wrong.


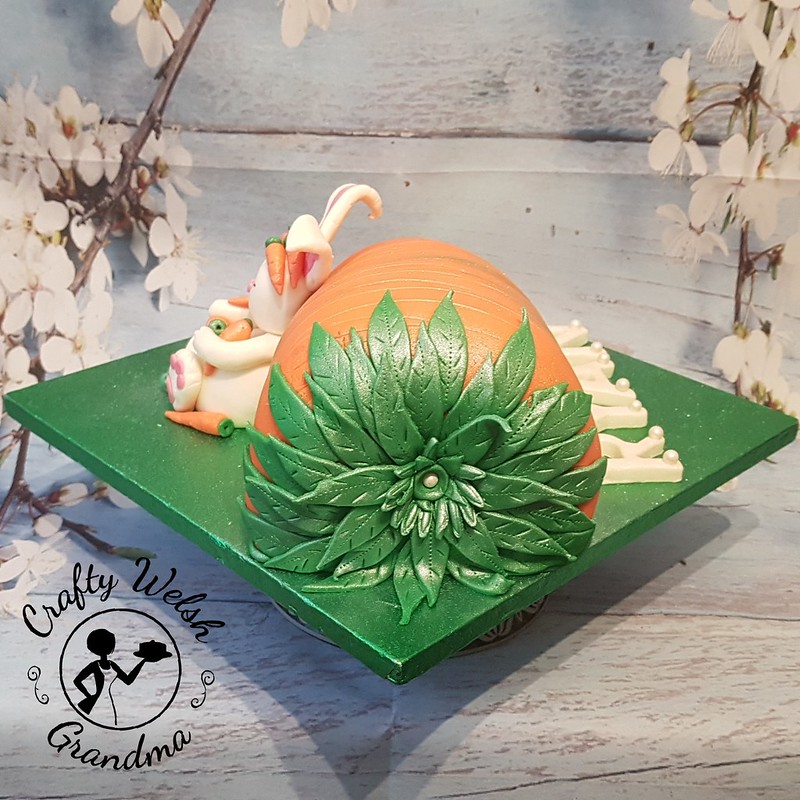
The conventional carrot leaves will not travel well, so I used a simple leaf cutter and added some details for these ones.


As you can see, I've also added the lines that carrots have and, to emphasise some of them I dry brushed them with a mix of dark green, antique gold and white petal dust. I could have used other colours, but these were all I had at the time, it worked well I thought.

You will also note some errors and dents, some intentional and some are genuine errors. I used a new brand of fondant which, in all honesty, I shall never use again. It was terrible to work with so I'm going to stick with good old faithful Renshaws!


Add the name, up in 'lights' with some pearled candy balls, spray with a little pearl lustre and some silver lustre dust and voila! done. 

This little wonder will be traveling in its box with tissue paper stuffed under the bunny's ears, just to make sure they get there still attached.

Saturday, 23 February 2019

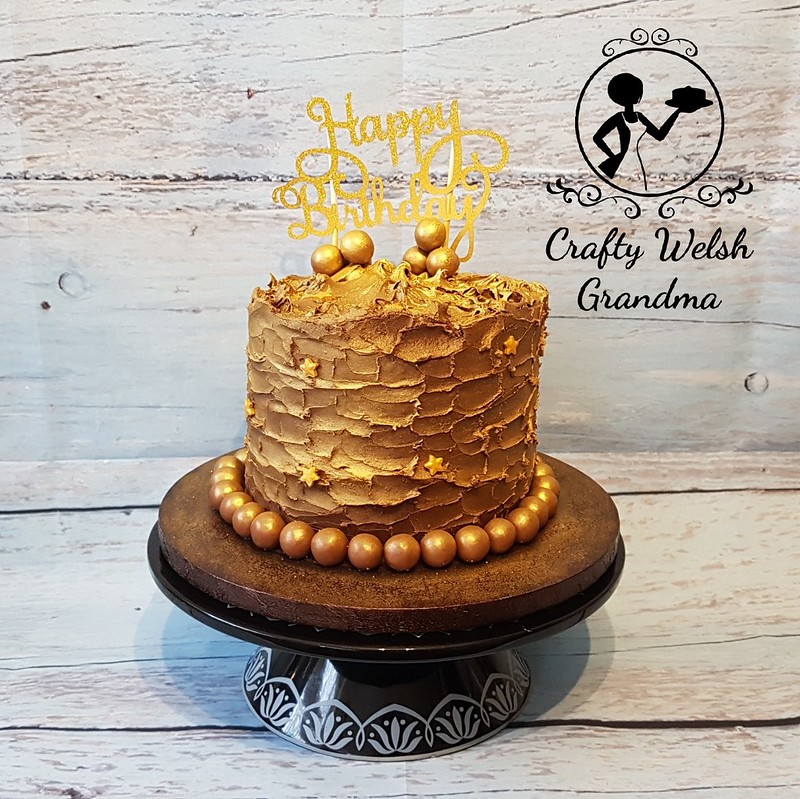
All That Glitters Is Not Gold ...


... Quite correct, as this is allllll chocolate!  

This wonderful little six-layer, six-inch chocolate cake has been made from my classic chocolate sponge cake recipe

Each layer has been lavishly sandwiched together with my delicious chocolate ganache and then absolutely covered in even more indulgent chocolate ganache! Just how much more chocolate can you get?

Oh! Of course, Maltesers! I used those on the join between the cake and the board. And why not lol.

This person's previous cakes have included:
As you can see, there's a bit of a chocolate theme going on for this lucky recipient. However, this year he asked for 'chocolate, but not so much chocolate.'

Previously he's received eight-inch cakes and the only way I could possibly have done 'chocolate, but not so much chocolate' was to make a smaller cake. He loved it anyway, he received it today, even though his birthday is not until tomorrow.

He, quite happily, took it home and shared it with his housemates, but kept some back for himself, and stated that they all thoroughly enjoyed it.


Wednesday, 2 January 2019

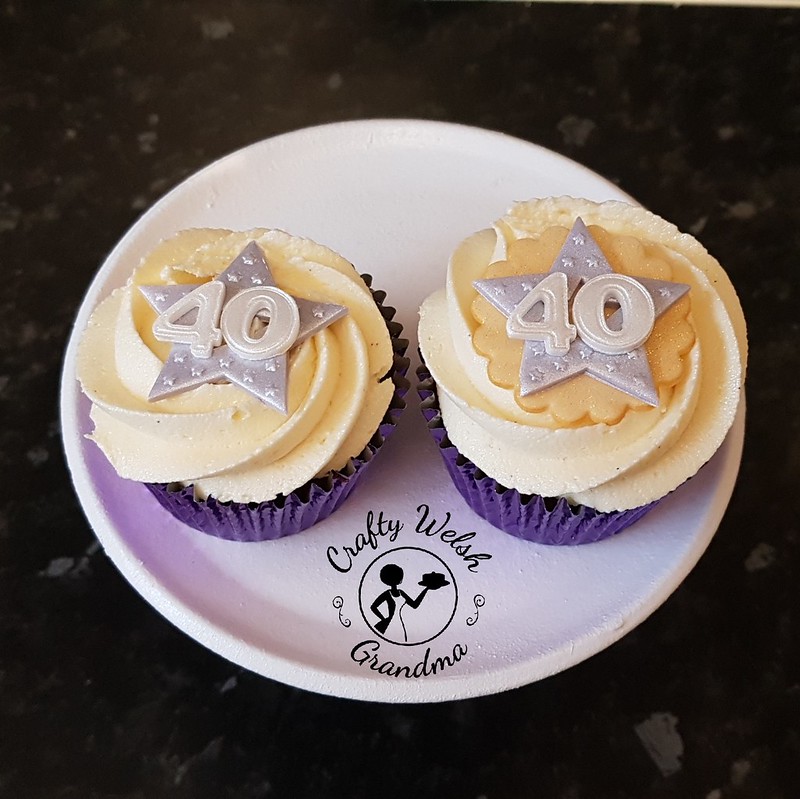
40th Birthday Cupcakes


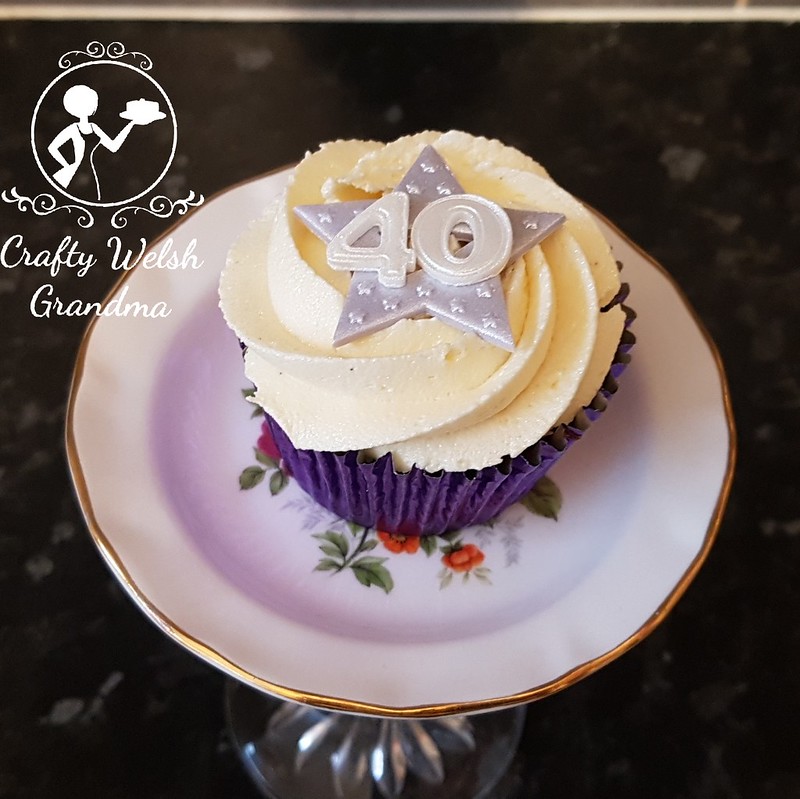
These delicious Red Velvet cupcakes have been made for some lucky person's 40th Birthday this month.  My 'remit' was: Red Velvet sponge, purple (topper and cases), not 'girly' and 40th Birthday. I think I did ok. 

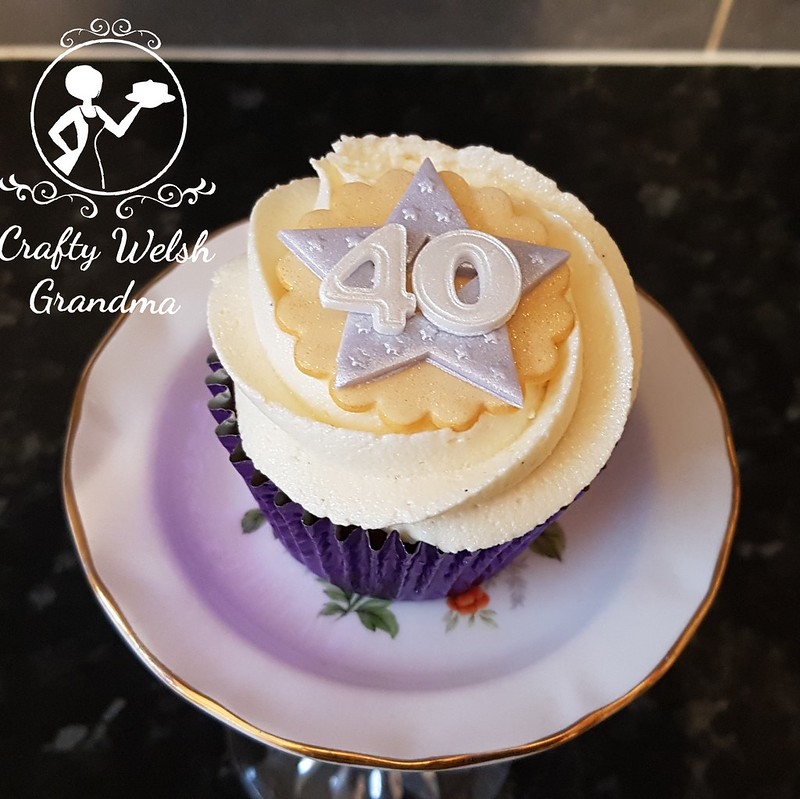
Each of the toppers has been handcrafted specifically for these cupcakes.  Made from fondant, they are gold, pearl, and lilac, all sitting on a bed of delicate vanilla buttercream. The buttercream has been flavoured with vanilla bean paste, so you might see tiny flecks of the vanilla bean in the buttercream.

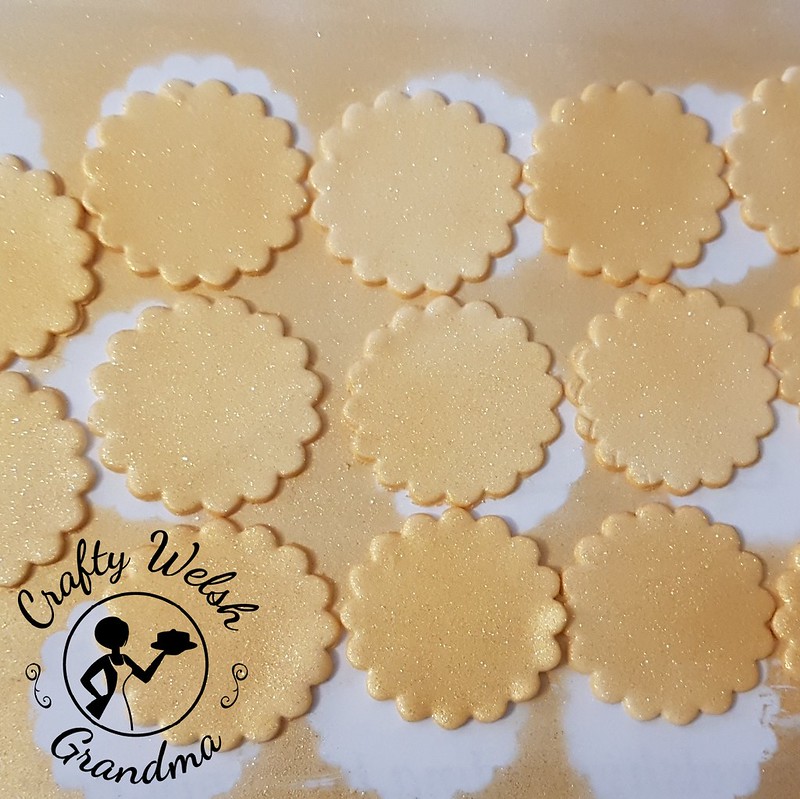
Gold disks, made from white fondant with CMC powder, sprayed in gold luster spray and topped with a light dusting of glittery gold luster dust. These form the base layer of half the toppers.


Lilac stars were made, using the same process as above but these have been sprayed with pearl lustre spray.  The lilac was made with fondant, CMC and purple food colour gel. These form the second layer of half the toppers and the base layer of the other half.


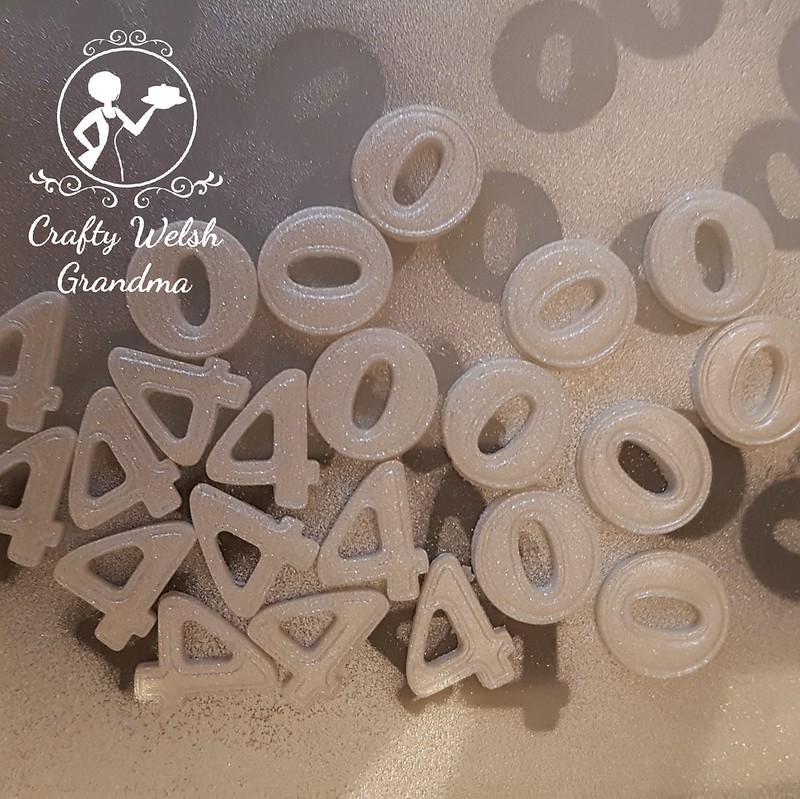
On top of each of the stars are fondant number 40s. These have been sprayed with a pearl spray and a very light dusting of silver luster dust.


Once these were dried, they were assembled and placed on top of the cupcakes.


Half with the gold disks.


And the other half with just the stars.

Sunday, 23 December 2018

3D Tree with Snowman and SnowDog


My last cake of 2018. A three dimensional festive decorated tree with resin cast Snowman and his Snowdog. The cake is a delicate vanilla sponge, baked in a silicone mould (which I am not a fan of), but I have used it once and that's all it's having lol.

It's a six-piece cake, the base, which you cannot see, has been covered in chocolate fondant, whilst the four tree parts were pipped, using a petal tip, in vanilla buttercream. The final piece is the star, this part of the mould was filled with chocolate, allowed to set and then covered in gold, edible glitter.

The star is wedged into the plastic, hollow dowel, that runs down the centre of the tree / cake.

It suffered a few mishaps along the way, but I think I brought it back from the brink.


Thursday, 20 December 2018

Nuts, Berries and Holly - Festive Cake


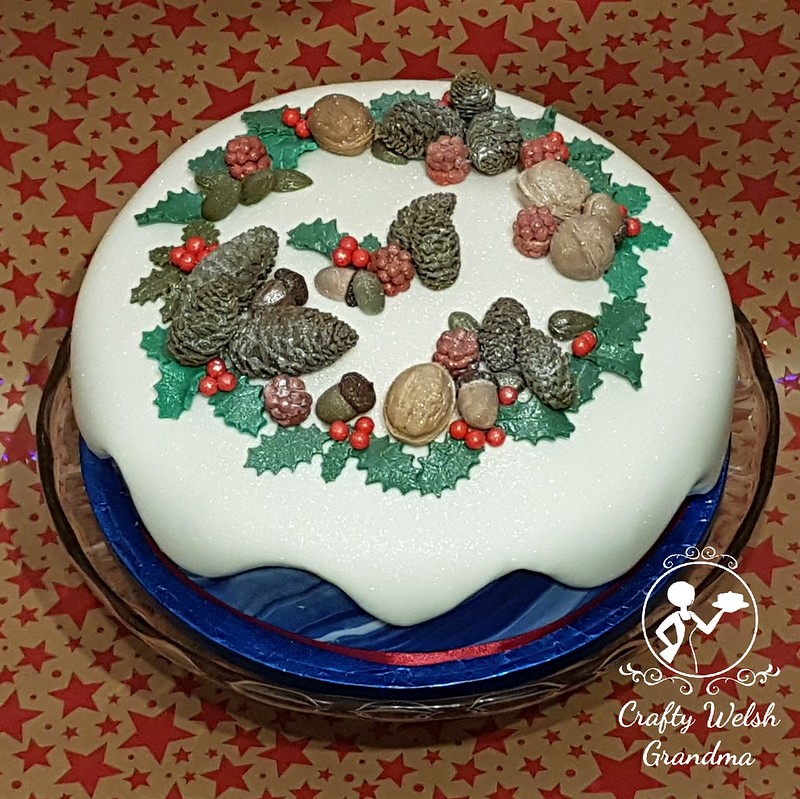
This rich fruit festive eight-inch cake is adorned with pine cones, pistachios, holly and berries, acorns, fruit berries, walnuts and ... Oh, I think that's it actually.  Not one nutcracker will be required to eat these decorations though, they've been handcrafted from fondant! Every single one!

The moulds/molds can be purchased from Katy Sue Designs, I used:
These silicone moulds/molds are excellent quality and I would thoroughly recommend them.

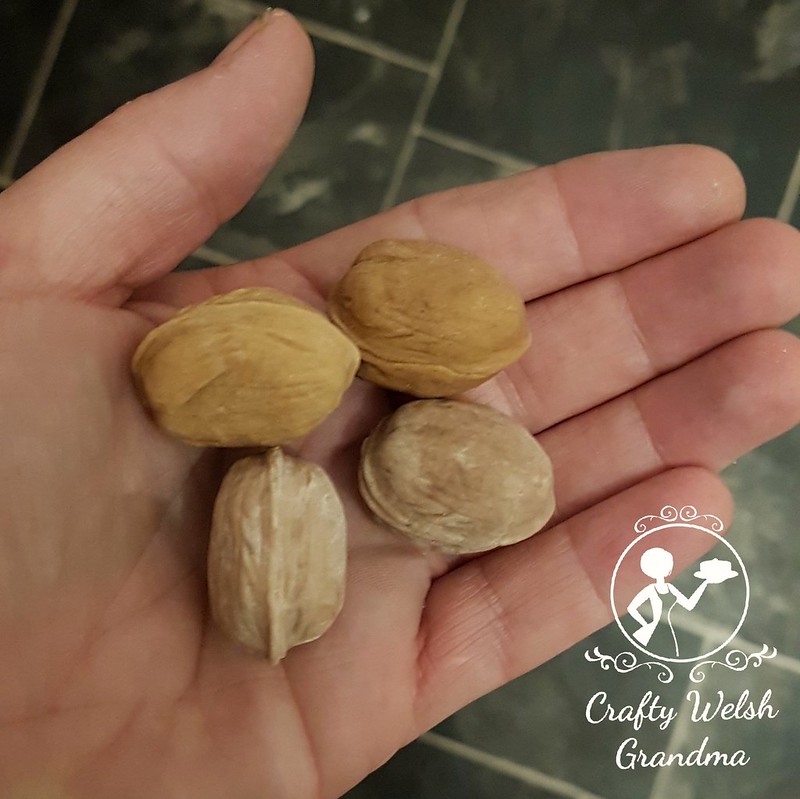
Even before adding some petal dust, the walnuts looked pretty realistic!


Having made each item, in half, then stuck them together with edible glue. An awesome look for all the nuts, berries and pinecones.

My daughter, sister and myself, spent some hours making these between us and once almost dry, they were glued and allowed to dry completely before adding to the top of the cake.

Sprinkled with a little edible luster dust, allowed to dry and it's ready to be delivered to my family for their Christmas table this year.

Bird and Cat Paw Prints - Festive Cake


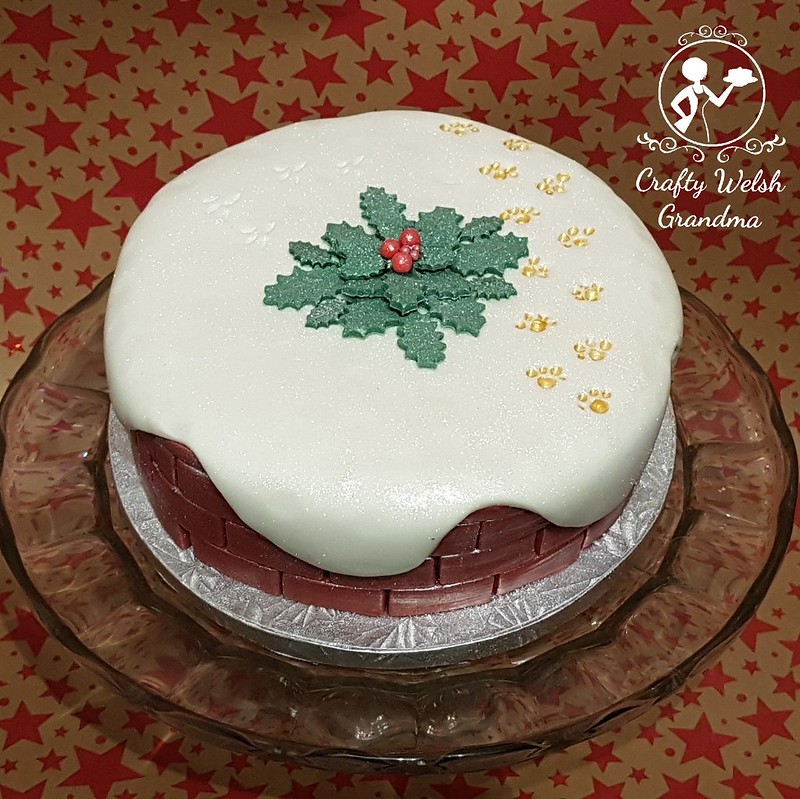
This little six-inch rich fruit cake has been made for my own house this year.  Which means, decorating is open to anyone! So my daughter took up the challenge.

I did the 'brickwork' ... as you can see, I am absolutely no brickie! But it was fun. I cut out each brick-shaped piece of fondant, exactly the same as the Little Drummer Boy cake yesterday. To make them more brick-like, I cut the pieces in half again.

On top of the white marzipan is a layer of marbled grey fondant, this will simulate the cement between the bricks. On top of that, the bricks have been 'laid', but only on the sides.  

For the top, a thick layer of fondant, which had been cut much larger than the top and then cut, unevenly, so that it would look like a layer of snow on the top of my 'wall'.

My daughter made the holly leaves with a plunger cutter and affixed, in her chosen shape, to the top of the cake. She then added red candy balls to represent the holly berries.

For reasons, which are beyond my way of thinking, but put a smile on my face, she added little bird prints (enlarge to see them at the back of the top of the cake), closely followed by some golden kitty paw prints.

I just hope the bird got away!

This will adorn my Yule tale this year and I love it!

Little Drummer Boy - Festive Cake


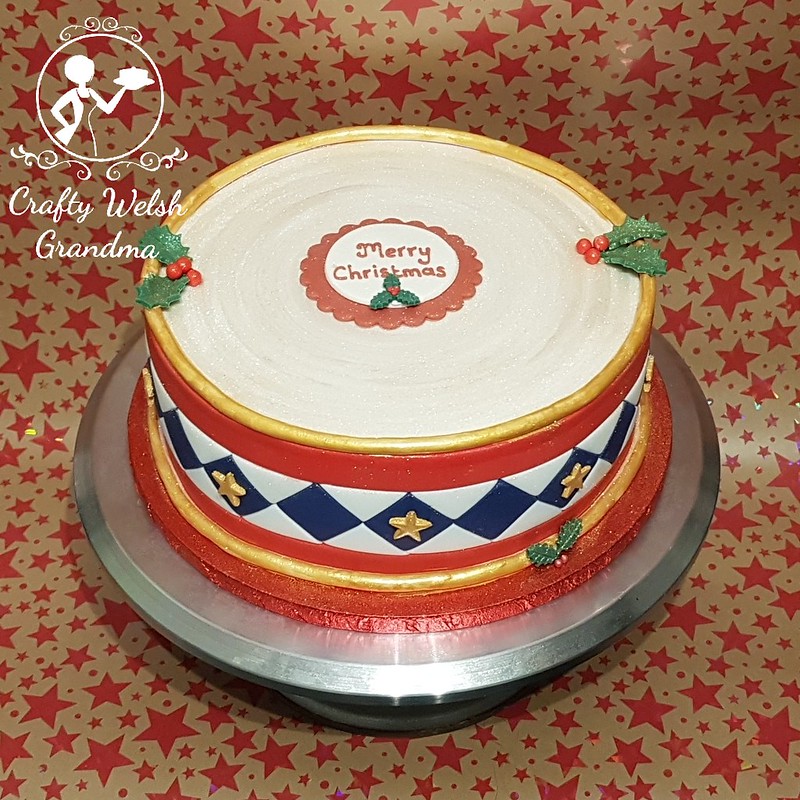
For 2018, I wanted to try some 'traditional' festive cakes. This rich fruit festive cake is my homage to the festive song "The Little Drummer Boy".  The eight-inch cake was covered first, using white marzipan, and then decorated with hand cut individual squares. 


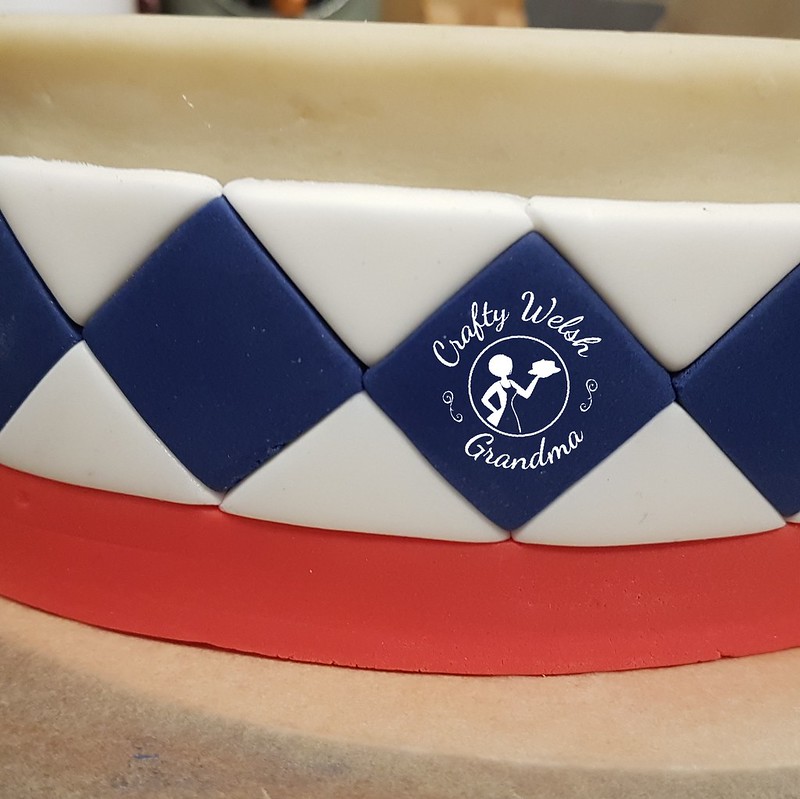
Once cut, these squares were attached, one by one to the sides. The order of decoration went like this:
  1. I added the fondant to the top first, allowed it to dry a little then ...
  2. Turned it upside down
  3. Having measured the side, I cut a 2cm strip of red fondant and added it to the bottom (the top).
  4. Once dried a little, I added the blue and white squares and triangles I had cut.
  5. Then added the final piece of red and turned it the right way up


Of course, there is an obvious beginning and end with these squares, so they've been hidden around the back (you can see this in the video below)


Once dried, it was time to decorate the top. I painted it, with edible pearl paint, then generously sprinkled on silver luster dust. Painting it was a bit of a problem as, at first, I couldn't get the effect I wanted. My daughter helped by spinning my turntable whilst I added the paint, and the effect was amazing and exactly what I wanted!

Next was the gold trim. I used my largest disk from my extruder to add the rope to the bottom then onto the top edge. I then painted this with edible gold paint. I then added some gold stars with alternate blue diamond / squares, sprinkled it with some edible gold luster dust and voila! 

I hope they like it.

I made it for someone special to me, not because she's one of my greatest supporters, but because she helped me gain my self-confidence and pointed out the importance of raising my self-esteem when I didn't realise I'd lost it!

Her 2017 festive cake is here

Sunday, 16 December 2018

Asha's Festive Cupcake Masterclass


Today, I have had the pleasure of a fantastic student, Asha. She made these amazing cupcakes and all I did was show her once then stand back, just in case I was needed, which I wasn't.  

As a Crafty Welsh Grandma, I adore sharing my knowledge, skills and experiences. No more so than in one-to-one 'masterclasses'


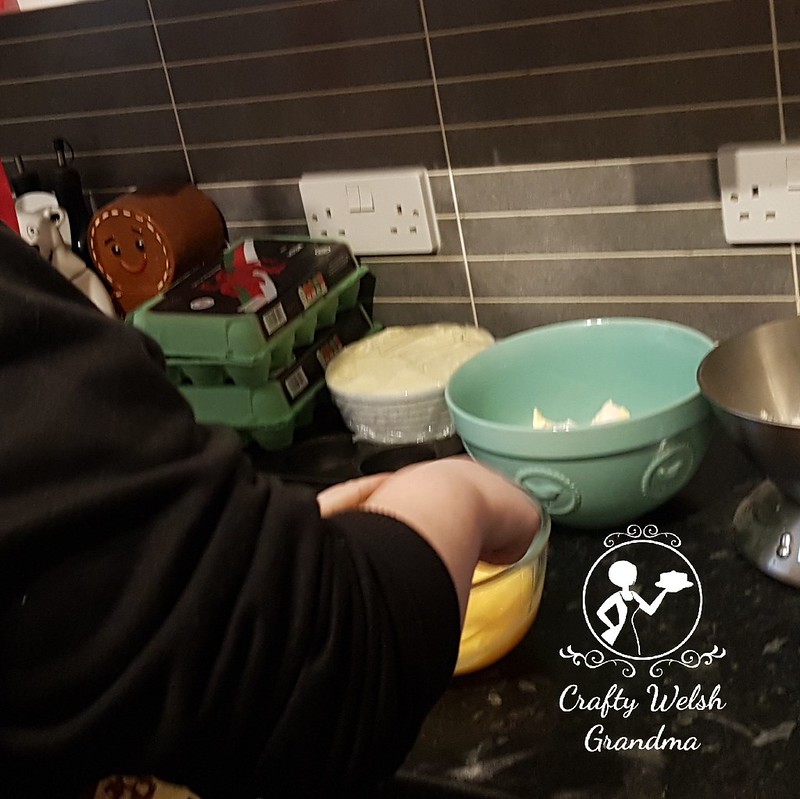
Asha had her own ideas of how she wanted her cupcakes to look and, no sooner had she arrived at my kitchen straight from work she donned the festive apron I had ready for her, and off we went.


Asha chose to make half a dozen (plus extra for practice later) in classic vanilla with an equally delicate buttercream and a further half dozen (again, with some extra for practice later) in chocolate.


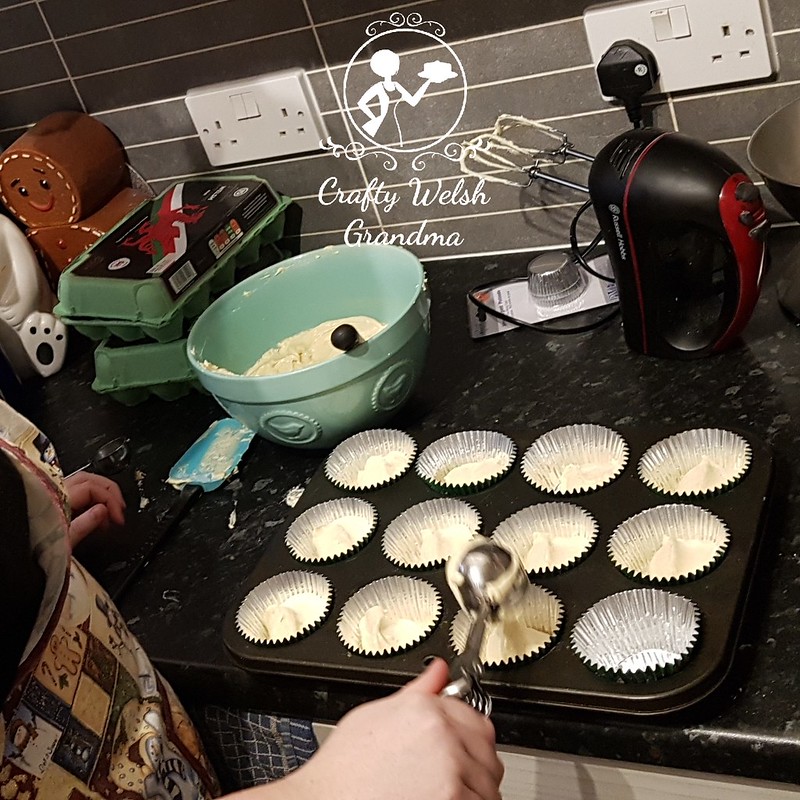
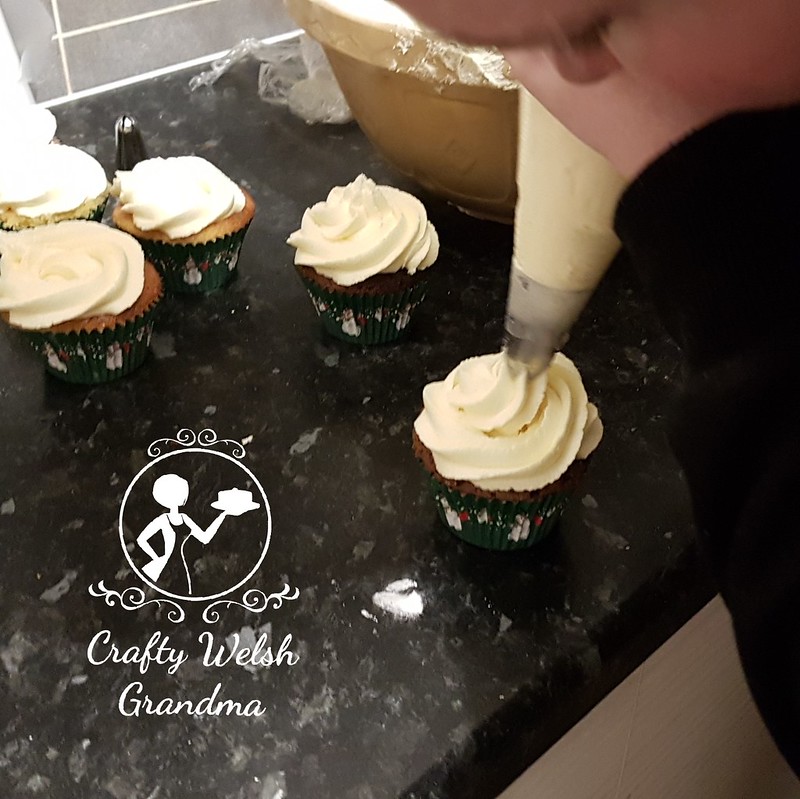
It is my preference to use ice-cream scoops to portion out the batter in each cupcake case, so, as my student for the day, Asha was instructed and took to this method with ease.

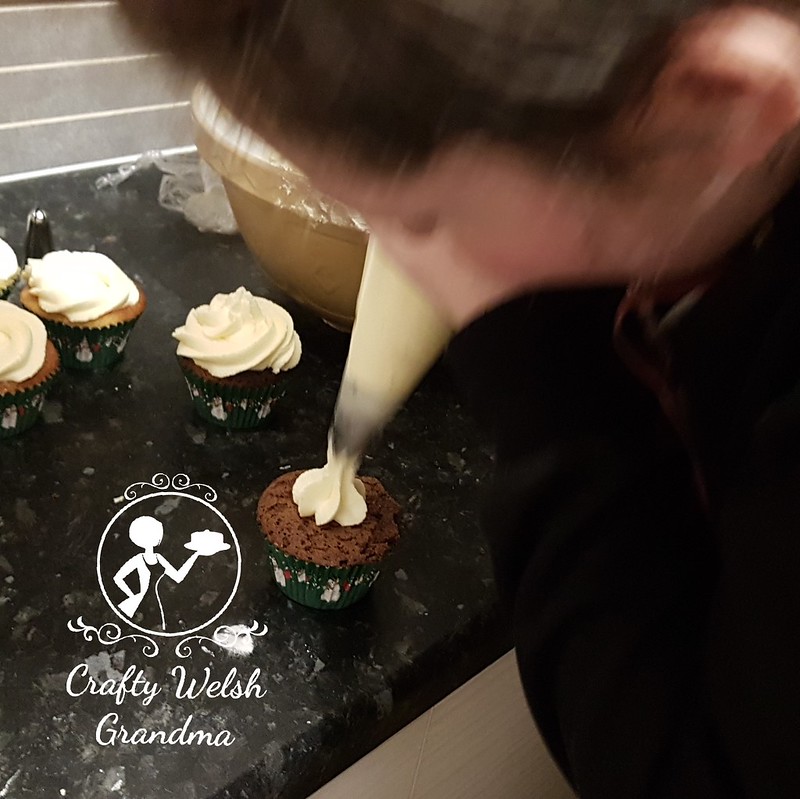
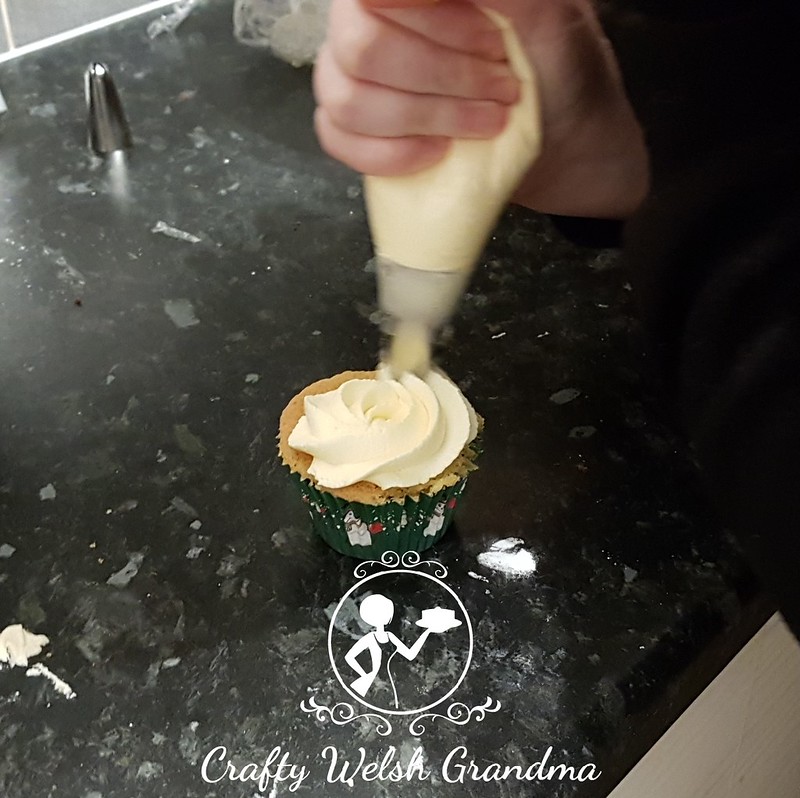
As mentioned earlier, Asha made a few more cupcakes for practice, and it was the decorating she used them for.  I showed her two types of topping, the classic cupcake peak and a simple, flatter, almost rose type topping.


Once more, the only interaction I had was showing once then standing back until I was needed, again, I wasn't needed.


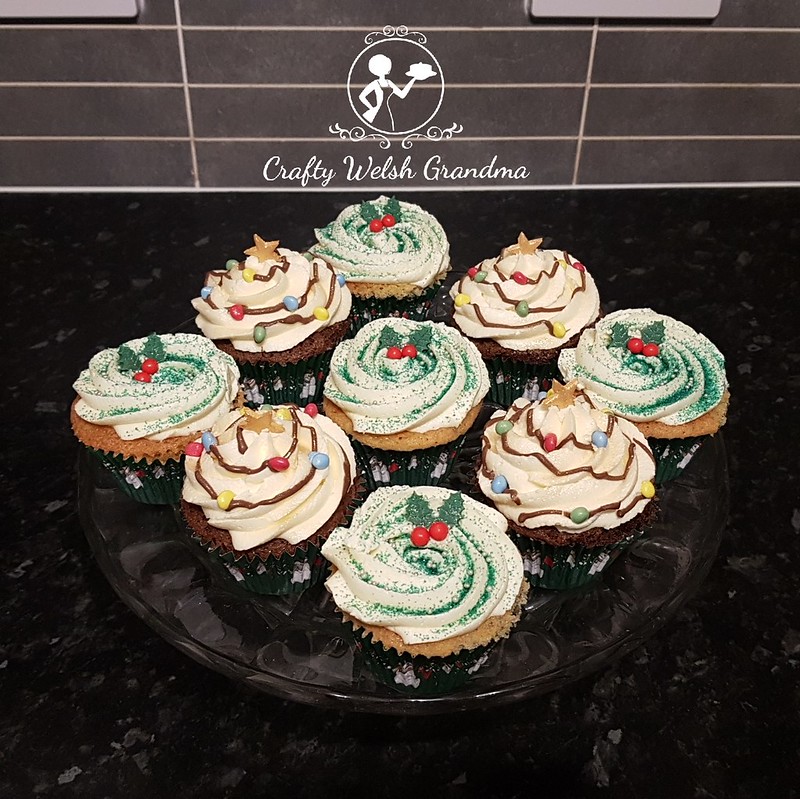
Handcrafted holly leaves were used on the one flavour cupcakes and handcrafted golden stars were used on the other.  


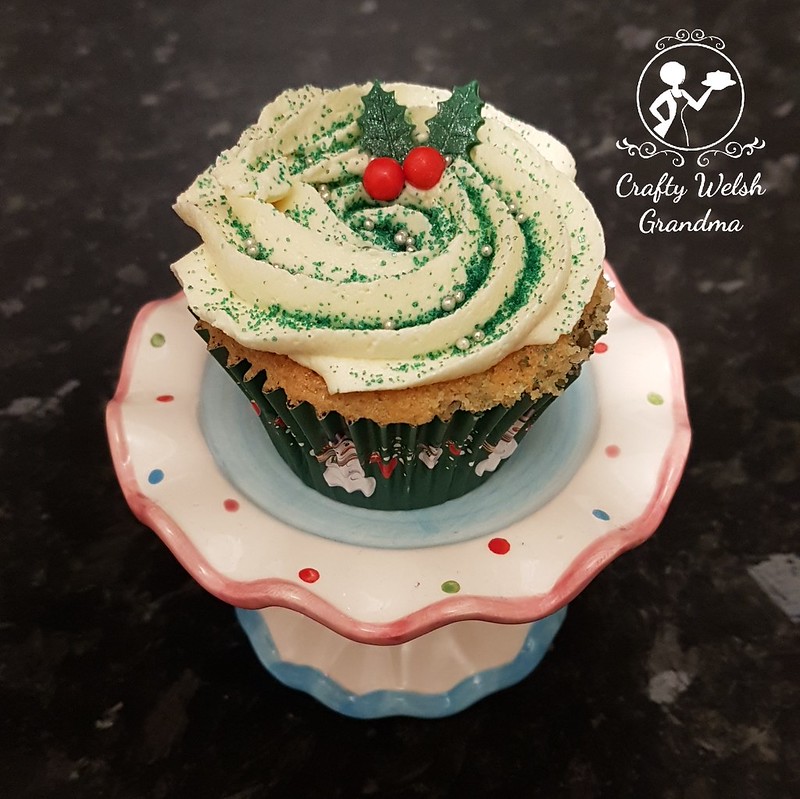
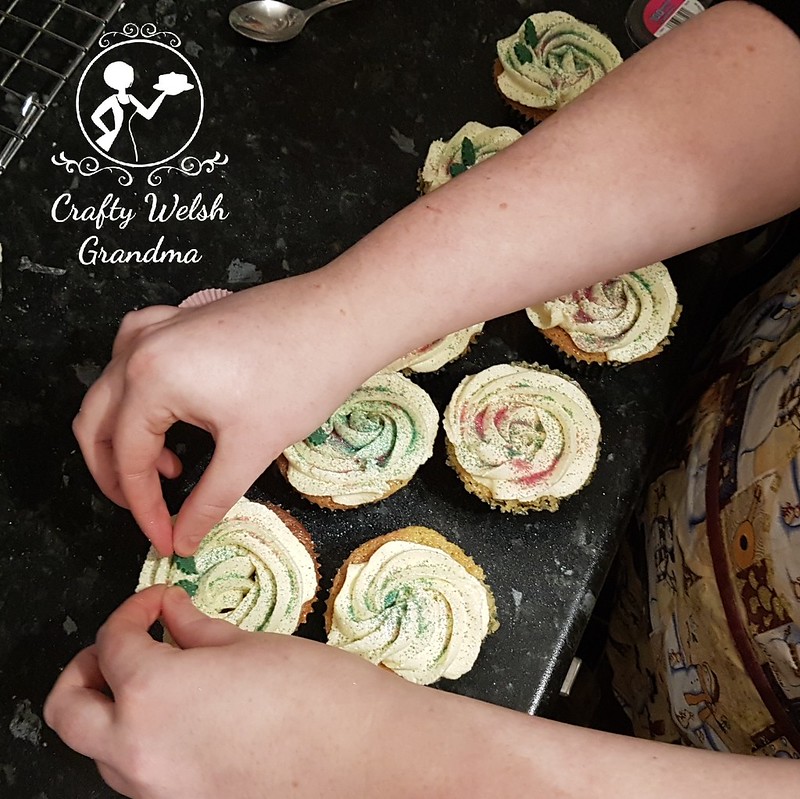
Asha decorated the vanilla cupcakes with the holly, some red candy balls for berries, a little green glitter then topped off with a dash of silver luster dust. Perfection. 

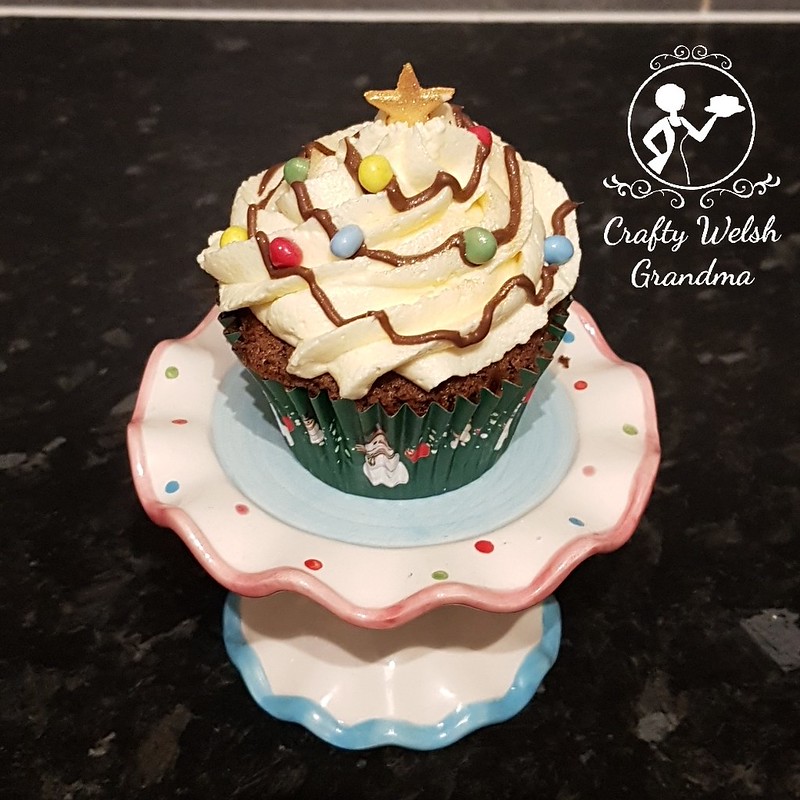
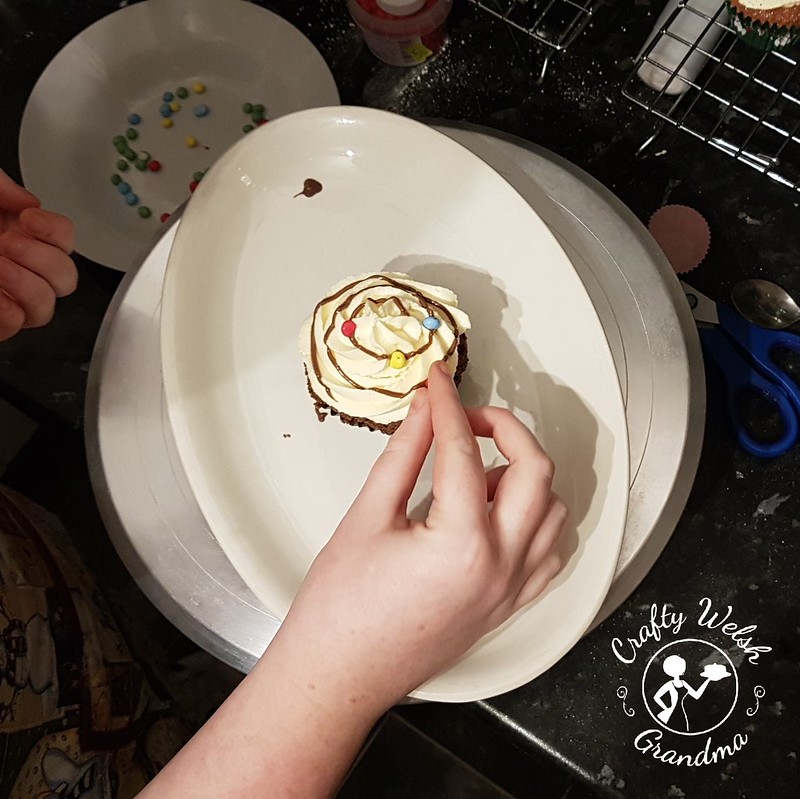
For the chocolate cupcakes, which Asha topped in vanilla buttercream, she swirled melted chocolate around them, then multi-coloured candy covered chocolate beans (small Smarties) were used to resemble Christmas light on the chocolate 'wires'. Topped off with the gold star, which Asha earned loads of today, then sprinkled with some gold luster dust. Perfection, the second time around!

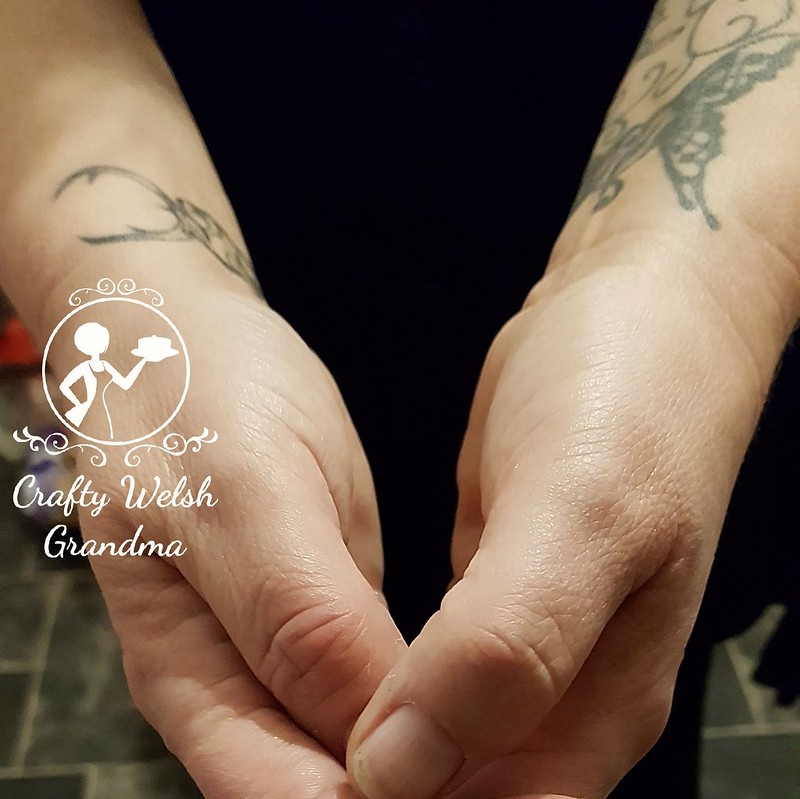
Now, there comes a time, with some of my masterclasses, there are doubters. To help dispel the doubt, check out the hands working hard here, then compare them to mine.


Here are my hands, the crafty hands belonging to this Crafty Welsh Grandma, complete with my permanent artwork / tattoos, quite different don't you think?

Well done Asha, you worked hard today and deserve all the credit. After all, this was all your work and not mine!

Related Posts Plugin for WordPress, Blogger...